I used to think making cheesecake was a whole-day project until I discovered the magic of setting it in the fridge. These sweet no bake cheesecake cups come together in about twenty minutes of active time, using just a bowl and a spoon. It was a game-changer for my summer gatherings and last-minute dessert cravings. No hot oven, no water bath, no cracks to worry about—just pure, creamy indulgence that sets up while you tidy the kitchen or set the table. This recipe is for anyone who believes a great dessert should bring joy, not stress. It’s the ultimate expression of comfort food, made easy, turning simple ingredients into warm memories with minimal effort. Whether you’re hosting a party or just need a little sweet treat after a long day, these individual cheesecake cups are your answer.
Table of Contents
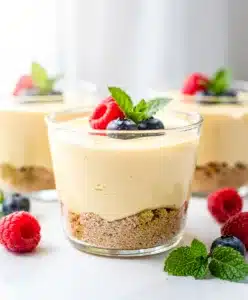
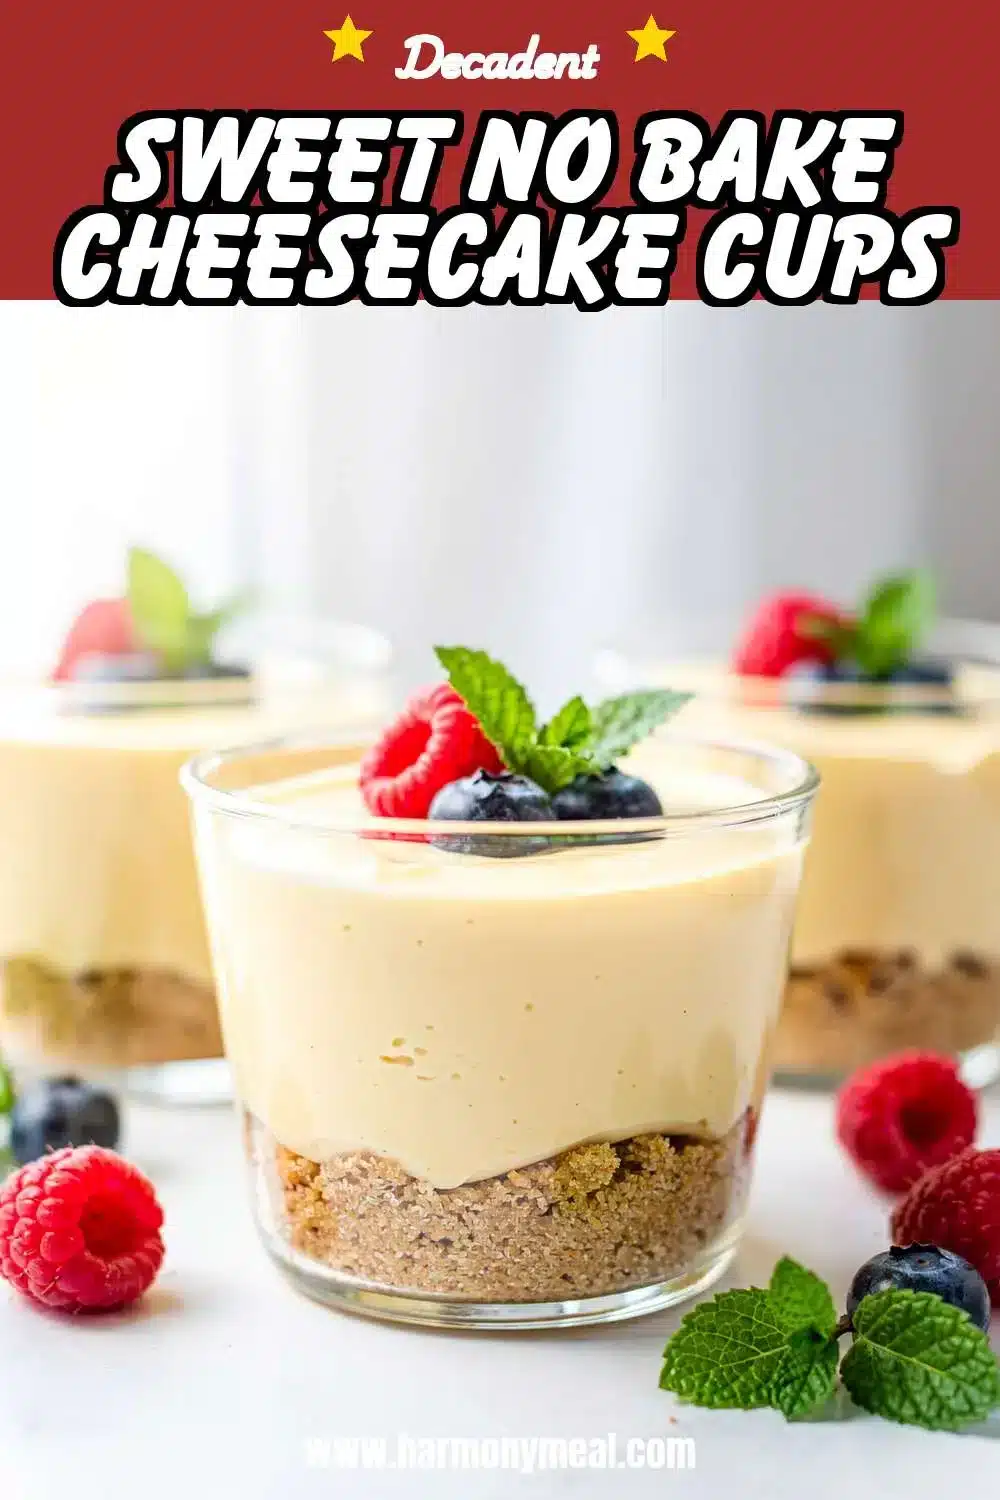
Sweet No Bake Cheesecake Cups

These individual cheesecake cups are a quick and easy no-bake dessert. They come together with minimal effort and set in the fridge, perfect for parties or a simple sweet treat.
- Prep Time: 20min
- Cook Time: 0min
- Total Time: 4h 20min
- Yield: 10 cheesecake cups 1x
- Category: dessert
- Method: no bake
- Cuisine: American
Ingredients
- 1 1/2 cups graham cracker crumbs
- 5 tablespoons unsalted butter, melted
- 2 tablespoons granulated sugar
- 1 pinch salt
- 16 ounces full-fat cream cheese, softened
- 1 cup powdered sugar, sifted
- 1 teaspoon pure vanilla extract
- 1 cup heavy whipping cream, cold
Instructions
- Combine graham cracker crumbs, melted butter, sugar, and salt in a bowl until mixture resembles wet sand.
- Divide crumb mixture evenly among 10 dessert cups and press firmly to form a compact crust layer.
- In a large bowl, beat the softened cream cheese with an electric mixer until smooth and creamy, about 1-2 minutes.
- Add the sifted powdered sugar and vanilla extract to the cream cheese and beat until fully incorporated and smooth.
- In a separate clean bowl, whip the cold heavy cream until stiff peaks form.
- Gently fold about one-third of the whipped cream into the cream cheese mixture to lighten it.
- Carefully fold in the remaining whipped cream until no white streaks remain and the filling is thick and fluffy.
- Spoon or pipe the cheesecake filling over the prepared crusts in each cup and smooth the tops.
- Cover lightly and refrigerate for at least 4 hours, or overnight, until firmly set.
- Add desired toppings like fresh berries or chocolate sauce just before serving.
Notes
Ensure cream cheese is fully softened to room temperature to avoid lumps. For best results, chill overnight. Crust can be made with gluten-free graham crackers or other cookies.
Nutrition
- Serving Size: 1
- Calories: 380
- Sugar: 18
- Sodium: 220
- Fat: 30
- Saturated Fat: 19
- Unsaturated Fat: 9
- Trans Fat: 1
- Carbohydrates: 25
- Fiber: 0
- Protein: 4
- Cholesterol: 85
Ingredients List
Sweet no bake cheesecake cups start with a handful of simple, quality ingredients that come together for a dreamy texture and flavor. Here’s what you’ll need:
For the Graham Cracker Crust:
- 1 ½ cups graham cracker crumbs (about 10-12 full sheets)
- 5 tablespoons unsalted butter, melted
- 2 tablespoons granulated sugar
- A tiny pinch of salt
For the Cheesecake Filling:
- 16 ounces (two 8-oz blocks) full-fat cream cheese, softened to room temperature
- 1 cup powdered sugar, sifted
- 1 teaspoon pure vanilla extract
- 1 cup heavy whipping cream, cold
Smart Swaps & Dietary Notes:
- Gluten-Free: Use gluten-free graham-style crackers.
- Dairy-Light: For the filling, try a blend of half regular cream cheese and half Neufchâtel. For a fully dairy-free version, use plant-based cream cheese and coconut cream (chilled overnight, use the solid part).
- Crust Variations: Swap graham crackers for crushed vanilla wafers, Oreos (for a cookies and cream twist like my No Bake Oreo Cheesecake), or even gingersnaps.
- Sweetener: The powdered sugar helps thicken the filling. If using a granulated sugar substitute, blend it very finely or use a confectioners’ style version to avoid graininess.
Timing
One of the best parts of no bake desserts is how they respect your time. For these cheesecake cups:
- Prep Time: 20 minutes
- Chill Time: 4 hours (or overnight)
- Total Time: 4 hours 20 minutes
That’s nearly 90% hands-off time! Compared to a classic baked cheesecake that can take over an hour in the oven plus cooling time, this method is about 80% faster from start to serving.
Step-by-Step Instructions
Creating these sweet no bake cheesecake cups is a straightforward, joyful process. Follow these simple steps for perfect results every time.
- Prepare the Crust. In a medium bowl, combine the graham cracker crumbs, melted butter, sugar, and salt. Mix until the crumbs are evenly moistened and resemble wet sand. Divide the mixture evenly among 8-10 dessert cups or ramekins (about 2-3 tablespoons each). Press firmly into the bottom of each cup to create a compact, even layer. You can use the bottom of a small glass or a measuring spoon to help.
- Make the Cheesecake Filling. In a large mixing bowl, beat the softened cream cheese with an electric mixer on medium speed until completely smooth and creamy, about 1-2 minutes. This is crucial—no lumps allowed! Add the sifted powdered sugar and vanilla extract. Beat again until fully incorporated and smooth.
- Whip the Cream. In a separate, clean bowl, whip the cold heavy cream on medium-high speed until stiff peaks form. Be careful not to over-whip it into butter.
- Fold it All Together. Using a spatula, gently fold about one-third of the whipped cream into the cream cheese mixture. This lightens the base. Then, carefully fold in the remaining whipped cream until no white streaks remain. The filling should be thick, fluffy, and luxurious.
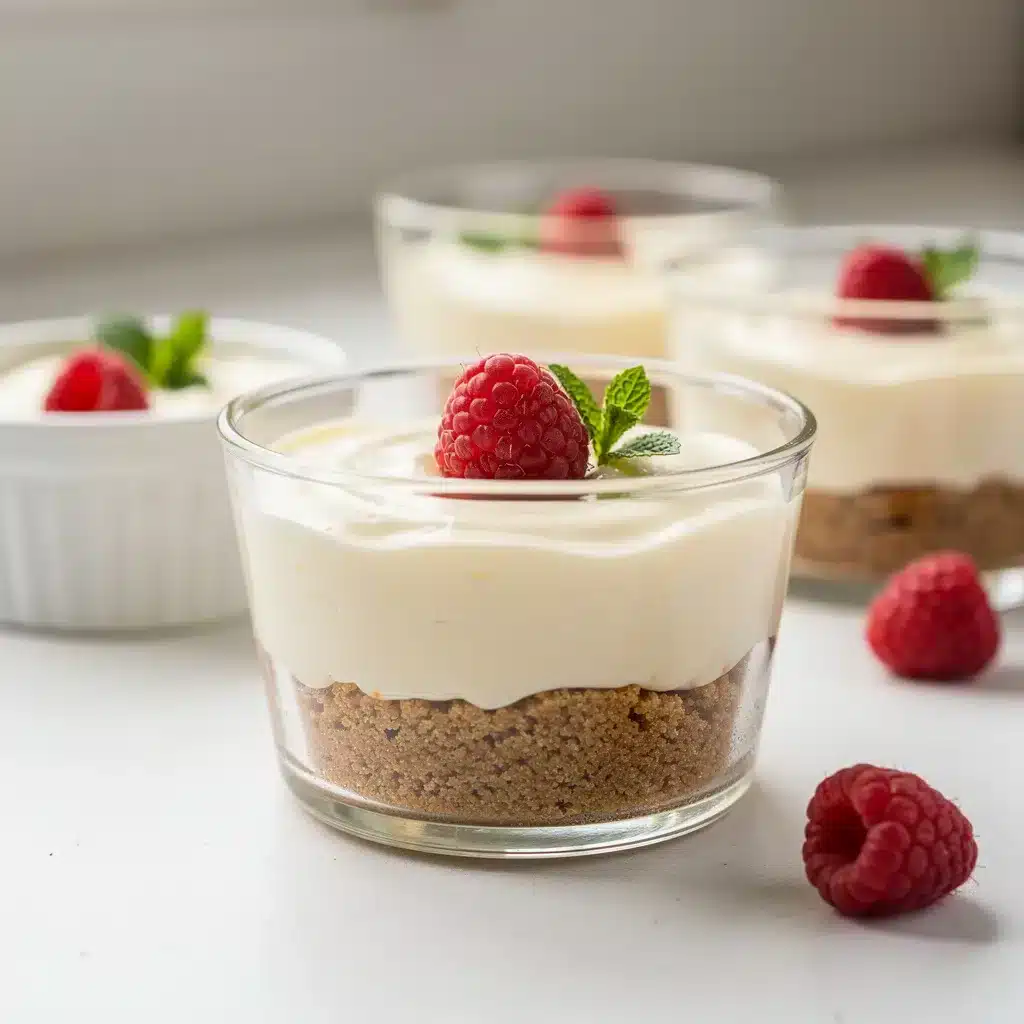
- Assemble and Chill. Spoon or pipe the cheesecake filling over the prepared crusts in each cup. Smooth the tops with the back of a spoon. Cover lightly and refrigerate for at least 4 hours, or ideally overnight, to allow the cups to set firmly.
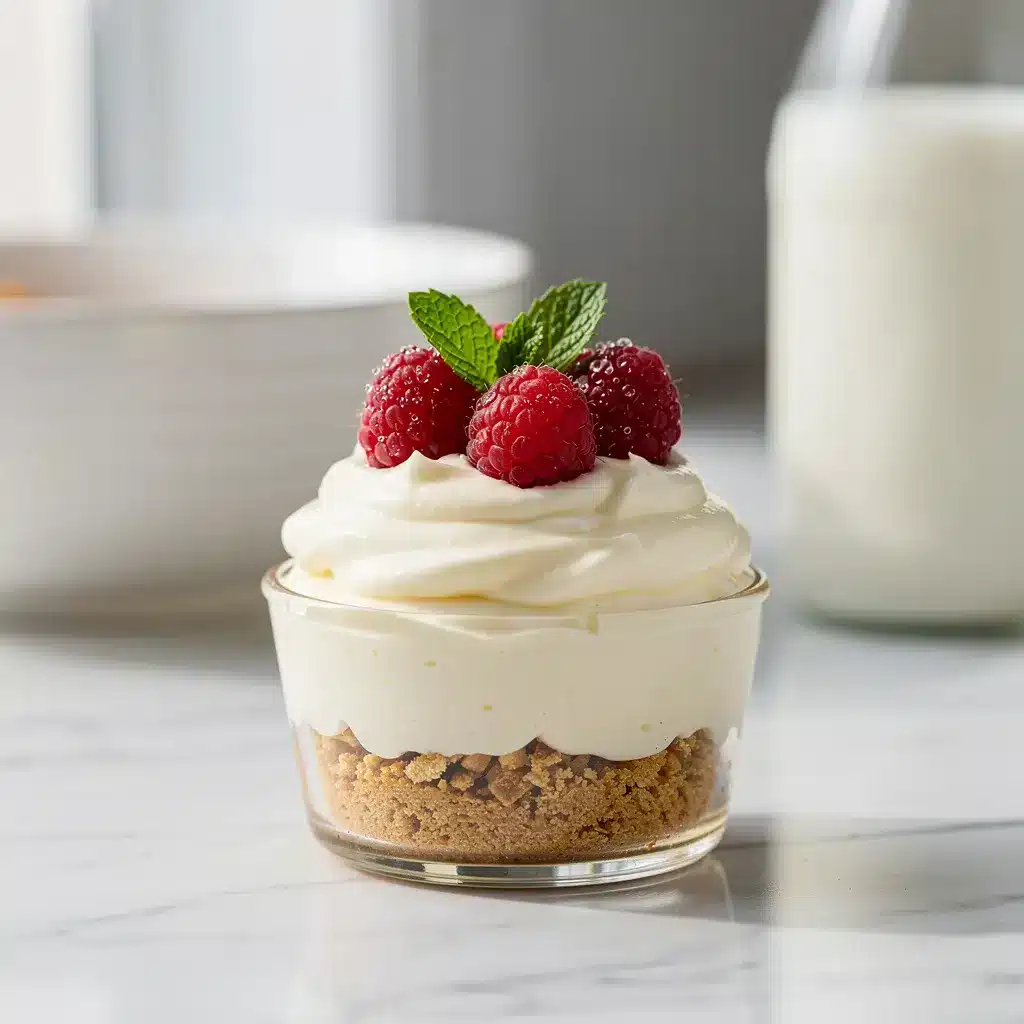
- Top and Serve. Just before serving, add your favorite toppings. Fresh berries, a drizzle of chocolate sauce, or a dollop of whipped cream are all perfect finishes.
Nutritional Information
Per serving (based on 10 cups, with crust and filling only): Approximately 380 calories, 4g protein, 25g carbohydrates, 30g fat (19g saturated fat). These sweet no bake cheesecake cups are a rich treat. The cream cheese provides a source of calcium and vitamin A, while using full-fat dairy helps create that signature creamy, satisfying texture that makes a little go a long way.
Equipment Needed
You don’t need any special gadgets for these easy party desserts. A regular kitchen will have everything:
- Mixing bowls (one medium, one large)
- Electric hand mixer or stand mixer
- Rubber spatula
- Measuring cups and spoons
- 8-10 individual dessert cups, ramekins, or even clean glass jars
- Airtight containers or plastic wrap for storing
Why You’ll Love This Recipe
These sweet no bake cheesecake cups are about to become your new favorite dessert for so many reasons.
- No Oven, No Stress: Perfect for hot summer days or when you just don’t want to turn on the oven. The fridge does all the work.
- Endlessly Customizable: Change up the crust, swirl in fruit puree, or top with anything from caramel to crushed candy bars. It’s a fantastic base recipe.
- Perfect Portion Control: Individual servings mean no fighting over the last slice and easy grab-and-go treats.
- Make-Ahead Magic: They need to chill for hours, making them the ultimate do-ahead dessert for parties, potlucks, or a week of sweet treats.
- Crowd-Pleasing Comfort: The creamy, tangy-sweet flavor of classic cheesecake in a fuss-free format everyone adores.
Healthier Alternatives for the Recipe
You can easily adapt these cheesecake cups to fit different dietary needs without sacrificing the dreamy experience.
- Lower Sugar: Reduce the powdered sugar to ¾ cup and use a sugar-free graham cracker crust. The filling will be slightly less firm but still delicious.
- Higher Protein: Blend ½ cup of plain Greek yogurt into the cream cheese mixture. It adds a lovely tang and protein boost.
- Dairy-Free: Use a high-quality vegan cream cheese and chill two cans of full-fat coconut milk overnight. Use the solid coconut cream as your whipping cream substitute.
- Gluten-Free: As mentioned, simply opt for certified gluten-free graham crackers or cookie crumbs for the base.
Serving Suggestions
The fun really begins when you top your sweet no bake cheesecake cups. Here are some of my favorite ways to serve them:
- Classic Berry: A handful of fresh raspberries, blueberries, or sliced strawberries. A mint leaf adds a pretty touch.
- Chocolate Lover’s: Drizzle with warm chocolate ganache and sprinkle with mini chocolate chips or shaved chocolate.
- Salted Caramel: A generous drizzle of salted caramel sauce and a tiny pinch of flaky sea salt.
- Tropical Twist: Top with toasted coconut flakes and a spoonful of diced mango or pineapple.
- For a Party: Set up a topping bar with small bowls of different sauces, fruits, nuts, and sprinkles so guests can build their own perfect cheesecake cup. It makes for such a fun, interactive dessert station!
Common Mistakes to Avoid
A few simple tips will guarantee your no bake cheesecake cups turn out perfectly creamy and sliceable.
- Using Cold Cream Cheese: This is the #1 cause of a lumpy filling. Let your cream cheese sit on the counter for at least an hour until it’s soft to the touch.
- Not Beating the Cream Cheese Enough: Before adding anything else, beat the cream cheese alone until it’s completely smooth and silky. Any small lumps will remain in your final filling.
- Over- or Under-Whipping the Cream: Whip to stiff peaks so it can hold the structure of the filling. If it’s too soft, the cups won’t set firmly. If you see it turning grainy, you’ve gone too far.
- Skipping the Long Chill: While you can eat them after a few hours, they are truly ideal after a full overnight chill. This allows the flavors to meld and the texture to become perfectly firm.
- Packing the Crust Too Loosely: A firm, compact crust layer is essential. It should hold together when you press it and not crumble when you take a bite.
Storing Tips for the Recipe
These cheesecake cups are fantastic for making ahead and storing.
- Refrigerator: Store covered in the fridge for up to 5 days. Add fresh fruit toppings just before serving to prevent sogginess.
- Freezer: These freeze beautifully for up to 2 months. Freeze them uncovered on a tray until solid, then wrap each cup tightly in plastic wrap and place in a freezer bag. Thaw overnight in the refrigerator before serving.
- For Best Results: If making more than a day ahead, wait to add any juicy toppings (like berry compote) until you’re ready to serve to keep the crust crisp.
Conclusion
At the end of the day, these sweet no bake cheesecake cups are about bringing a little effortless joy to your table. They prove that a stunning, satisfying dessert doesn’t require fancy techniques or hours of labor—just a few good ingredients and a bit of patience while the fridge works its magic. It’s the kind of recipe that fits into real life, whether you’re planning a party or simply treating yourself. I hope this recipe becomes a trusted favorite in your home, just like my No-Bake Peanut Butter Bars and Vanilla Bean Cheesecake Bars have in mine. If you give these easy party desserts a try, I’d love to hear how they turned out for you! Share your creations and tag @HarmonyMeal on Pinterest. Happy no-baking.
FAQs about Sweet No Bake Cheesecake Cups
Can no-bake cheesecake be frozen?
Yes, no-bake cheesecake cups freeze well! Wrap them individually in plastic wrap and then place them in a freezer-safe bag or container. They can be stored in the freezer for up to 2-3 months. Thaw in the refrigerator before serving.
How do you make no-bake cheesecake set?
Refrigeration is key! The gelatin (if used) or the chilling of ingredients like cream cheese and heavy cream help the cheesecake filling to set properly. Ensure the filling is cold before assembling and then refrigerate for at least 4-6 hours, or preferably overnight.
What kind of cream cheese is best for no-bake cheesecake?
Full-fat cream cheese is highly recommended for the best flavor and texture in no-bake cheesecake cups. Reduced-fat or fat-free cream cheese may not set as firmly and could result in a less creamy texture.
How long will no-bake cheesecake last in the fridge?
No-bake cheesecake cups will typically last for 3-5 days in the refrigerator, stored in an airtight container. The exact time will depend on the freshness of the ingredients used.
What can I use instead of graham crackers for the crust?
You can use other crushed cookies like Oreos (without the filling), vanilla wafers, or digestive biscuits as a substitute for graham crackers in the crust. You can also use crushed nuts mixed with butter for a gluten-free option.
Why is my no-bake cheesecake runny?
The most common reason for runny no-bake cheesecake is insufficient chilling time. Make sure to refrigerate for at least 4-6 hours, or preferably overnight. Other causes could be using low-fat cream cheese or not whipping the heavy cream to stiff peaks.
💬 Let’s Stay Connected!
For daily recipes, kitchen tips, and exclusive content, follow me on:
👉 Facebook for behind-the-scenes & community fun
👉 Pinterest for visual inspiration & meal ideas
👉 X (Twitter) for quick tips & trending recipes
📲 Join the flavor journey, your next favorite recipe is just a follow away!