The most common misstep is rushing the chilling time, which leads to a messy slice instead of a clean, firm bar. For perfect no bake peanut butter bars, patience is your best ingredient—let them set fully for the best texture and presentation. I learned this the hard way years ago, trying to sneak a taste before a family gathering. The result was a delicious, albeit slightly gooey, mess. Now, I know that the magic of these bars lies in their simplicity and their set. They are the ultimate answer to the craving for something sweet, rich, and satisfying without ever turning on your oven. In a world full of complicated dessert recipes, this one is a true kitchen friend. It’s the treat I make when I need a guaranteed crowd-pleaser, when the kids are begging for a project, or when I simply want a little piece of chocolate-peanut butter heaven waiting for me in the fridge. Simple ingredients, warm memories.
Table of Contents
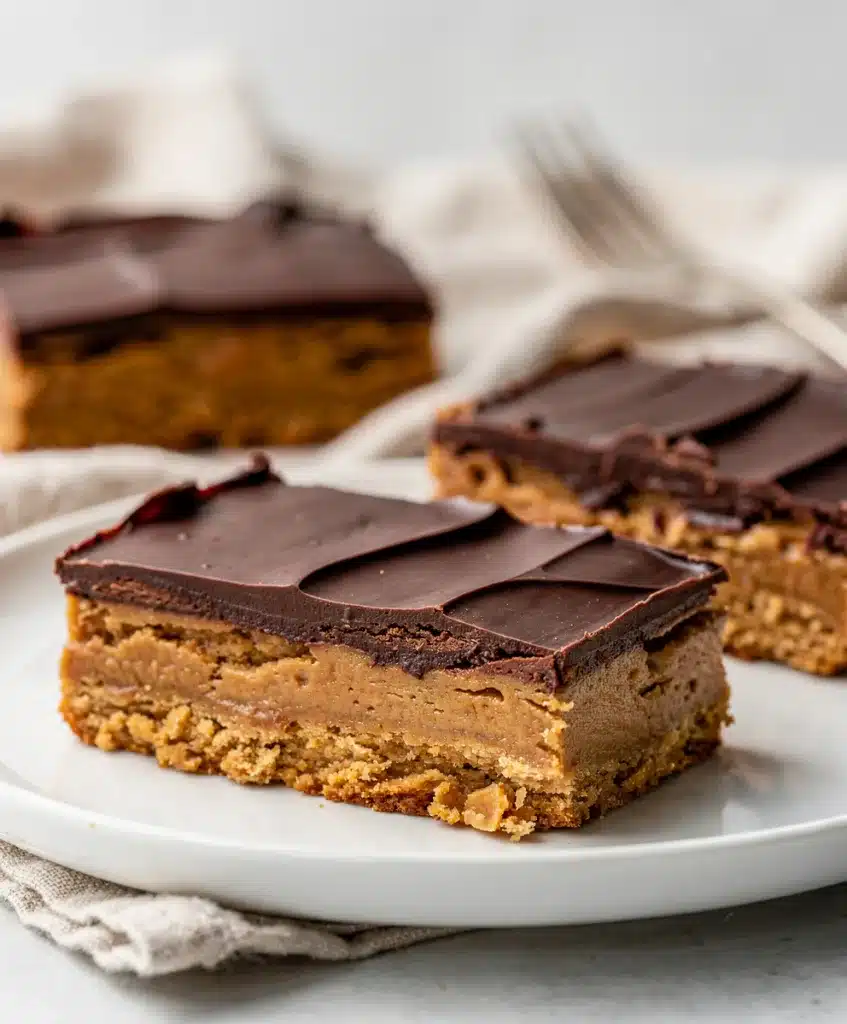
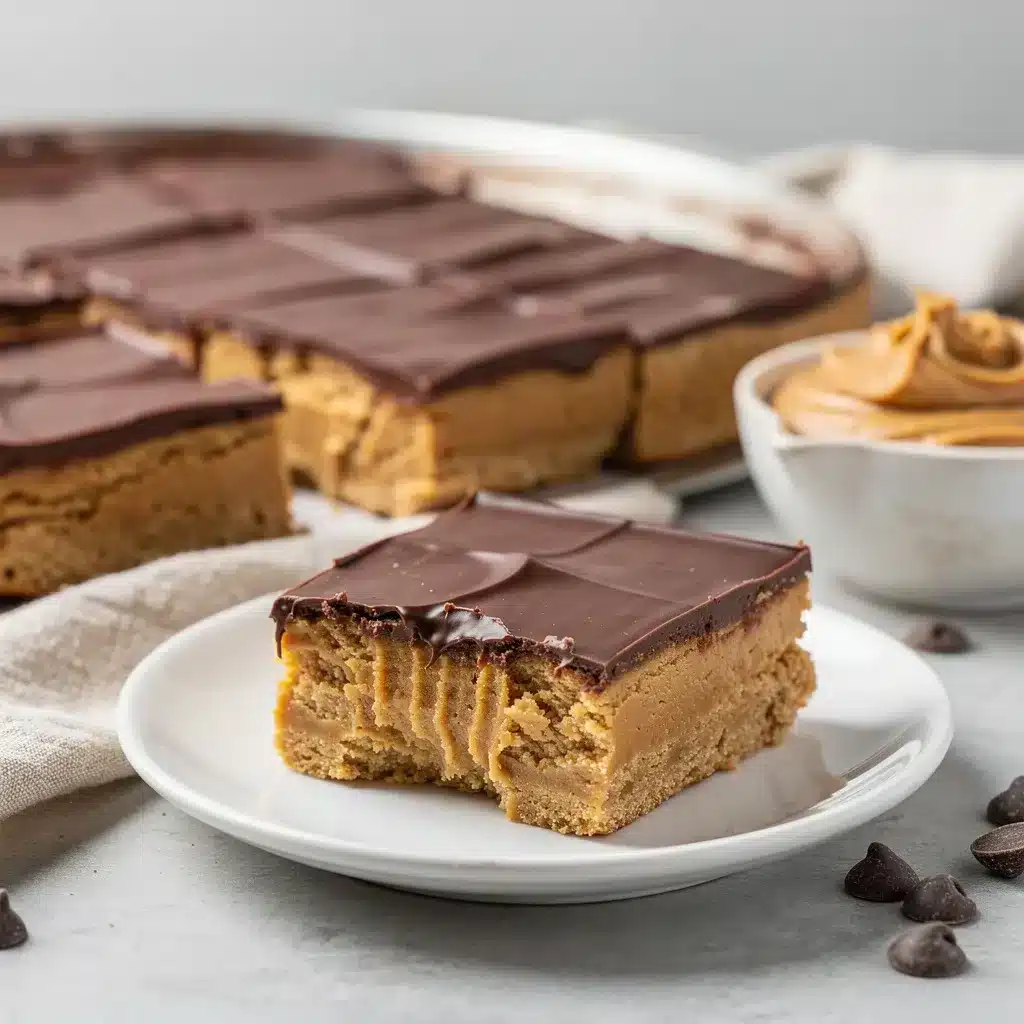
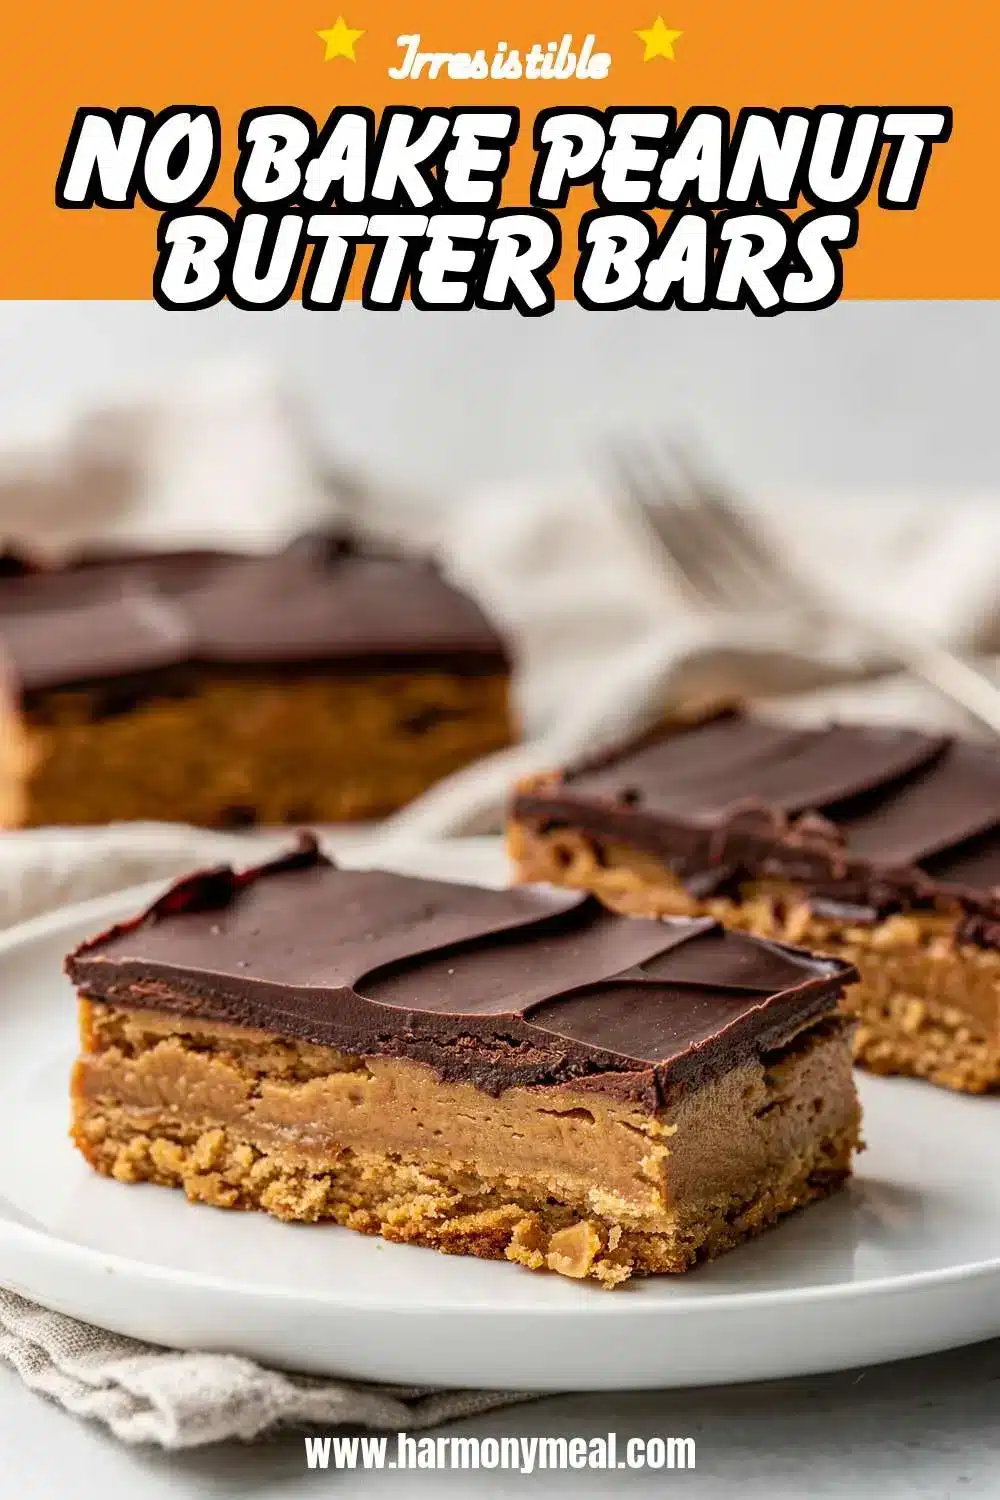
No Bake Peanut Butter Bars

These are the ultimate easy, rich, and satisfying dessert. They require no oven, just simple pantry staples and patience for chilling to achieve the perfect firm-yet-creamy texture. The secret splash of cream in the filling makes them irresistibly smooth.
- Prep Time: 15min
- Cook Time: 0min
- Total Time: 2h 15min
- Yield: 16 bars 1x
- Category: dessert
- Method: no bake
- Cuisine: American
Ingredients
- 2 cups graham cracker crumbs
- 1/2 cup unsalted butter, melted
- 1/4 cup granulated sugar
- 1 pinch fine sea salt
- 1 cup creamy peanut butter
- 1/2 cup unsalted butter, softened
- 2 cups powdered sugar
- 1 tsp pure vanilla extract
- 2 tbsp milk or heavy cream
- 1 1/2 cups semi-sweet chocolate chips
- 1/4 cup creamy peanut butter
Instructions
- Line an 8×8 or 9×9 inch pan with parchment paper.
- Mix graham crumbs, 1/2 cup melted butter, sugar, and salt. Press firmly into pan.
- Beat 1 cup peanut butter and 1/2 cup softened butter until creamy.
- Add powdered sugar and vanilla. Mix until crumbly.
- Add milk or cream, one tablespoon at a time, beating until smooth and spreadable.
- Spread filling evenly over crust. Chill for 15 minutes.
- Melt chocolate chips and 1/4 cup peanut butter together until smooth.
- Pour chocolate over chilled filling and spread evenly.
- Chill bars for at least 2 hours, or ideally 4 hours or overnight, until fully set.
- Use parchment to lift bars from pan. Cut into squares with a hot knife.
Notes
Use standard creamy peanut butter, not natural style, for best setting. Do not rush the chilling time. For clean cuts, wipe knife with a hot towel between slices. Store covered in fridge for up to 1 week.
Nutrition
- Serving Size: 1
- Calories: 320
- Sugar: 23
- Sodium: 150
- Fat: 21
- Saturated Fat: 9
- Unsaturated Fat: 10
- Trans Fat: 0
- Carbohydrates: 30
- Fiber: 2
- Protein: 5
- Cholesterol: 25
Ingredients List for No Bake Peanut Butter Bars

No bake peanut butter bars start with a short list of pantry staples, plus one secret ingredient that makes all the difference. You likely have most of this in your cupboard right now.
For the Crust:
- 2 cups graham cracker crumbs (about 14 full sheets)
- 1/2 cup (1 stick) unsalted butter, melted
- 1/4 cup granulated sugar
- A generous pinch of fine sea salt
For the Peanut Butter Filling:
- 1 cup creamy peanut butter (not natural/oily style for best results)
- 1/2 cup (1 stick) unsalted butter, softened to room temperature
- 2 cups powdered sugar
- 1 teaspoon pure vanilla extract
- The Secret Ingredient: 2-3 tablespoons of milk or heavy cream
For the Chocolate Topping:
- 1 1/2 cups semi-sweet chocolate chips
- 1/4 cup creamy peanut butter
Smart Swaps: For a gluten-free version, use gluten-free graham-style crackers. For dairy-free bars, use plant-based butter and coconut milk. You can also use crunchy peanut butter in the filling for a bit of texture, or dark chocolate chips for the topping if you prefer a less sweet finish.
Timing for No Bake Peanut Butter Bars
One of the best parts of this recipe is how it fits into a busy schedule. Unlike many easy baking recipes that require precise oven time, this one is all about hands-off chilling.
- Prep Time: 15 minutes
- Cook Time: 0 minutes (just melting chocolate)
- Chill Time: 2-4 hours (or overnight)
- Total Time: About 2 hours 15 minutes (mostly inactive)
That’s it. You can whip these up during naptime, after work, or while prepping other recipes for dinner, and they’ll be perfectly set by the time you’re ready for dessert.
Step-by-Step Instructions
Making these bars is a joyful, straightforward process. Let’s walk through it.
1. Prepare the Pan & Make the Crust
Line an 8×8 or 9×9 inch baking pan with parchment paper, leaving an overhang on two sides for easy removal. In a medium bowl, combine the graham cracker crumbs, melted butter, sugar, and salt. Stir until the mixture resembles wet sand and holds together when pinched. Press this firmly and evenly into the bottom of your prepared pan. I use the bottom of a measuring cup to get it nice and compact. This firm base is crucial for your no bake peanut butter bars.
2. Create the Peanut Butter Filling
In a large bowl using a hand mixer or a sturdy spoon, beat the softened butter and 1 cup of peanut butter together until completely smooth and creamy. This might take a minute. Add the powdered sugar and vanilla. Mix on low at first to avoid a sugar cloud, then increase speed until combined. It will be very thick and crumbly. Here’s where the secret ingredient comes in: add the milk or cream, one tablespoon at a time, and beat until the filling becomes smooth, spreadable, and dreamily creamy. This step transforms the texture.
3. Layer and Begin Chilling
Spread the peanut butter filling evenly over the crust, smoothing the top with a spatula. Place the pan in the refrigerator to start setting up while you make the topping. This brief 15-minute chill helps create a sharp layer between the filling and chocolate.
4. Make the Chocolate Topping
Create a simple double boiler by placing a heatproof bowl over a pot of simmering water (ensure the bowl doesn’t touch the water). Add the chocolate chips and the 1/4 cup of peanut butter. Stir gently and constantly until everything is melted, smooth, and glossy. Remove from heat. Pour the chocolate mixture over the chilled peanut butter layer and spread it quickly into an even layer.
5. The Final Chill
This is the most important step. Return the pan to the refrigerator. Let the no bake peanut butter bars chill for at least 2 hours, but 4 hours or overnight is ideal for the cleanest slices. The chocolate will set to a perfect, firm-yet-yielding finish.
Nutritional Information
Please note: This is a rich, indulgent dessert. A typical bar cut into 16 squares provides approximately:
- Calories: ~320
- Fat: 21g
- Carbohydrates: 30g
- Sugar: 23g
- Protein: 5g
The peanut butter offers a good source of protein and heart-healthy fats, while the dark chocolate provides antioxidants. Enjoy as a special treat!
Equipment Needed
You don’t need any fancy gadgets for these no bake peanut butter bars. Just a few basics:
- 8×8 or 9×9 inch baking pan
- Parchment paper
- Mixing bowls (medium and large)
- Hand mixer or sturdy wooden spoon
- Spatula
- Small pot and heatproof bowl for double boiler (or microwave-safe bowl)
Why You’ll Love This Recipe
- Zero Baking Required: Perfect for hot days, tiny kitchens, or when you just can’t be bothered with the oven. It’s the ultimate in easy dessert execution.
- Pantry-Powerful: Built from staples you probably already own, making it a spontaneous treat.
- The Secret Makes It Special: That splash of cream in the filling is a game-changer, creating a luxuriously smooth texture that’s far superior to dry, crumbly versions.
- Crowd-Pleasing Guarantee: The combination of peanut butter and chocolate is a universal love language. These bars disappear fast at potlucks and parties.
- Make-Ahead Magic: They store beautifully in the fridge or freezer, so you can have a ready-to-serve dessert anytime.
Healthier Alternatives
You can easily tweak these no bake peanut butter bars to fit different dietary needs without sacrificing that iconic flavor.
- Gluten-Free: Use certified gluten-free graham crackers or crushed gluten-free cookies for the crust.
- Dairy-Free: Substitute plant-based butter and full-fat coconut milk in the filling, and use dairy-free chocolate chips.
- Lower Sugar: Use a powdered sugar alternative made for baking (like erythritol-based) and sugar-free chocolate chips. Opt for a natural peanut butter with no added sugar.
- Higher Protein: Blend a scoop of vanilla protein powder into the peanut butter filling (you may need an extra splash of milk).
Serving Suggestions
Once your no bake peanut butter bars are fully set, use the parchment paper to lift the whole slab out of the pan onto a cutting board. For clean cuts, use a large sharp knife, wiping it clean with a hot towel between slices.
- Serve squares on a platter for a party, perhaps alongside other easy treats from our roundup of Easy Super Bowl Desserts.
- For a festive touch, sprinkle the top with flaky sea salt before the chocolate sets, or add a drizzle of extra melted peanut butter.
- Pair a square with a cold glass of milk or a hot cup of coffee for the perfect afternoon pick-me-up. If you love this flavor combo, you must try my Chocolate Peanut Butter Pie for another decadent, no-bake option.
Common Mistakes to Avoid
- Using Natural Peanut Butter: The oil separation in natural styles can make the filling greasy and prevent it from setting properly. For the best no bake peanut butter bars, use a standard, stabilized creamy peanut butter.
- Skipping the Cream/Milk: Without that liquid, the filling will be dry, crumbly, and difficult to spread. It’s the secret to a luscious middle layer.
- Not Chilling Long Enough: Impatience is the enemy here. If you try to cut before the chocolate is fully set, you’ll get squished layers and a messy presentation. Trust the process.
- Pressing the Crust Too Lightly: A firmly packed crust is your foundation. If it’s loose, it will crumble when you cut the bars. Press it down hard!
Storing Tips
These bars are fantastic for make-ahead desserts.
- Refrigerator: Store covered in the pan or in an airtight container for up to 1 week.
- Freezer: For longer storage, freeze the whole slab or individual squares on a parchment-lined tray until solid, then transfer to a freezer bag. They’ll keep for 2-3 months. Thaw in the fridge or enjoy a frozen square for a firmer, almost ice-cream-like treat.
- Serving: They are best served chilled straight from the fridge for that perfect firm-yet-creamy texture.
Conclusion
These no bake peanut butter bars are a testament to the fact that the most beloved desserts are often the simplest. They require no special skills, just a little patience for chilling. They’re the treat you can always rely on to bring a smile, whether you’re satisfying a late-night craving or needing a surefire hit for a gathering. Comfort food, made easy.
I hope you love making (and eating!) them as much as I do. Let me know how your batch turns out in the comments below! And if you’re looking for more no-bake joy, try my No Bake Cheesecake Cups for another simple, individual dessert. For a peanut butter-packed start to your day, my Peanut Butter Banana Overnight Oats are a perfect healthy breakfast option. And if you’re in a baking mood, these Chocolate Peanut Butter Cookies are always a winner. Happy no-baking!
FAQs about No Bake Peanut Butter Bars
Why are my no bake bars so crumbly?
Crumbly no-bake bars are often caused by not enough binder (like butter, peanut butter, or corn syrup) or too many dry ingredients (like graham cracker crumbs or oats). Measure accurately and ensure the peanut butter is smooth and creamy. You may also need to gently press the mixture firmly into the pan.
Can you freeze no bake peanut butter bars?
Yes, no-bake peanut butter bars freeze very well! Cut them into squares and store them in an airtight container or freezer bag for up to 2-3 months. Thaw in the refrigerator before serving.
How do you keep peanut butter bars from sticking to the pan?
Line your baking pan with parchment paper or aluminum foil, leaving some overhang to easily lift the bars out. You can also lightly grease the pan with cooking spray before lining it.
How long do no bake bars last?
No-bake peanut butter bars typically last for about a week when stored in an airtight container at room temperature. They will last longer in the refrigerator, up to 2 weeks.
What is the best peanut butter to use for no bake bars?
Smooth, creamy peanut butter works best for no-bake bars. Avoid using natural peanut butter that separates easily, as it can make the bars too oily. If you do use natural peanut butter, make sure to stir it very well before measuring.
Can I use a substitute for graham crackers?
You can often substitute other crushed cookies, like vanilla wafers or digestive biscuits, for graham crackers. Just make sure to use the same amount by volume or weight as the recipe calls for.
💬 Let’s Stay Connected!
For daily recipes, kitchen tips, and exclusive content, follow me on:
👉 Facebook for behind-the-scenes & community fun
👉 Pinterest for visual inspiration & meal ideas
👉 X (Twitter) for quick tips & trending recipes
📲 Join the flavor journey, your next favorite recipe is just a follow away!