For a dessert that feels decadent yet leans lighter, these bars use the natural richness of coconut cream without heavy dairy. You get that luxurious, velvety filling and a satisfying crunch, all for a fraction of the calories of the classic pie. I remember the first time I tried a coconut cream pie at a little diner years ago. The flaky crust, the impossibly creamy filling, the toasted coconut on top—it felt like a special occasion in every bite. But making a whole pie from scratch can feel like a project. That’s why I love turning that iconic flavor into these easy, no-fuss Coconut Cream Pie Bars. They capture all that nostalgic, tropical comfort in a simple, shareable format perfect for potlucks, weeknight treats, or just because. Simple ingredients, warm memories.
Table of Contents
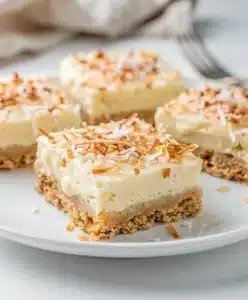
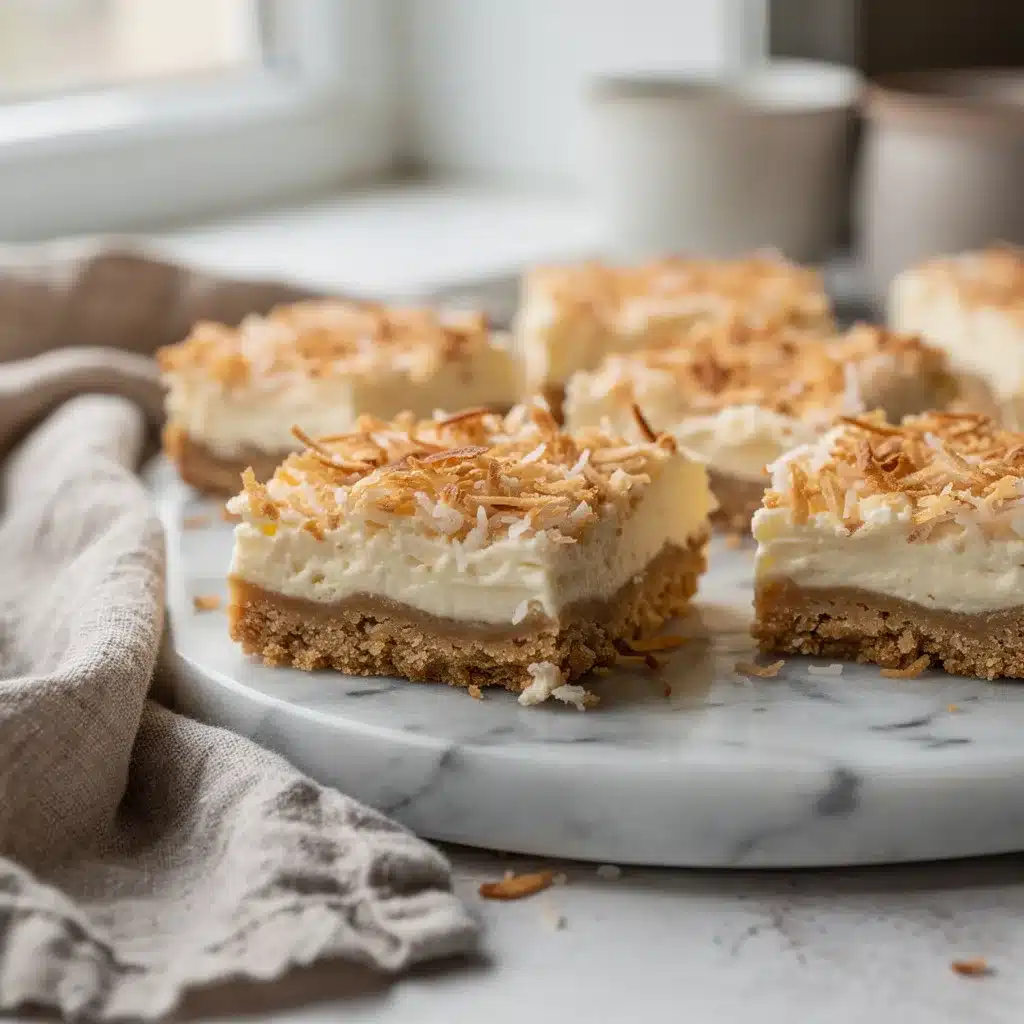
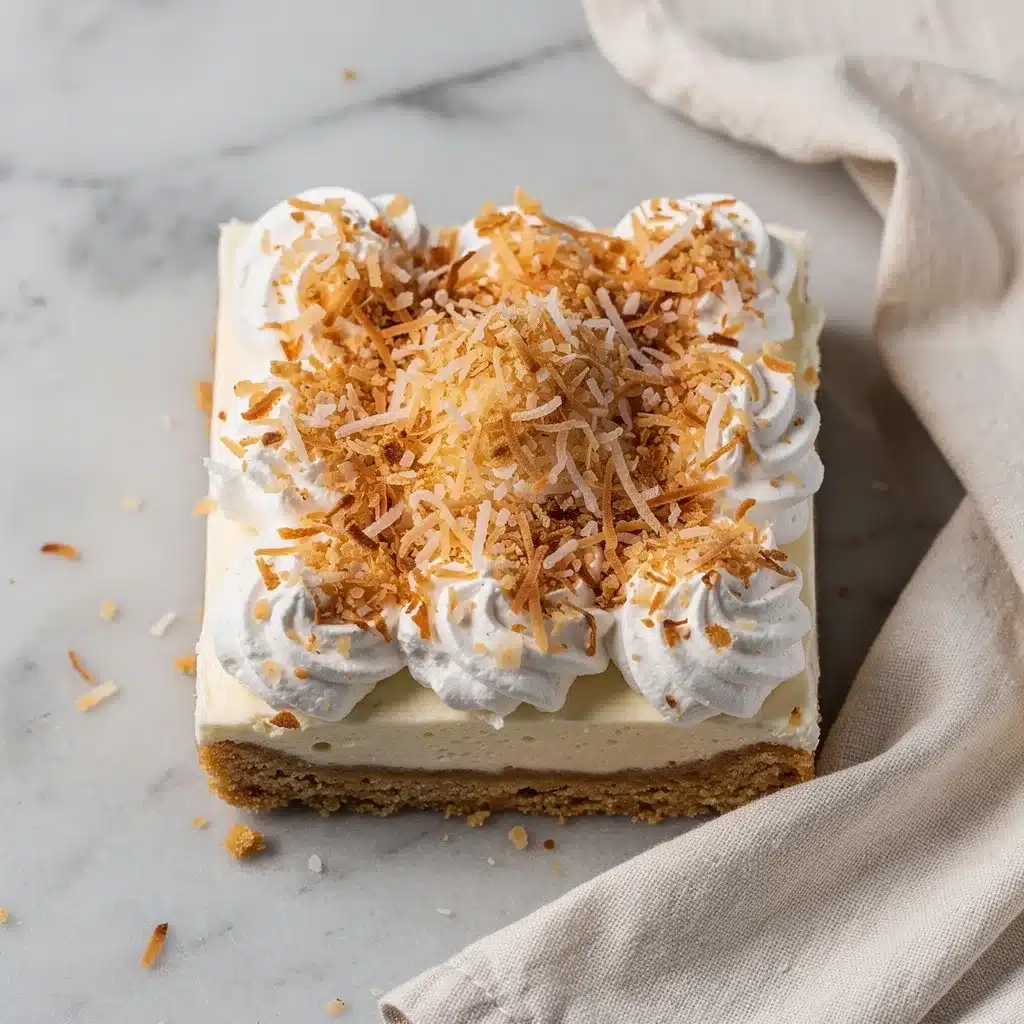
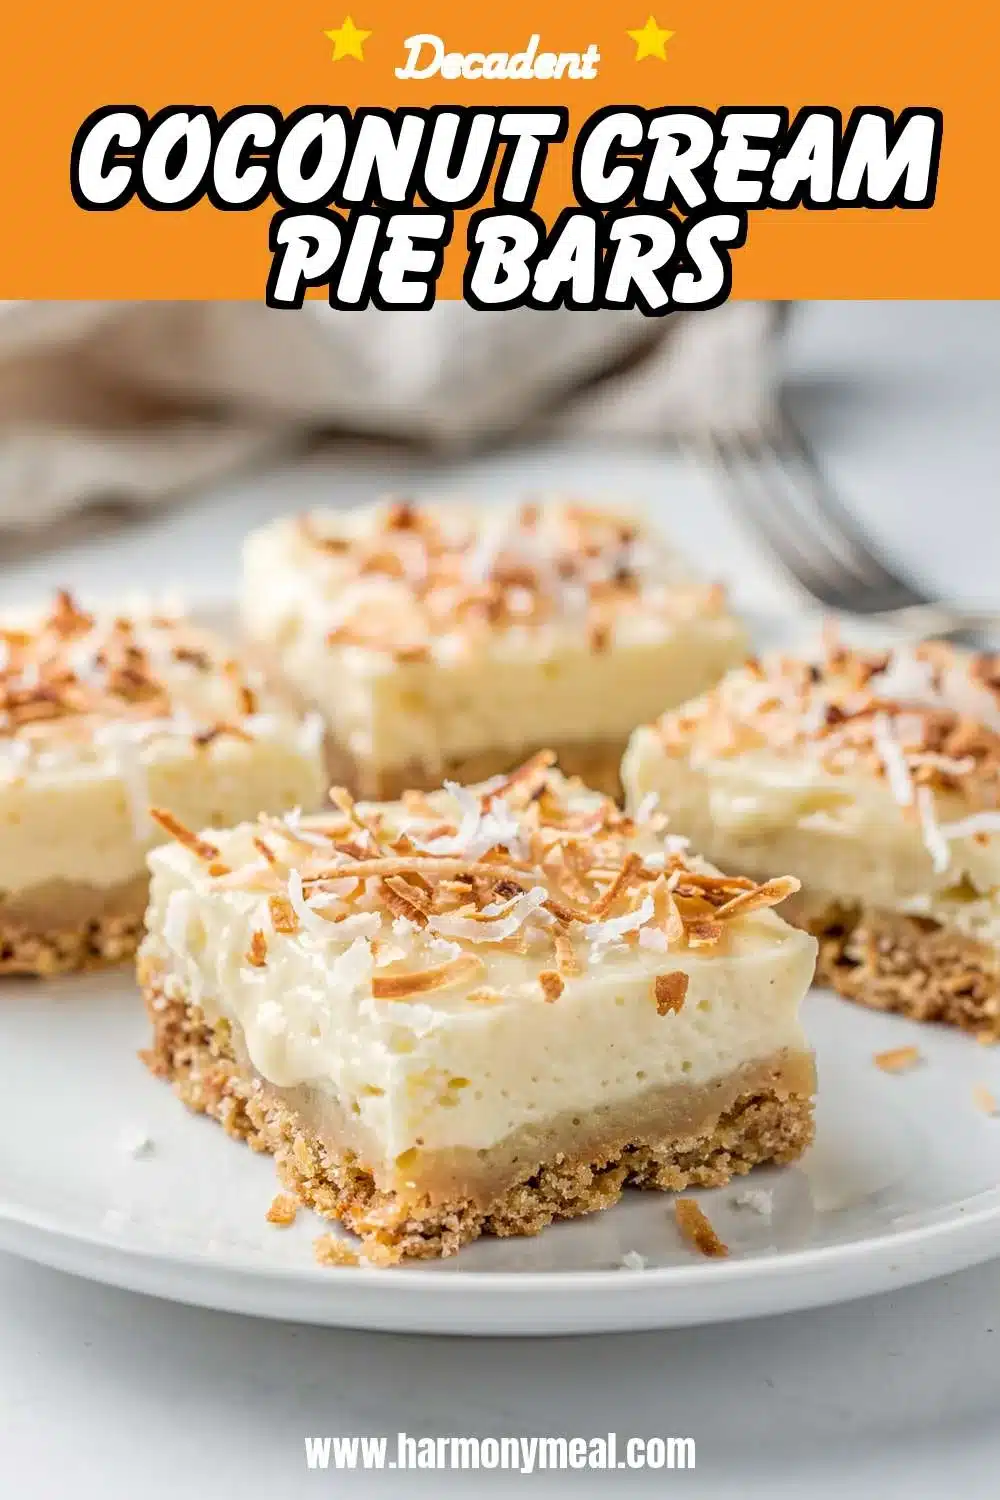
Coconut Cream Pie Bars

These no-bake bars capture all the nostalgic, tropical comfort of coconut cream pie in a simple, shareable format. A buttery graham cracker crust is topped with a velvety coconut cream filling and finished with fresh whipped cream and toasted coconut.
- Prep Time: 25min
- Cook Time: 0min
- Total Time: 4h 25min
- Yield: 12 bars 1x
- Category: dessert
- Method: no-bake
- Cuisine: American
- Diet: Gluten Free Option, Dairy Free Option
Ingredients
- For the Crust:
- 1 1/2 cups graham cracker crumbs (about 12 full sheets)
- 1/3 cup granulated sugar
- 6 tablespoons unsalted butter, melted
- 1 pinch salt
- For the Coconut Cream Filling:
- 2 (13.5 ounce) cans full-fat coconut milk, chilled overnight
- 3/4 cup powdered sugar
- 1 teaspoon pure vanilla extract
- 1/4 teaspoon coconut extract (optional)
- 1 cup sweetened shredded coconut, plus more for topping
- For the Whipped Topping:
- 1 cup heavy whipping cream, very cold
- 2 tablespoons powdered sugar
- 1/2 teaspoon vanilla extract
Instructions
- Line an 8×8 inch baking pan with parchment paper, leaving an overhang on two sides for easy removal.
- In a medium bowl, mix graham cracker crumbs, sugar, and salt. Pour in melted butter and stir until mixture resembles wet sand and holds together when pinched.
- Press the crust mixture firmly and evenly into the bottom of the prepared pan. Use the bottom of a measuring cup to compact it. Freeze for 15 minutes.
- Open the chilled coconut milk cans without shaking. Scoop the thick, solid coconut cream from the top into a large mixing bowl. Save the coconut water for another use.
- Using a hand mixer or stand mixer, beat the coconut cream on medium-high speed for about 2 minutes until fluffy.
- Add 3/4 cup powdered sugar, 1 tsp vanilla, and coconut extract (if using). Beat again for 1-2 minutes until smooth and stiff peaks form.
- Gently fold in 1 cup of shredded coconut with a spatula.
- Spread the coconut cream filling evenly over the chilled crust. Smooth the top. Cover pan tightly with plastic wrap and refrigerate for at least 4 hours, or overnight.
- Just before serving, make the whipped topping. In a clean, chilled bowl, beat the cold heavy cream, 2 tbsp powdered sugar, and 1/2 tsp vanilla on medium-high speed until medium-stiff peaks form.
- Spread the whipped cream over the chilled bars. Sprinkle generously with additional toasted shredded coconut.
- Use the parchment paper to lift the slab from the pan onto a cutting board. Slice into 12 squares with a sharp knife, wiping it clean between cuts for neat bars.
Notes
For best results, ensure the coconut milk is chilled overnight so the cream separates and whips properly. Press the crust firmly to prevent sogginess. The bars must chill for at least 4 hours to set fully for clean slicing. For a dairy-free version, use coconut oil in the crust and whip the solid cream from another can of chilled coconut milk for the topping.
Nutrition
- Serving Size: 1
- Calories: 320
- Sugar: 18
- Sodium: 120
- Fat: 25
- Saturated Fat: 18
- Unsaturated Fat: 5
- Trans Fat: 0
- Carbohydrates: 24
- Fiber: 1
- Protein: 3
- Cholesterol: 35
Ingredients List for Coconut Cream Pie Bars
Coconut Cream Pie Bars come together with a straightforward list, most of which you might already have in your pantry. The magic is in how they combine.
For the Crust:
- 1 ½ cups graham cracker crumbs (about 12 full sheets)
- ⅓ cup granulated sugar
- 6 tablespoons unsalted butter, melted
- Pinch of salt
For the Coconut Cream Filling:
- 2 (13.5 oz) cans full-fat coconut milk, chilled overnight
- ¾ cup powdered sugar
- 1 teaspoon pure vanilla extract
- ¼ teaspoon coconut extract (optional, but boosts flavor)
- 1 cup sweetened shredded coconut, plus more for topping
For the Whipped Topping:
- 1 cup heavy whipping cream, very cold
- 2 tablespoons powdered sugar
- ½ teaspoon vanilla extract
Smart Swaps: For a gluten-free version, use gluten-free graham crackers. You can use coconut oil instead of butter for the crust for a dairy-free bar. If you don’t have coconut extract, the vanilla and coconut milk will still give you wonderful flavor.
Timing for Coconut Cream Pie Bars
One of the best parts of this recipe is the hands-off time. While they’re not instant, most of the work is waiting—perfect for fitting into a busy day.
- Prep Time: 25 minutes
- Chill Time: 4 hours (minimum)
- Total Time: 4 hours 25 minutes
Compared to baking and cooling a traditional pie, these bars are about 20% faster and far less fussy. You can make them in the morning for dessert that night, or even the day before.
Step-by-Step Instructions for Coconut Cream Pie Bars
Follow these simple steps for perfect, creamy Coconut Cream Pie Bars every time.
1. Prepare the Crust. Line an 8×8 inch baking pan with parchment paper, leaving an overhang on two sides for easy removal. In a medium bowl, mix the graham cracker crumbs, sugar, and salt. Pour in the melted butter and stir until the mixture resembles wet sand and holds together when pinched. Press this firmly and evenly into the bottom of your prepared pan. I like to use the bottom of a measuring cup to really compact it. Pop the pan in the freezer for 15 minutes to set while you make the filling.
2. Make the Coconut Cream Filling. This is where the magic happens. Without shaking them, carefully open the cans of chilled coconut milk. Scoop out the thick, solid coconut cream that has risen to the top into a large mixing bowl. (You can save the leftover coconut water for smoothies!). Using a hand mixer or stand mixer fitted with the whisk attachment, beat the coconut cream on medium-high speed for about 2 minutes until it’s fluffy. Add the powdered sugar, vanilla, and coconut extract (if using). Beat again for another 1-2 minutes until smooth and stiff peaks form. Gently fold in the shredded coconut with a spatula.
3. Assemble the Bars. Retrieve your crust from the freezer. Spread the coconut cream filling evenly over the crust, smoothing the top with your spatula. Cover the pan tightly with plastic wrap and refrigerate for at least 4 hours, or overnight, to allow the filling to firm up completely.
4. Add the Whipped Topping & Serve. Just before serving, make the whipped topping. In a clean, chilled bowl, beat the cold heavy cream, powdered sugar, and vanilla on medium-high speed until medium-stiff peaks form. Spread this over the chilled bars. Sprinkle generously with additional toasted shredded coconut. Use the parchment paper overhang to lift the entire slab out of the pan onto a cutting board. Slice into squares with a sharp knife, wiping it clean between cuts for neat bars.
Nutritional Information for Coconut Cream Pie Bars
Per bar (based on 12 servings): Approximately 320 calories, 3g protein, 24g carbohydrates, 25g fat (18g saturated). Coconut milk provides medium-chain triglycerides (MCTs), a type of fat that some studies suggest may be used by the body for quick energy. While these are a treat, using coconut cream as the base offers a naturally dairy-free richness.
Equipment Needed for Coconut Cream Pie Bars
You don’t need any specialty tools for these homemade desserts. A standard 8×8 inch baking pan, parchment paper, a mixing bowl, and a hand mixer or stand mixer are the heroes here. A rubber spatula is essential for folding and scraping. For easy, clean cuts, a sharp chef’s knife is your best friend.
Why You’ll Love This Recipe for Coconut Cream Pie Bars
- Restaurant-Quality at Home: These bars deliver that luxurious, creamy texture and deep coconut flavor you’d pay for at a bakery, but in your own kitchen.
- No-Bake Ease: Just like my No-Bake Peanut Butter Bars, there’s no oven required for the filling. It’s a cool, stress-free process perfect for warm days.
- Perfect for Making Ahead: They need time to chill, which makes them an ideal make-ahead dessert for parties, potlucks, or just ensuring you have a sweet treat ready.
- Crowd-Pleasing Format: Bars are inherently easy to serve and share. Everyone loves having their own perfect little square.
- Simple Ingredients, Big Flavor: It’s a short list, but the combination of coconut cream, vanilla, and that buttery crust creates a symphony of comfort.
Healthier Alternatives for Coconut Cream Pie Bars
You can easily tweak this recipe to fit different dietary needs without sacrificing the soul of the dessert.
- Gluten-Free: Use certified gluten-free graham crackers or gluten-free shortbread cookies for the crust base.
- Dairy-Free: The filling is already dairy-free! For the crust, swap the butter for melted coconut oil. For the topping, you can whip the solid cream from another can of chilled full-fat coconut milk with a bit of powdered sugar instead of using heavy cream.
- Lower Sugar: Reduce the sugar in the crust to ¼ cup and use a sugar substitute like monk fruit or erythritol in the filling and whipped topping. Use unsweetened shredded coconut.
- Higher Protein: While it changes the texture, you can blend a scoop of vanilla protein powder into the coconut cream filling. Start with ¼ cup and add a splash more coconut water if it gets too thick.
Serving Suggestions for Coconut Cream Pie Bars
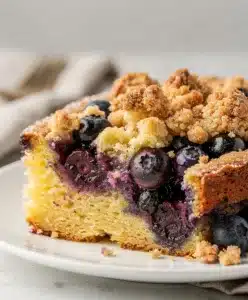
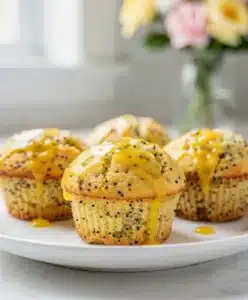
These bars are stunning all on their own, but a little garnish goes a long way. I love serving them with a drizzle of melted dark chocolate or a sprinkle of toasted coconut chips for extra crunch. For a festive touch, add a maraschino cherry on top of each square. They pair beautifully with a cup of strong coffee or a glass of cold milk. If you love the bar format with fruit, you must try my Lemon Blueberry Bars or Rhubarb Crumble Bars for another creamy, fruity dessert option.
Common Mistakes to Avoid with Coconut Cream Pie Bars
- Not Chilling the Coconut Milk: This is the most crucial step. The cans must be chilled overnight so the cream solidifies and separates from the water. Without this, you won’t get a thick, whip-able filling.
- A Soggy Crust: Press the crust mixture very firmly into the pan and give it time in the freezer to set before adding the filling. This creates a barrier that helps prevent sogginess.
- Overmixing the Filling: Once you fold in the shredded coconut, mix just until combined. Overmixing can deflate the air you whipped into the coconut cream, making the filling denser.
- Not Chilling Long Enough: Patience is key. The bars need a full 4 hours, preferably overnight, to set properly so they slice cleanly. Cutting too soon will result in a mess.
- Using Light Coconut Milk: Full-fat coconut milk is non-negotiable for the right texture and richness. Light coconut milk will not whip up properly.
Storing Tips for Coconut Cream Pie Bars
Store leftover Coconut Cream Pie Bars covered tightly in the refrigerator for up to 4 days. The whipped cream topping is best enjoyed within 1-2 days. For longer storage, you can freeze the bars (without the whipped topping) for up to 2 months. Wrap the whole slab or individual bars tightly in plastic wrap and then aluminum foil. Thaw overnight in the refrigerator before adding fresh whipped topping and serving. These are one of the best dessert recipes for make-ahead ease.
Conclusion
These Coconut Cream Pie Bars are proof that you don’t need complicated techniques or a whole day in the kitchen to create a show-stopping dessert. They’re creamy, coconutty, and utterly satisfying—a little square of tropical comfort that feels special any day of the week. I hope this recipe becomes a go-to in your collection of easy desserts with few ingredients. If you give them a try, I’d love to hear how they turned out for you! Leave a comment below or share your creation and tag @HarmonyMeal on Pinterest. And if you’re looking for more bar dessert inspiration, check out my Vanilla Bean Cheesecake Bars for another creamy favorite, or these adorable individual Strawberry Shortcake Cups. Comfort food, made easy.
FAQs about Coconut Cream Pie Bars
What are coconut cream pie bars made of?
Coconut cream pie bars typically consist of a buttery crust, a creamy coconut custard filling, and often a topping of whipped cream and toasted coconut.
How do you keep coconut cream pie bars from getting soggy?
To prevent soggy coconut cream pie bars, ensure the crust is fully baked and cooled before adding the filling. You can also brush the cooled crust with melted chocolate or an egg white wash before adding the filling to create a moisture barrier. Proper chilling time is also crucial.
How do you store coconut cream pie bars?
Store coconut cream pie bars in an airtight container in the refrigerator. They are best consumed within 2-3 days.
Can you freeze coconut cream pie bars?
Yes, you can freeze coconut cream pie bars. Wrap them tightly in plastic wrap and then in foil, or place them in a freezer-safe container. Thaw in the refrigerator before serving. The texture of the whipped cream topping may change slightly after freezing.
What is the difference between coconut cream pie and coconut cream pie bars?
The main difference is the form factor. Coconut cream pie is traditionally a full-sized pie, while coconut cream pie bars are cut into individual bars, making them easier to serve and transport. The ingredients and flavors are typically very similar.
How can I make coconut cream pie bars gluten-free?
To make gluten-free coconut cream pie bars, use a gluten-free flour blend for the crust. Ensure the blend is designed for baking and follow the recipe instructions carefully.
💬 Let’s Stay Connected!
For daily recipes, kitchen tips, and exclusive content, follow me on:
👉 Facebook for behind-the-scenes & community fun
👉 Pinterest for visual inspiration & meal ideas
👉 X (Twitter) for quick tips & trending recipes
📲 Join the flavor journey, your next favorite recipe is just a follow away!