I often whip up a double batch of the filling on Sunday for effortless treats all week. Simply spoon it into cups and add different toppings each day for a fresh, ready-to-eat dessert. It’s my little secret for surviving the summer heat without ever turning on the oven. When the sun is blazing and the last thing you want is a hot kitchen, these Favorite No Bake Cheesecake Cups are the answer. They’re cool, creamy, and impossibly easy, capturing all the joy of a classic cheesecake without any of the fuss. This recipe is about embracing simplicity and flavor, using a handful of ingredients to create something that feels both special and completely doable on a busy weeknight. It’s the kind of dessert that makes everyone smile, from kids to grandparents, and it proves that the best treats often come together with just a bowl and a spoon.
Table of Contents
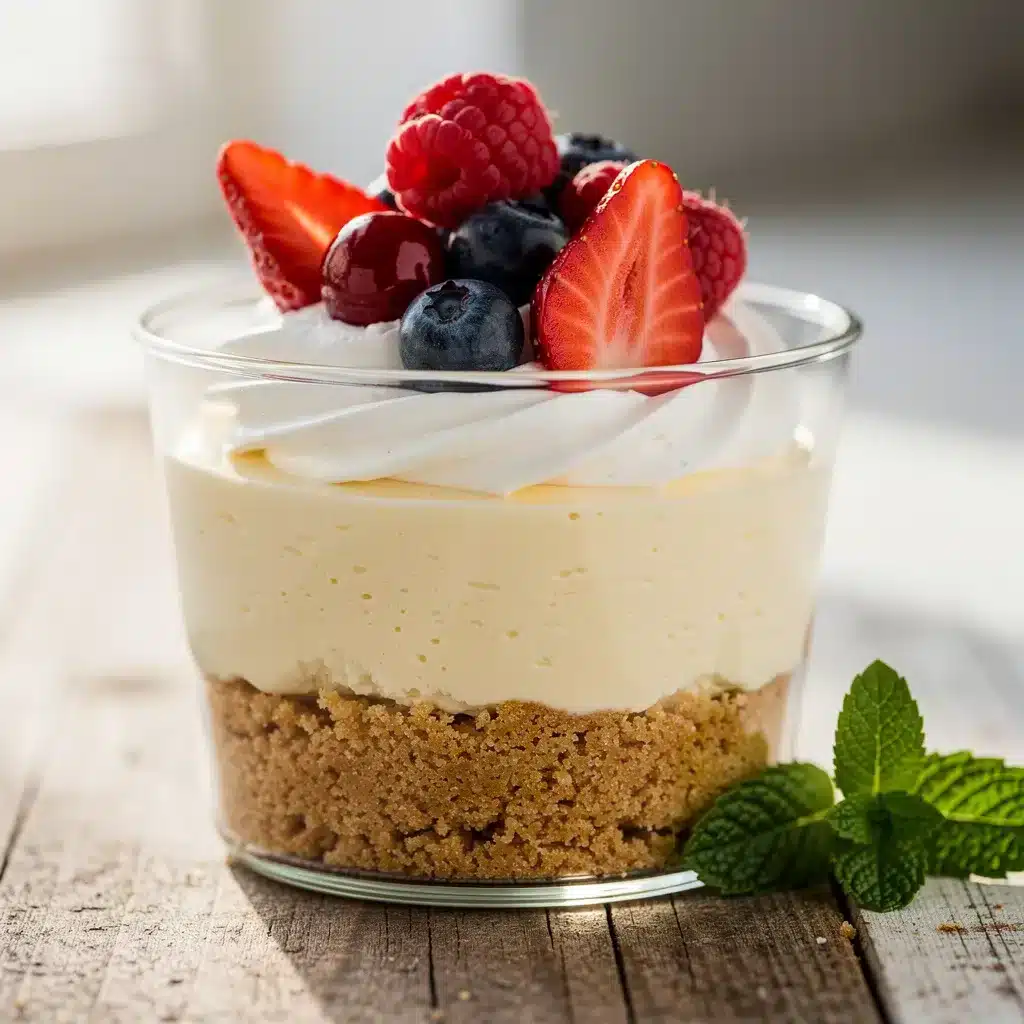
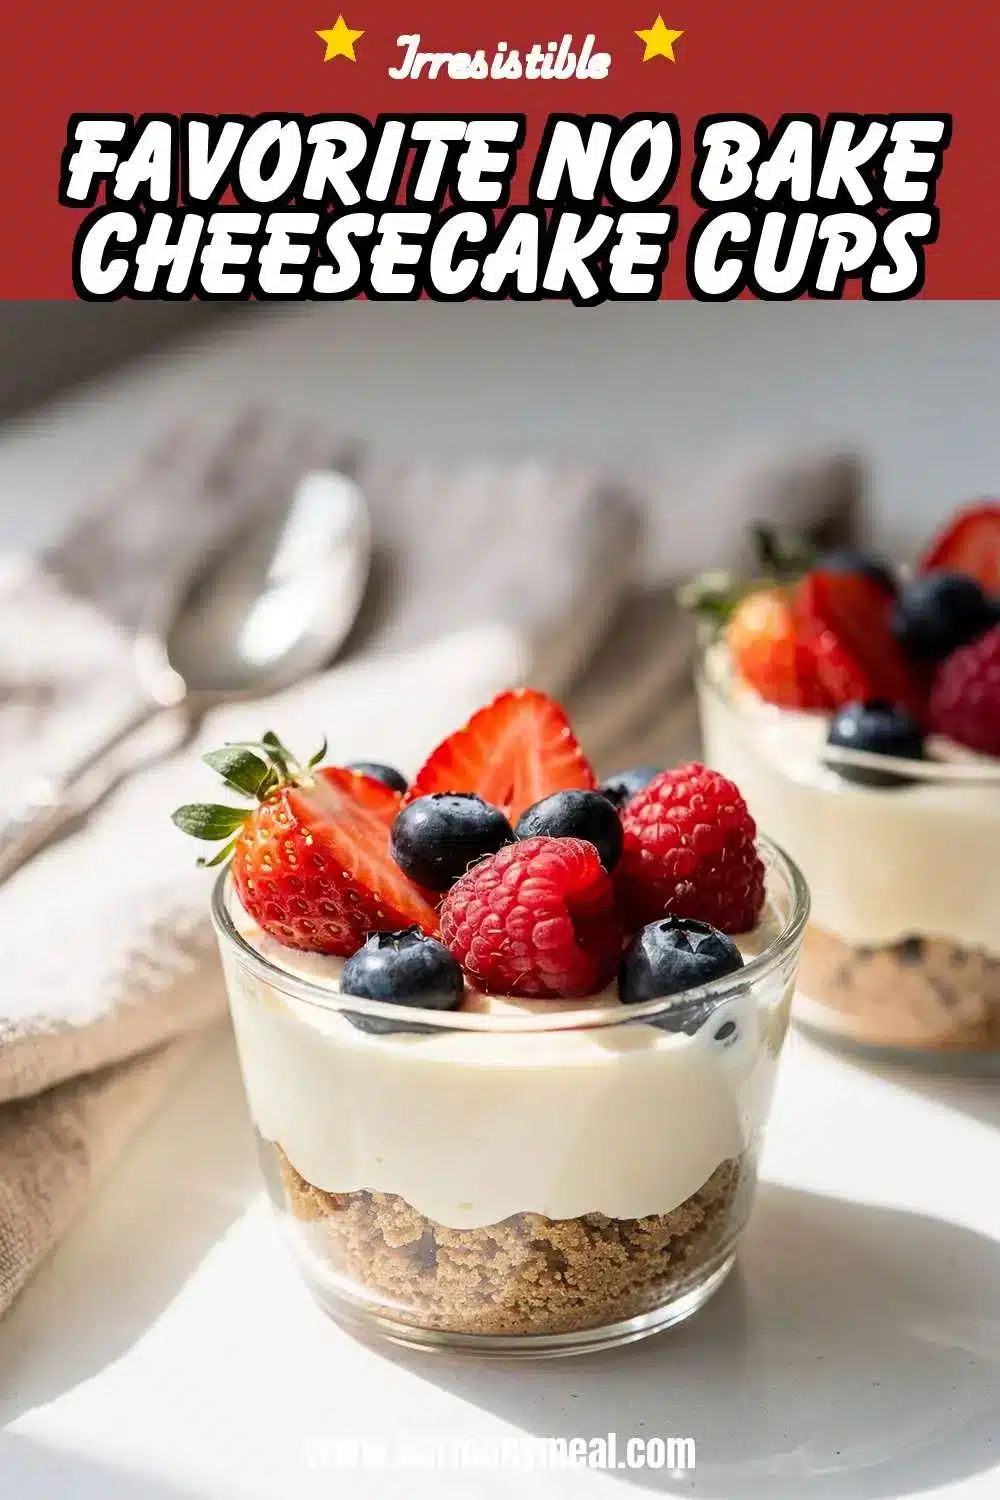
Favorite No Bake Cheesecake Cups

Cool, creamy, and impossibly easy no-bake cheesecake cups. They capture all the joy of a classic cheesecake without any oven fuss, perfect for a quick and refreshing dessert.
- Prep Time: 20min
- Cook Time: 0min
- Total Time: 2h 20min
- Yield: 8–10 cups 1x
- Category: dessert
- Method: no-bake
- Cuisine: American
Ingredients
- 1 1/2 cups graham cracker crumbs
- 5 tablespoons unsalted butter, melted
- 2 tablespoons granulated sugar
- 16 ounces full-fat cream cheese, softened
- 1 cup powdered sugar, sifted
- 1 teaspoon pure vanilla extract
- 1 cup heavy whipping cream, cold
Instructions
- Make the crust: In a medium bowl, combine graham cracker crumbs, melted butter, and granulated sugar. Mix until crumbs are evenly moistened.
- Divide mixture among 8-10 small cups. Press down firmly with a spoon. Refrigerate.
- Whip the cream: In a large chilled bowl, beat cold heavy cream until stiff peaks form. Set aside.
- Make the cheesecake base: In another large bowl, beat softened cream cheese until smooth and creamy, about 2 minutes.
- Add sifted powdered sugar and vanilla extract to cream cheese. Beat on low until fully incorporated and smooth.
- Fold & combine: Using a spatula, gently fold the whipped cream into the cream cheese mixture in two additions until no white streaks remain.
- Assemble and chill: Spoon or pipe filling over the chilled crusts. Smooth tops. Cover and refrigerate for at least 2 hours, or until firmly set.
Notes
Ensure cream cheese is fully softened to room temperature to avoid lumps. For best texture, chill for 4 hours or overnight. Top with fresh berries, chocolate sauce, or caramel before serving.
Nutrition
- Serving Size: 10
- Calories: 380
- Sugar: 21
- Sodium: 200
- Fat: 28
- Saturated Fat: 17
- Unsaturated Fat: 9
- Trans Fat: 1
- Carbohydrates: 28
- Fiber: 0
- Protein: 4
- Cholesterol: 85
Ingredients List
Favorite No Bake Cheesecake Cups start with a few simple, quality ingredients that come together for a perfect, creamy texture. You likely have most of these in your pantry and fridge right now.
For the Graham Cracker Crust:
- 1 ½ cups graham cracker crumbs (from about 12 full sheets)
- 5 tablespoons unsalted butter, melted
- 2 tablespoons granulated sugar
For the Cheesecake Filling:
- 16 ounces (two 8-oz blocks) full-fat cream cheese, softened to room temperature
- 1 cup powdered sugar, sifted
- 1 teaspoon pure vanilla extract
- 1 cup heavy whipping cream, cold
Smart Swaps & Dietary Notes:
- Gluten-Free: Use gluten-free graham-style crackers.
- Dairy-Light: For the filling, swap in a high-quality, firm dairy-free cream cheese and coconut cream (chilled) for the heavy whipping cream. The crust can be made with melted coconut oil.
- Flavor Twists: Add 2 tablespoons of lemon juice for a bright zing, or fold in ½ cup of melted and cooled chocolate for a chocolate version.
Timing
One of the best parts of these quick desserts is how little active time they require. The hands-on work is minimal, with most of the time dedicated to letting the magic happen in the fridge.
- Prep Time: 20 minutes
- Chill Time: 2 hours (minimum)
- Total Time: 2 hours 20 minutes
Compared to a traditional baked cheesecake that can take over an hour in the oven plus cooling time, this method is about 75% faster and completely stress-free.
Step-by-Step Instructions
Creating these easy cheesecake cups is a straightforward process. Just follow these simple steps for perfect results every time.
Step 1: Make the Crust
In a medium bowl, combine the graham cracker crumbs, melted butter, and granulated sugar. Mix until the crumbs are evenly moistened and resemble wet sand. Divide the mixture evenly among 8-10 small cups or jars (about 4-6 oz each), pressing it down firmly with the back of a spoon to create a compact base. Place the cups in the refrigerator to set while you make the filling.
Step 2: Whip the Cream
In a large chilled bowl, using a hand mixer or stand mixer fitted with the whisk attachment, beat the cold heavy whipping cream on medium-high speed until stiff peaks form. This means the cream will hold its shape when you lift the beaters. Be careful not to over-whip, or it can become grainy. Set the whipped cream aside.
Step 3: Make the Cheesecake Base
In another large bowl, beat the softened cream cheese on medium speed until completely smooth and creamy, about 2 minutes. This is crucial—no lumps allowed! Scrape down the sides of the bowl. Add the sifted powdered sugar and vanilla extract. Beat again on low speed until fully incorporated and smooth.
Step 4: Fold & Combine
Using a flexible spatula, gently fold the whipped cream into the cream cheese mixture in two additions. Fold slowly and deliberately until no white streaks remain and the mixture is homogenous and fluffy. This gentle folding is what keeps the filling light and airy.
Step 5: Assemble and Chill
Remove the cups from the fridge. Spoon or pipe the cheesecake filling over the chilled crust, smoothing the tops. Cover lightly and refrigerate for at least 2 hours, or until firmly set. For the best texture, I recommend letting them chill for 4 hours or even overnight.
Nutritional Information
A serving of these Favorite No Bake Cheesecake Cups (based on 10 servings) provides approximately:
- Calories: 380
- Fat: 28g
- Carbohydrates: 28g
- Protein: 4g
- Sugar: 21g
While this is a treat, using full-fat cream cheese and heavy cream provides a satisfying richness that means a little goes a long way. The cream cheese offers a source of calcium and vitamin A.
Equipment Needed
You don’t need any fancy gadgets for these no bake recipes. A few basic kitchen tools will do the trick perfectly:
- Hand mixer or stand mixer (a whisk and strong arm can work in a pinch!)
- Two large mixing bowls
- Flexible spatula
- Measuring cups and spoons
- 8-10 small serving cups, jars, or ramekins (4-6 oz size)
Why You’ll Love This Recipe
These Favorite No Bake Cheesecake Cups are a game-changer for so many reasons.
- Zero Oven Required: Keep your kitchen cool, even on the hottest summer day.
- Incredibly Adaptable: The base recipe is a blank canvas for endless toppings and mix-ins.
- Perfect for Prep: Make them ahead for parties, potlucks, or a week of ready-made desserts.
- Family-Friendly Fun: Kids love assembling their own cups with different toppings.
- Elegantly Simple: They look beautiful and taste decadent, with minimal effort.
Healthier Alternatives for the Recipe
You can easily tweak this recipe to fit different dietary needs without sacrificing the creamy dreamy texture.
- Lower Sugar: Reduce the powdered sugar to ¾ cup and use a sugar-free graham cracker alternative. The filling will be slightly tangier, which is delicious with fresh berries.
- Higher Protein: Blend ½ cup of Greek yogurt into the cream cheese mixture for a protein boost and a lovely tang.
- Dairy-Free: As mentioned, use plant-based cream cheese and chilled coconut cream. The crust can be made with almond flour mixed with a little maple syrup and coconut oil for binding.
- Nut-Free Crust: Swap the graham crackers for crushed gluten-free vanilla wafers or sunflower seed cookies.
Serving Suggestions
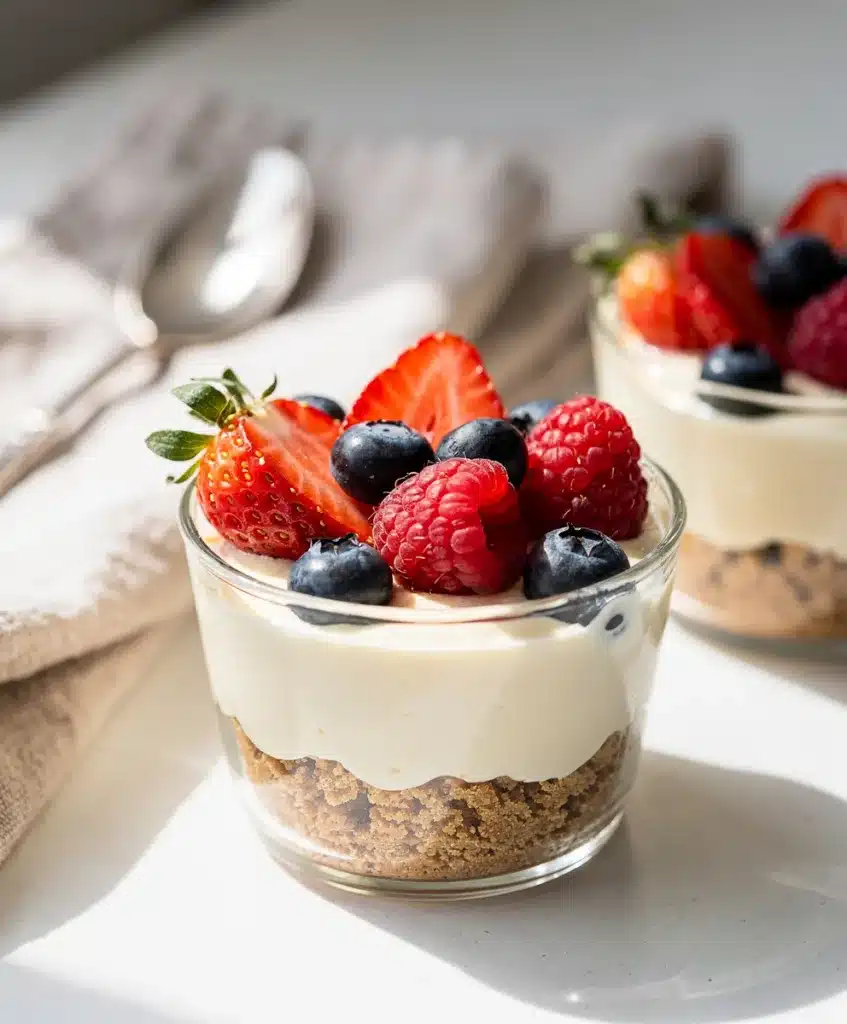
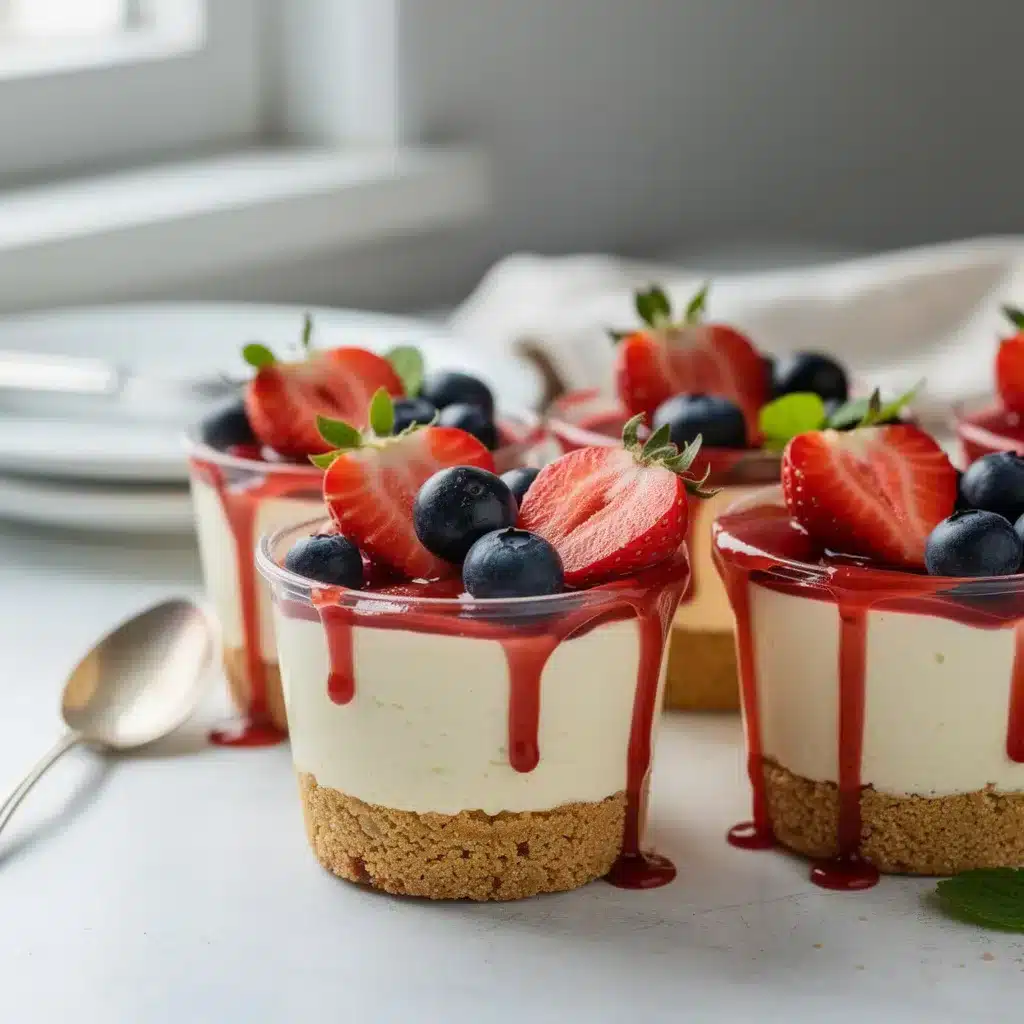
The fun truly begins when you top your Favorite No Bake Cheesecake Cups. Here are some of my favorite ways to serve them:
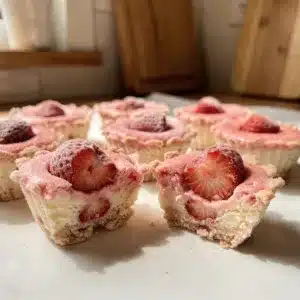
- Classic Berry: A pile of fresh strawberries, blueberries, or raspberries, or a quick homemade berry compote.
- Chocolate Lover’s: Drizzle with chocolate sauce and sprinkle with mini chocolate chips or crushed chocolate bars.
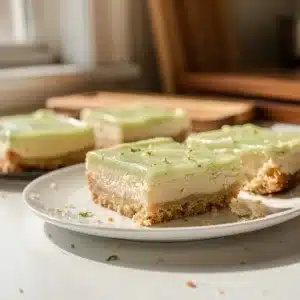
- Tropical Twist: Top with toasted coconut flakes, diced mango, and a splash of lime zest.
- Salted Caramel: A drizzle of salted caramel sauce and a pinch of flaky sea salt is pure magic.
For a beautiful presentation, arrange a platter of cups with small bowls of different toppings and let guests create their own—it’s a fantastic interactive dessert for gatherings. If you love fruit-forward desserts, you must try our Crowd-Pleasing Fruit Pizza or these individual Strawberry Shortcake Cups.
Common Mistakes to Avoid
A few simple tips will guarantee perfect no bake cheesecake cups every single time.
- Using Cold Cream Cheese: This is the #1 cause of a lumpy filling. Let your cream cheese sit on the counter for at least an hour until it’s soft to the touch.
- Not Sifting the Powdered Sugar: Sifting prevents tiny lumps of sugar in your otherwise silky filling.
- Overmixing the Filling: Once you add the whipped cream, fold gently. Vigorous beating will deflate the cream and make the filling dense.
- Skipping the Chill Time: Patience is key. The cups need those full 2+ hours in the fridge to set properly so they’re sliceable and not soupy.
- Weak Whipped Cream: Make sure your cream and bowl are very cold. If your cream won’t whip to stiff peaks, the filling may be too soft.
Storing Tips for the Recipe
These cups are fantastic for make-ahead desserts.
- Refrigerator: Store assembled cups, covered tightly with plastic wrap or lids, in the refrigerator for up to 4 days. Add fresh toppings just before serving.
- Freezer: You can freeze the cups (without fresh fruit toppings) for up to 1 month. Thaw overnight in the refrigerator before serving. The texture may be slightly denser but still delicious.
- Meal Prep: Prepare the crust and filling separately. Store the crumb mixture in a bag and the filling in a sealed container for up to 3 days. Assemble individual cups when ready to eat. For more no-bake treat inspiration, check out our No Bake Oreo Cheesecake or these rich No Bake Peanut Butter Bars.
Conclusion
These Favorite No Bake Cheesecake Cups are the ultimate summer dessert hack—creamy, customizable, and completely no-fuss. They embody the idea of simple ingredients creating warm memories, with no oven required. Whether you’re hosting a last-minute BBQ, need a sweet treat after a long day, or just want to satisfy a cheesecake craving, this recipe has you covered. It’s comfort food, made easy, right in your regular kitchen with regular time. I hope this recipe brings as much joy to your table as it does to mine. Let me know which topping combination is your favorite in the comments below, and don’t forget to tag @HarmonyMeal on Pinterest so I can see your beautiful creations. If you love this creamy, vanilla-forward flavor, you might also enjoy my classic Vanilla Bean Cheesecake Bars for another easy, crowd-pleasing dessert.
FAQs about Favorite No Bake Cheesecake Cups
How do you thicken no bake cheesecake?
You can thicken no-bake cheesecake by using full-fat cream cheese, heavy cream, and ensuring the ingredients are cold before mixing. Adding a thickening agent like gelatin or cornstarch (mixed with a little cold water before adding) can also help. Refrigerating the cheesecake for the recommended time is crucial for firming it up.
How long does it take for no bake cheesecake to set?
No-bake cheesecake typically needs to set in the refrigerator for at least 4-6 hours, but ideally overnight, to allow the filling to firm up properly.
What is no bake cheesecake made of?
No-bake cheesecake is usually made with a base of crushed graham crackers or cookies, a creamy filling of cream cheese, whipped cream or heavy cream, sugar, and sometimes a flavor extract like vanilla. Gelatin or other stabilizers are often used to help the cheesecake set properly without baking.
Can you freeze no bake cheesecake?
Yes, you can freeze no-bake cheesecake. Wrap it tightly in plastic wrap and then in aluminum foil or place it in an airtight container. For best results, thaw it in the refrigerator overnight before serving. Note that the texture may change slightly after freezing.
How do you store no bake cheesecake cups?
Store no-bake cheesecake cups in the refrigerator in an airtight container. They will typically last for 3-4 days.
Why is my no bake cheesecake runny?
Your no-bake cheesecake might be runny because the ingredients weren’t cold enough, the cream cheese wasn’t beaten sufficiently, not enough stabilizer was used, or it wasn’t refrigerated for long enough. Using low-fat cream cheese can also cause a runny texture.
💬 Lets Stay Connected!
For daily recipes, kitchen tips, and exclusive content, follow me on:
👉 Facebook for behind the scenes & community fun
👉 Pinterest for visual inspiration & meal ideas
👉 X (Twitter) for quick tips & trending recipes
📲 Join the flavor journey, your next favorite recipe is just a follow away!