Introduction
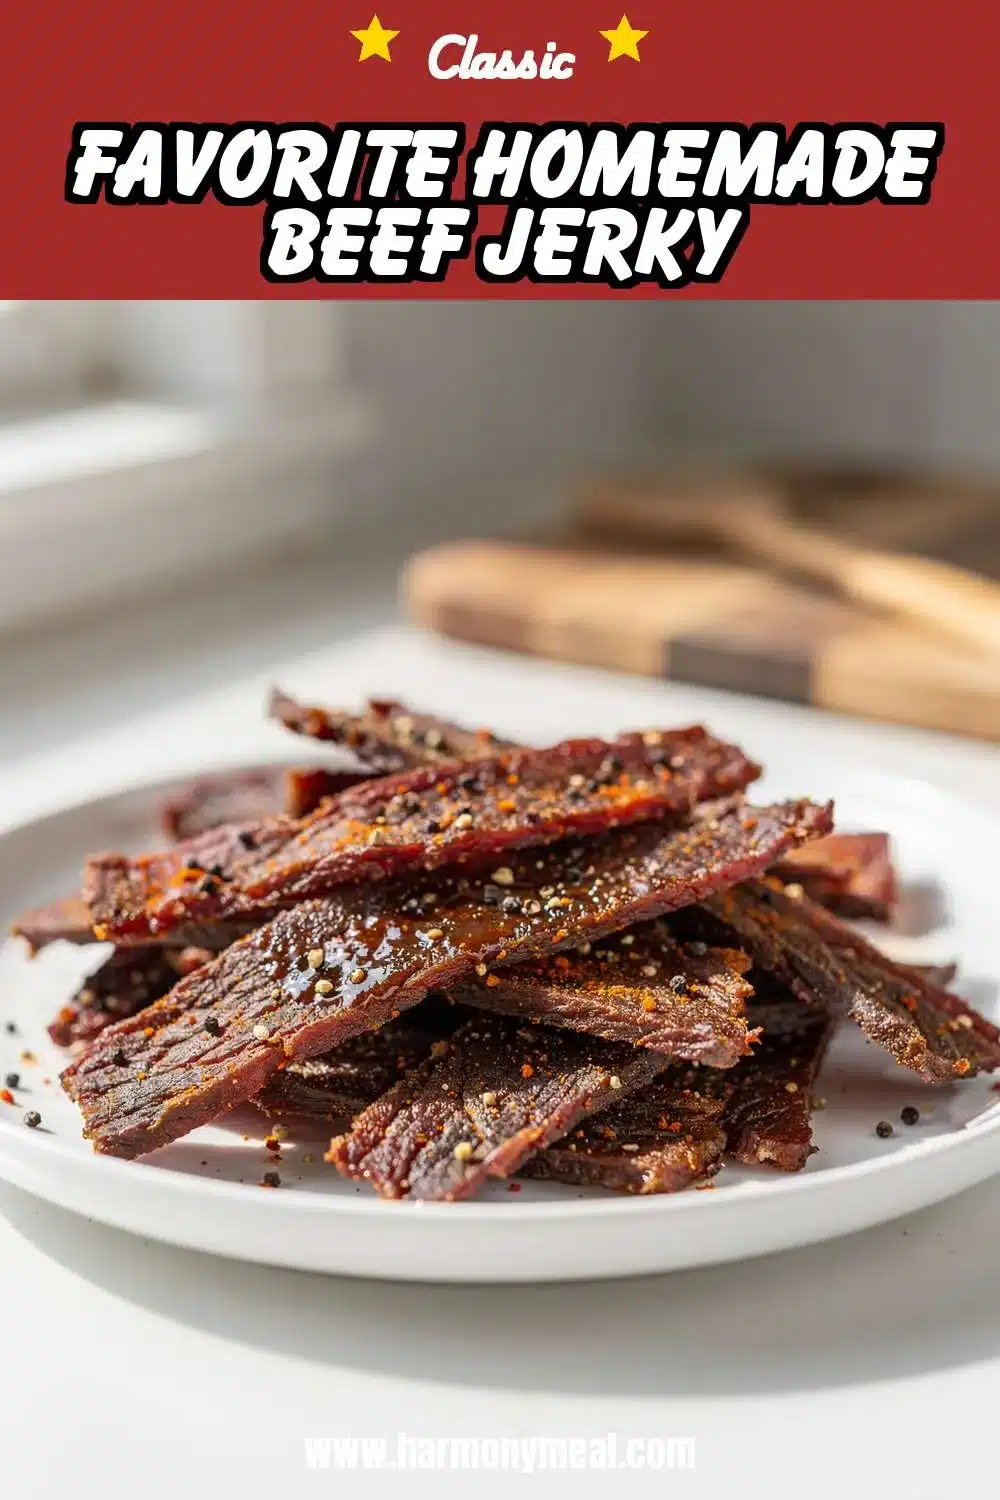
Making snacks at home is one of the smartest ways to stretch your grocery budget, especially with protein. This favorite homemade beef jerky yields far more for your money than any store-bought bag, using a single affordable flank steak. I remember my dad’s old camping trips, where a big batch of this jerky was the most coveted snack. It wasn’t just food; it was a promise of adventure and a taste of home, packed with love and smoky flavor. Store-bought versions can be tough, overly sweet, or packed with preservatives, but when you make it yourself, you control every pinch of spice and every hour of drying. This recipe is my go-to for creating a reliable stash of protein snacks that feel both nostalgic and incredibly smart. It’s about turning a simple cut of beef into something magical, chewy, and deeply satisfying—a project that fills your kitchen with the most incredible aroma and your pantry with homemade goodness. Let’s make a batch of this favorite homemade beef jerky together.
Table of Contents
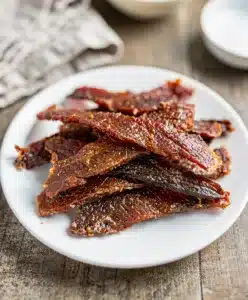
Favorite Homemade Beef Jerky

This homemade beef jerky is a cost-effective and deeply satisfying protein snack. A savory-sweet marinade transforms flank steak into a chewy, smoky treat perfect for adventures or everyday cravings. You control the ingredients, avoiding the preservatives and excess sugar of store-bought versions.
- Prep Time: 30min
- Cook Time: 5h
- Total Time: 13h 30min
- Yield: About 12 ounces of jerky 1x
- Category: snack
- Method: dehydrating
- Cuisine: American
- Diet: Gluten Free option
Ingredients
- 1.5 to 2 pounds flank steak, trimmed of excess fat
- 0.75 cup low sodium soy sauce
- 0.25 cup Worcestershire sauce
- 2 tablespoons liquid smoke
- 0.25 cup brown sugar
- 2 teaspoons freshly cracked black pepper
- 1 teaspoon onion powder
- 1 teaspoon garlic powder
- 0.5 to 1 teaspoon red pepper flakes
- 1 teaspoon smoked paprika
Instructions
- Partially freeze the flank steak for 60 to 90 minutes to firm it up for easier slicing.
- Slice the chilled steak against the grain into uniform strips, about 0.25 inch thick.
- In a large bowl, whisk together the soy sauce, Worcestershire sauce, liquid smoke, brown sugar, black pepper, onion powder, garlic powder, red pepper flakes, and smoked paprika until the sugar dissolves.
- Add the beef strips to the marinade, ensuring they are fully submerged. Cover and refrigerate for at least 8 hours, or ideally overnight.
- Remove the beef from the marinade and lay the strips on paper towels. Pat them very dry to remove excess moisture.
- To dry in the oven: Preheat oven to 175°F. Place strips directly on oven racks with a baking sheet underneath to catch drips. Prop the oven door open slightly with a wooden spoon. Dry for 4 to 6 hours.
- To dry in a dehydrator: Arrange strips on trays without overlapping. Set temperature to 160°F and dry for 4 to 6 hours.
- Jerky is done when it is dry to the touch, firm, and bends without snapping. It will firm up more as it cools.
- Let the jerky cool completely to room temperature before storing.
Notes
For gluten free jerky, use tamari and a certified gluten free Worcestershire sauce. Patting the meat dry before dehydrating is crucial for proper texture. Store in an airtight container at room temperature for 1-2 weeks, in the fridge for up to 2 months, or in the freezer for up to 6 months.
Nutrition
- Serving Size: 4
- Calories: 80
- Sugar: 1
- Sodium: 450
- Fat: 3
- Saturated Fat: 1
- Unsaturated Fat: 2
- Trans Fat: 0
- Carbohydrates: 2
- Fiber: 0
- Protein: 12
- Cholesterol: 30
Ingredients List for Your Favorite Homemade Beef Jerky
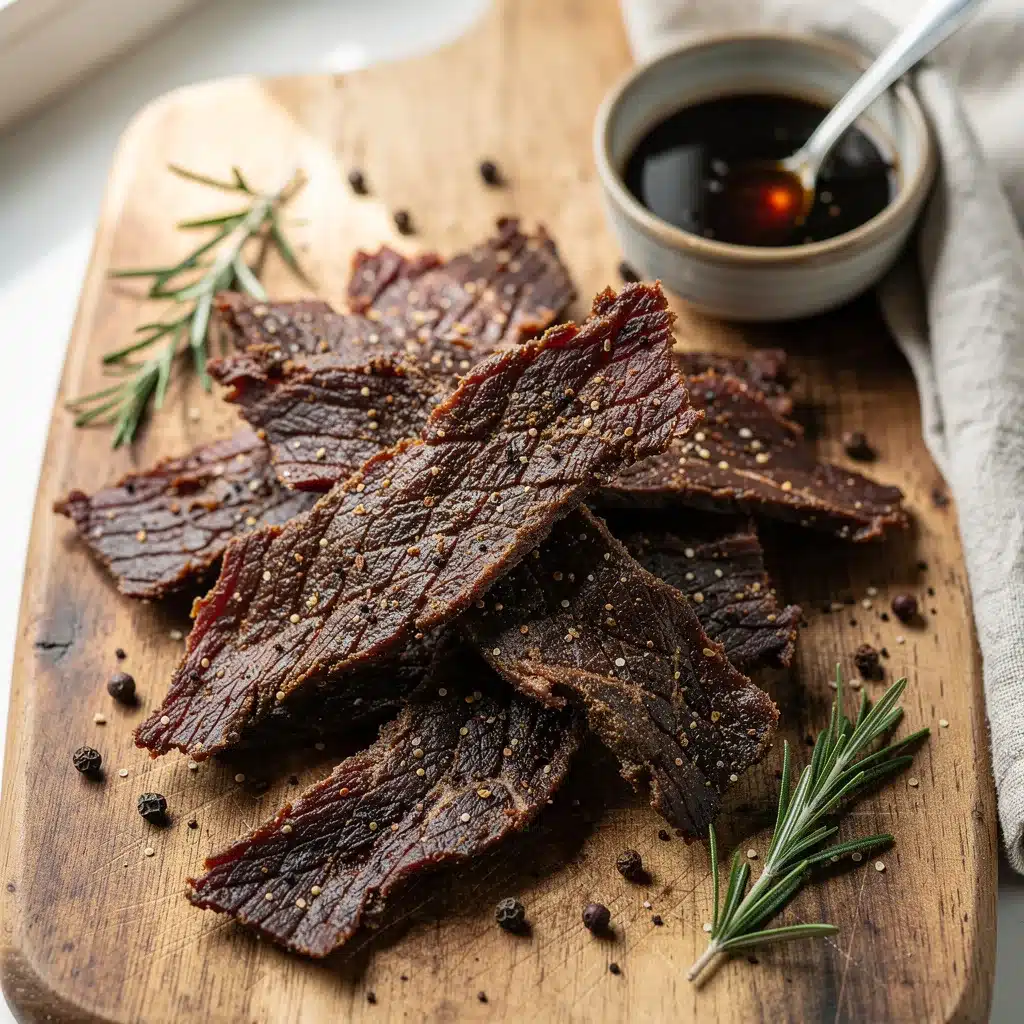
This favorite homemade beef jerky recipe relies on a simple, savory marinade that transforms a good piece of beef into an unforgettable snack. The beauty is in the balance—salty, sweet, smoky, and a touch of heat. You likely have most of these ingredients in your pantry right now.
- 1 ½ to 2 pounds flank steak, trimmed of excess fat (or top round/london broil)
- ¾ cup low-sodium soy sauce (or tamari for gluten-free)
- ¼ cup Worcestershire sauce
- 2 tablespoons liquid smoke
- ¼ cup brown sugar or honey
- 2 teaspoons freshly cracked black pepper
- 1 teaspoon onion powder
- 1 teaspoon garlic powder
- ½ to 1 teaspoon red pepper flakes (optional, for heat)
- 1 teaspoon smoked paprika
Smart Swaps: For a coconut aminos version, use equal parts coconut aminos in place of soy sauce. If you don’t have liquid smoke, you can add a bit more smoked paprika, though the classic smoky flavor will be milder. This recipe is perfect for meal prep and creating wholesome beef snacks.
Timing for Your Protein Snacks
- Prep Time: 20 minutes (plus 8-24 hours marinating)
- Cook/Dry Time: 4-6 hours
- Total Time: About 12-30 hours (mostly hands-off)
While it’s not a quick process, the active time is minimal. Think of it like a slow-cooked dish—you do a little work upfront, and the oven or dehydrator does the rest, gifting you with a huge batch of perfect protein snacks.
Step-by-Step Instructions for Perfect Beef Jerky
Creating this favorite homemade beef jerky is a simple, almost meditative process. The key is patience and thin, even slices.
1. Partially Freeze the Beef. Place the flank steak in the freezer for 60-90 minutes. This firms it up dramatically, making it infinitely easier to slice into uniform, ¼-inch thick strips. Slice against the grain for the most tender jerky.
2. Make the Marinade. In a large bowl, whisk together the soy sauce, Worcestershire, liquid smoke, brown sugar, and all the spices until the sugar dissolves. This savory-sweet blend is the soul of your jerky.
3. Marinate Overnight. Add the beef strips to the marinade, ensuring each piece is fully submerged. Cover and refrigerate for at least 8 hours, or ideally overnight. This long soak is non-negotiable for deep, permeating flavor in your beef snacks.
4. Drain and Pat Dry. Remove the beef strips from the marinade and lay them on paper towels. Pat them very dry. This step is crucial! Excess moisture will steam the meat instead of drying it, leading to a different texture.
5. Dry the Jerky.
* Oven Method: Preheat your oven to 175°F (or its lowest setting). Place the beef strips directly on oven racks with a baking sheet on the rack below to catch drips. Prop the oven door open slightly with a wooden spoon to allow moisture to escape. Dry for 4-6 hours.
* Dehydrator Method: Arrange the strips on dehydrator trays without overlapping. Set to 160°F and dry for 4-6 hours.
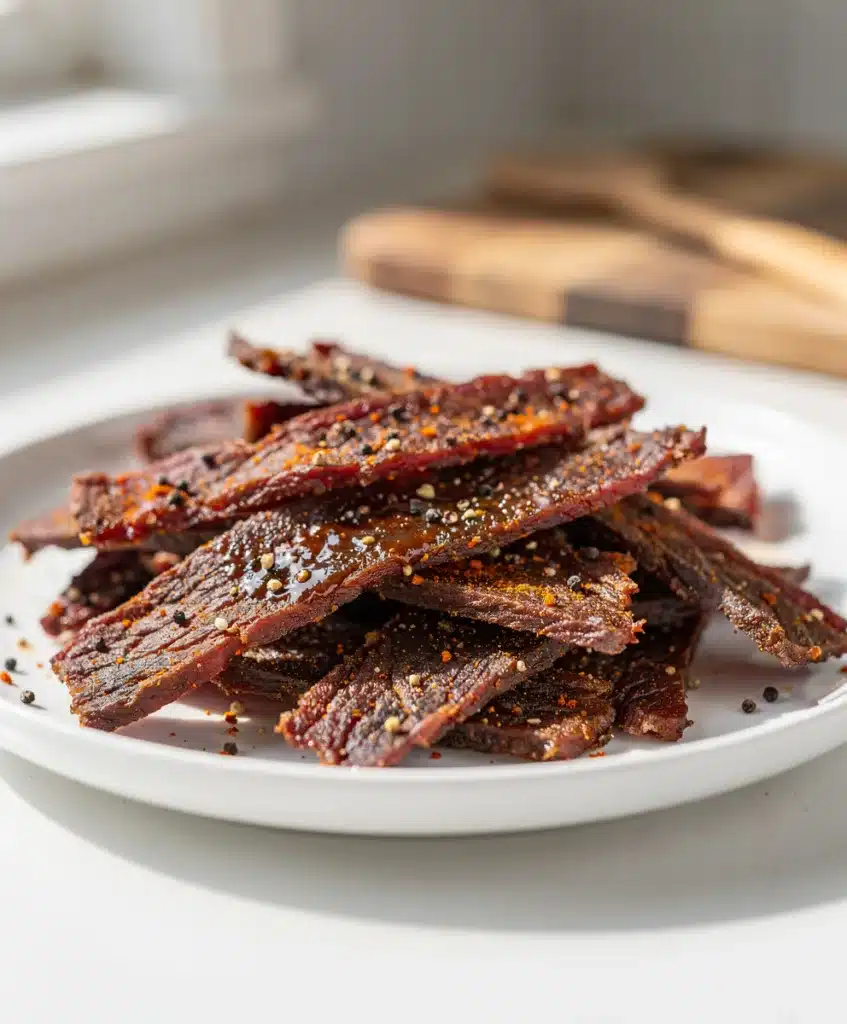
The jerky is done when it is dry to the touch, firm, and bends without snapping. It will continue to firm up as it cools.
Nutritional Information
A 1-ounce serving (about 3-4 strips) of this favorite homemade beef jerky provides approximately:
- Calories: 80
- Protein: 12g
- Fat: 3g
- Carbohydrates: 2g
- Sodium: 450mg (varies based on soy sauce)
This makes it an excellent, high-protein, low-carb snack for hiking, road trips, or afternoon cravings. You’re getting pure, lean protein without the filler ingredients found in many store-bought bags.
Equipment Needed
You don’t need fancy gear to make great jerky. Here’s what works:
- A sharp chef’s knife
- A large mixing bowl
- Baking sheets and oven racks (for oven method) OR a food dehydrator
- Paper towels
- Airtight containers for storage
Why You’ll Love This Favorite Homemade Beef Jerky Recipe
- Cost-Effective & Customizable: One batch costs a fraction of premium store-bought jerky, and you control the salt, sugar, and spice level.
- The Ultimate Portable Protein: It’s the perfect, non-perishable snack for lunches, hikes, road trips, or post-workout fuel. This recipe is a meal prep superstar.
- Free of Mystery Ingredients: You know exactly what’s in it—just real beef and pantry staples.
- Deep, Complex Flavor: The overnight marinade creates a richer, more satisfying taste than any quick-marinated or store-bought version.
- A Rewarding Kitchen Project: The process is simple, the smell is incredible, and the payoff—jars full of your own jerky—is deeply satisfying.
Healthier Alternatives for the Recipe

This favorite homemade beef jerky is already a lean, high-protein option, but you can tweak it for specific dietary needs:
- Lower Sodium: Use reduced-sodium soy sauce and omit the Worcestershire, or replace both with coconut aminos.
- Sugar-Free: Substitute the brown sugar with a sugar-free alternative like monk fruit sweetener or simply omit it for a more savory, traditional jerky.
- Gluten-Free: Ensure your soy sauce is tamari and your Worcestershire sauce is certified gluten-free.
- Paleo/Whole30: Use coconut aminos, omit the sugar and Worcestershire (or find a compliant brand), and ensure your spices have no additives.
Serving Suggestions
While this favorite homemade beef jerky is fantastic straight from the jar, it’s also a versatile ingredient!
- Trail Mix Boost: Chop it up and add to a mix of nuts, seeds, and dark chocolate chips.
- Charcuterie Board Star: Add a pile of jerky to a board with cheeses, crackers, and fruit for a rustic touch.
- Soup & Stew Garnish: Crumble a few strips over a hot bowl of Slow Cooker Beef Stew for a smoky, chewy contrast.
- Camping Companion: It’s the classic pairing with other make-ahead camping meals.
Common Mistakes to Avoid
- Skipping the Partial Freeze: Trying to slice room-temperature flank steak is frustrating and leads to uneven slices that dry at different rates. Freeze it first.
- Not Drying the Meat Before Cooking: If the strips are wet when they go into the oven/dehydrator, they’ll steam. Pat them thoroughly dry for proper dehydration.
- Overlapping the Strips: Air needs to circulate around each piece. Give them space on the racks.
- Over-Drying: Check your jerky early and often near the end of the drying time. You want it pliable and chewy, not brittle and cracker-like.
- Using Fatty Cuts: Always trim all visible fat. Fat does not dry; it can become rancid and spoil your batch of protein snacks.
Storing Tips for the Recipe
Proper storage keeps your jerky fresh and chewy for weeks.
- Cool Completely: Let the jerky cool to room temperature on the racks before storing.
- Airtight is Key: Store in glass jars, zip-top bags, or vacuum-sealed bags. Remove as much air as possible.
- Counter or Pantry: In an airtight container, it will keep for 1-2 weeks at room temperature.
- Refrigerator: For longer storage, keep it in the fridge for up to 2 months.
- Freezer: For the longest shelf life (up to 6 months), freeze your jerky. It thaws quickly and makes for incredible meal prep.
Conclusion
This favorite homemade beef jerky recipe is more than just a snack—it’s a return to simple, intentional cooking. It turns an affordable cut of beef into a treasure trove of flavor and protein, perfect for busy days, adventures, or just satisfying a salty craving. You get to control the quality, the flavor, and the love that goes into every strip. I hope this recipe becomes a staple in your kitchen, just like my Skillet Beef Stroganoff or One Pot Beef Taco Pasta have become in mine. It’s proof that the best beef snacks don’t come from a plastic bag, but from your own oven.
Give it a try this weekend. Let that incredible smoky aroma fill your home. Then, pack some in your bag and taste the difference. I’d love to hear how your batch turns out! Share your results or your favorite spice twist in the comments below. And if you’re looking for more hearty, beefy inspiration, don’t miss my Slow Cooker Pulled Pork or my easy Ground Beef Broccoli Stir Fry. Happy drying.
FAQs about Favorite Homemade Beef Jerky
What is the best cut of beef for homemade jerky?
The best cuts of beef for homemade jerky are lean ones like flank steak, top round, or bottom round. These cuts are easy to slice thinly and don’t have a lot of fat that can spoil during the drying process.
What are some popular flavorings for beef jerky?
Popular flavorings include soy sauce, Worcestershire sauce, brown sugar, garlic powder, onion powder, black pepper, red pepper flakes (for heat), and liquid smoke. Experiment with different spices and sauces to create your favorite flavor profile!
How long does homemade beef jerky last?
Homemade beef jerky typically lasts 1-2 weeks in an airtight container at room temperature. For longer storage, keep it in the refrigerator for 1-2 months, or freeze it for up to 6 months.
What temperature should I dehydrate beef jerky at?
Dehydrate beef jerky at 160-165°F (71-74°C). This temperature is high enough to kill bacteria but low enough to dry the meat slowly without cooking it.
Is it better to use a dehydrator or an oven for beef jerky?
A dehydrator is generally better because it provides consistent, low-temperature air circulation, resulting in evenly dried jerky. However, an oven can be used if set to the lowest possible temperature and the door is slightly ajar to allow moisture to escape.
How do I know when my beef jerky is done?
Beef jerky is done when it’s leathery and slightly pliable, but not brittle. It should bend without breaking and shouldn’t have any soft or moist spots.
💬 Lets Stay Connected!
For daily recipes, kitchen tips, and exclusive content, follow me on:
👉 Facebook for behind the scenes & community fun
👉 Pinterest for visual inspiration & meal ideas
👉 X (Twitter) for quick tips & trending recipes
📲 Join the flavor journey, your next favorite recipe is just a follow away!