The magic of a perfectly tender chicken breast lies in the simple technique of brining it in salted water before cooking. That extra step ensures every bite of this favorite chicken Caesar wrap is juicy and seasoned right to the core. It’s the kind of small, thoughtful trick that turns a simple lunch into something you genuinely crave. I think we’ve all been there—standing in front of the fridge, wanting something satisfying but not complicated. This recipe is my answer to that daily dilemma. It’s a classic combination, but done right, with a focus on texture and flavor that makes it feel special. This isn’t just another wrap; it’s a reliable, delicious solution for busy days, a portable lunch that doesn’t sacrifice taste, and a family-friendly dinner option everyone can agree on. Let’s make a favorite chicken Caesar wrap that truly lives up to its name.
Table of Contents
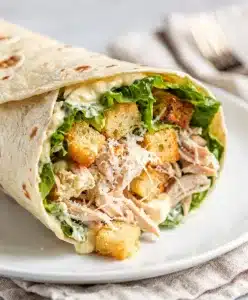
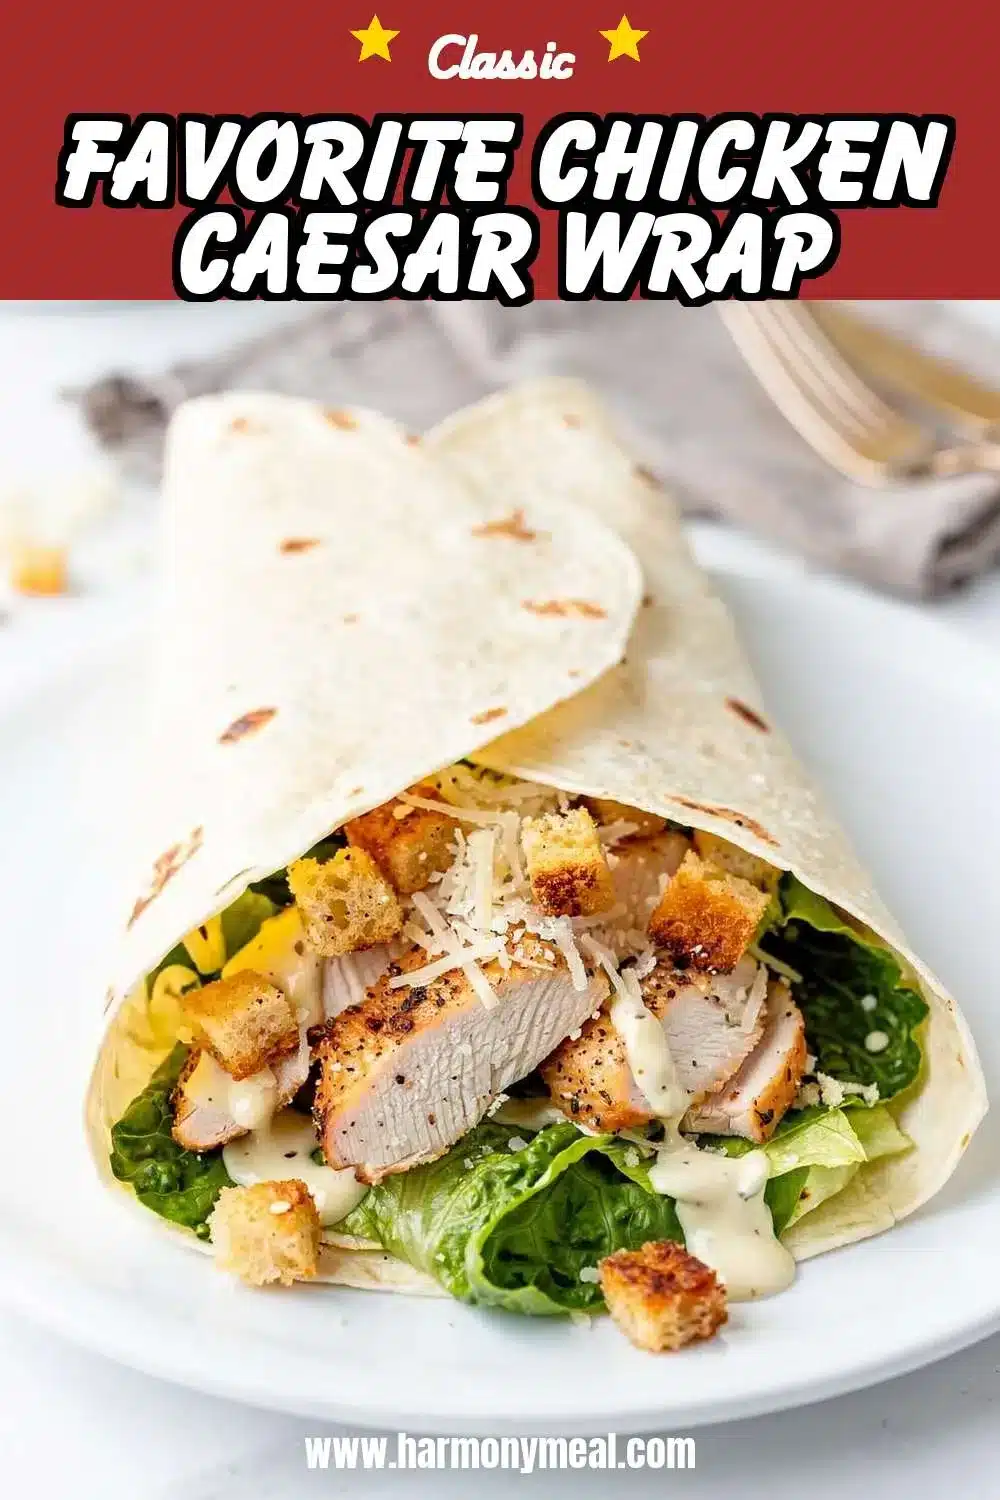
Favorite Chicken Caesar Wrap

A perfectly juicy chicken Caesar wrap, made crave-worthy by brining the chicken for maximum flavor and tenderness. This is a reliable, portable lunch or quick dinner that balances creamy, salty, and crunchy textures in one handheld package.
- Prep Time: 15min
- Cook Time: 15min
- Total Time: 1h
- Yield: 4 wraps 1x
- Category: lunch
- Method: pan-frying
- Cuisine: American
Ingredients
- For the Brine: 4 cups cool water, 3 tablespoons kosher salt, 1 tablespoon honey or sugar
- For the Chicken & Wrap: 2 boneless, skinless chicken breasts (about 1 lb total), 1 tablespoon olive oil, 1 teaspoon garlic powder, 1 teaspoon Italian seasoning, 1/2 teaspoon each of salt and black pepper, 4 large flour tortillas (burrito-size), Optional: 1/4 cup grated Parmesan cheese for sprinkling
- For the Caesar Filling: 3 cups chopped romaine lettuce, washed and thoroughly dried, 1/2 cup creamy Caesar dressing, 1/3 cup shredded Parmesan cheese, 1/2 cup croutons, slightly crushed, Freshly cracked black pepper
Instructions
- Brine the chicken. In a large bowl, whisk the cool water, kosher salt, and honey until dissolved. Submerge the chicken breasts, cover, and refrigerate for 30 minutes to 1 hour. Remove chicken, pat very dry with paper towels, and discard brine.
- Cook the chicken. Heat olive oil in a skillet over medium-high heat. Season the dried chicken with garlic powder, Italian seasoning, salt, and pepper. Cook for 6-7 minutes per side, or until internal temperature reaches 165°F and outside is golden brown. Transfer to a cutting board, let rest 5 minutes, then slice into thin strips.
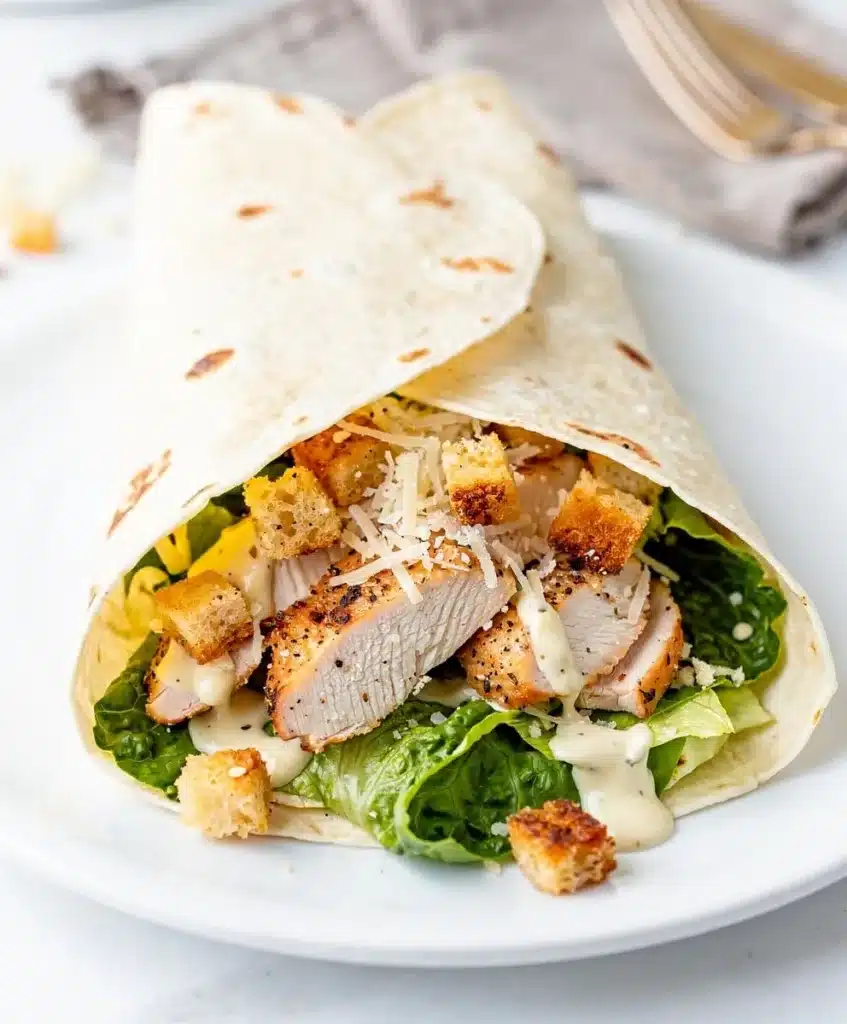
- Assemble the wraps. Lay a tortilla flat. In the center, add a handful of romaine lettuce. Drizzle with about 2 tablespoons of Caesar dressing. Top with sliced chicken, shredded Parmesan, crushed croutons, and a crack of black pepper.
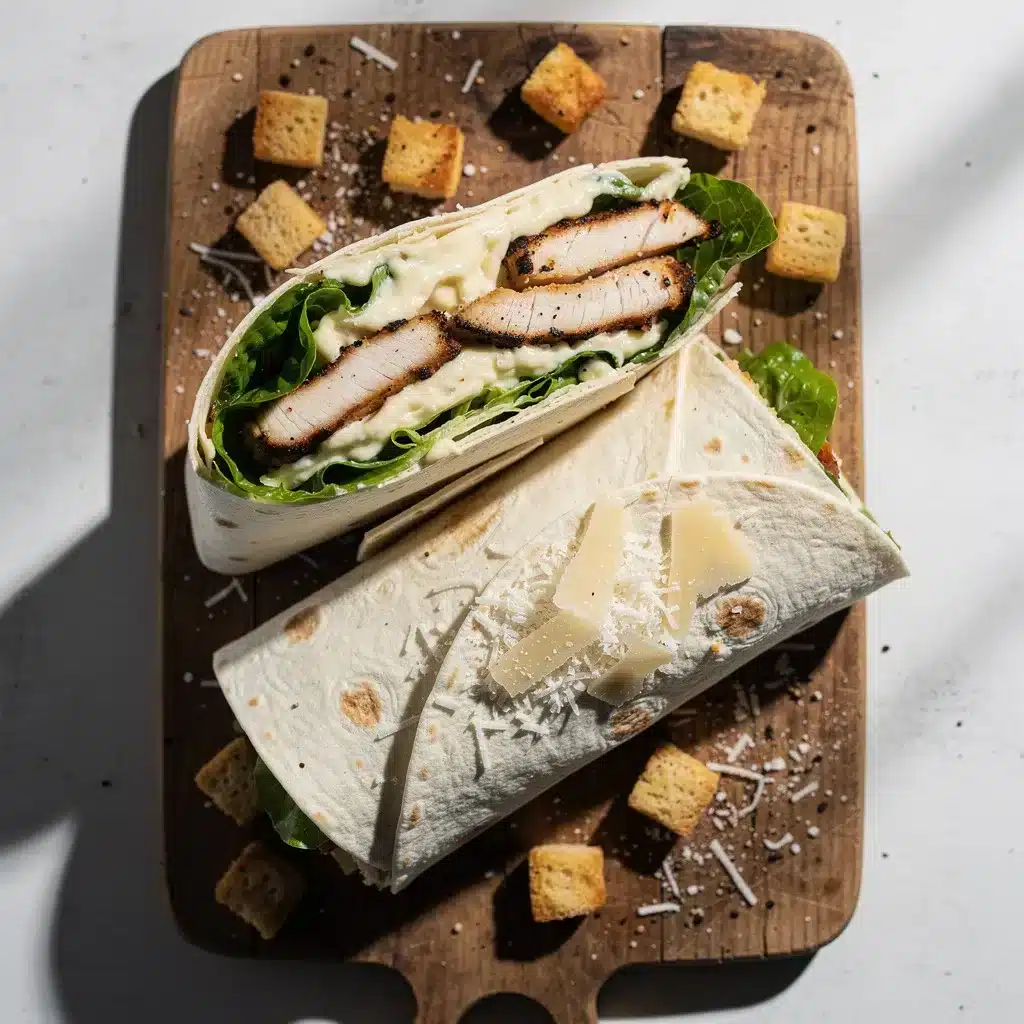
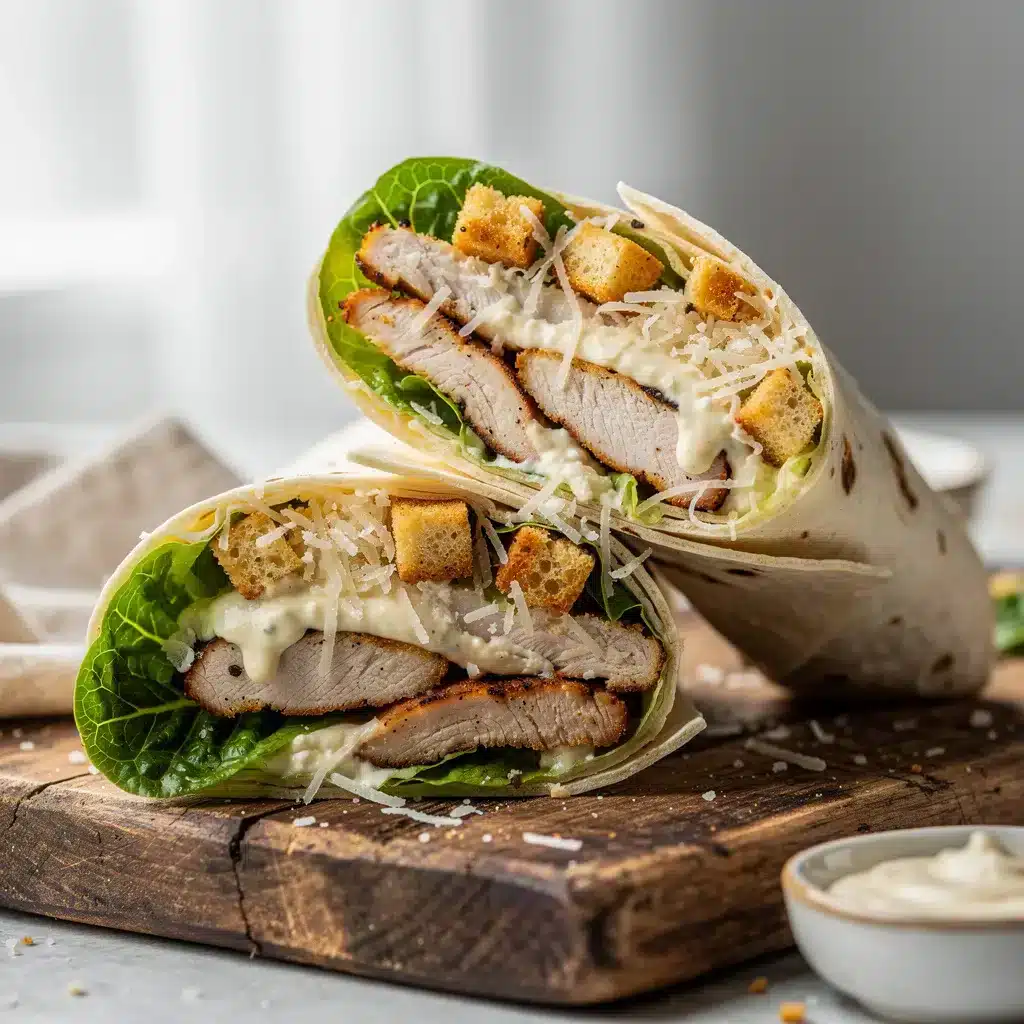
- Wrap it up. Fold the sides of the tortilla inward over the filling, then tightly roll from the bottom up, tucking ingredients in as you go. For neat serving, slice in half diagonally.
Notes
For a 30-minute version, skip the brine and simply season the chicken well before cooking. Ensure lettuce is completely dry to prevent a soggy wrap. Use large burrito-size tortillas for easy rolling. For meal prep, store components separately and assemble fresh.
Nutrition
- Serving Size: 4
- Calories: 520
- Sugar: 4
- Sodium: 1200
- Fat: 25
- Saturated Fat: 6
- Unsaturated Fat: 15
- Trans Fat: 0
- Carbohydrates: 38
- Fiber: 3
- Protein: 35
- Cholesterol: 85
Ingredients List for Your Favorite Chicken Caesar Wrap
Creating this favorite chicken Caesar wrap starts with gathering a few simple, quality ingredients. The beauty is in the balance—creamy, salty, crunchy, and fresh all in one handheld package. Here’s what you’ll need:
For the Chicken & Wrap:
- 2 boneless, skinless chicken breasts (about 1 lb total)
- 1 tablespoon olive oil
- 1 teaspoon garlic powder
- 1 teaspoon Italian seasoning
- ½ teaspoon each of salt and black pepper
- 4 large flour tortillas (burrito-size)
- Optional: ¼ cup grated Parmesan cheese for sprinkling
For the Brine (The Secret to Juicy Chicken):
- 4 cups cool water
- 3 tablespoons kosher salt
- 1 tablespoon honey or sugar
For the Caesar Filling:
- 3 cups chopped romaine lettuce, washed and thoroughly dried
- ½ cup creamy Caesar dressing (store-bought or homemade)
- ⅓ cup shredded Parmesan cheese
- ½ cup croutons, slightly crushed
- Freshly cracked black pepper
Smart Swaps & Dietary Notes:
- Gluten-Free: Use your favorite gluten-free tortillas and ensure your croutons and dressing are certified GF.
- Dairy-Light: You can omit the shredded Parmesan or use a nutritional yeast alternative for a similar savory note.
- Dressing: A high-quality store-bought dressing works wonderfully for speed, but whisking your own with mayo, lemon, garlic, and anchovy paste takes it to another level of flavor.
Timing for Your Favorite Chicken Caesar Wrap
Let’s talk timing, because a great recipe fits into real life. The brining step adds about 30 minutes of hands-off time, but it’s the best insurance policy against dry chicken. Your total active time is surprisingly short.
- Prep Time: 15 minutes (plus 30 minutes for optional brining)
- Cook Time: 15 minutes
- Total Time: 1 hour (or 30 minutes if you skip the brine)
If you’re in a true rush, you can skip the brine and simply season the chicken well before cooking. For a fantastic shortcut, use leftover grilled chicken or a rotisserie chicken from the store. This turns your favorite chicken Caesar wrap into a 10-minute assembly job, perfect for a speedy healthy lunch.
Step-by-Step Instructions
Follow these simple steps for a foolproof, flavorful result every time.
1. Brine the Chicken (Highly Recommended)
In a large bowl, whisk the cool water, kosher salt, and honey until the salt dissolves. Submerge the chicken breasts, cover, and refrigerate for 30 minutes to 1 hour. This simple soak seasons the meat throughout and guarantees incredible juiciness. After brining, remove the chicken, pat it very dry with paper towels (this is key for a good sear), and discard the brine.
2. Cook the Chicken
Heat the olive oil in a skillet over medium-high heat. Season the dried chicken breasts with garlic powder, Italian seasoning, salt, and pepper. Cook for 6-7 minutes per side, or until the internal temperature reaches 165°F and the outside is golden brown. Transfer to a cutting board and let rest for 5 minutes. This allows the juices to redistribute. Then, slice the chicken into thin strips or bite-sized pieces.
3. Assemble the Wraps
Lay a tortilla flat on a clean surface. In the center, add a generous handful of the chopped romaine. Drizzle about 2 tablespoons of Caesar dressing over the lettuce. Top with a portion of the sliced chicken, a sprinkle of shredded Parmesan, and a handful of crushed croutons. Finish with a crack of black pepper.
4. Wrap It Up
Fold the sides of the tortilla inward over the filling, then tightly roll from the bottom up, tucking the ingredients in as you go. For a neat package, you can wrap it in parchment paper or foil, which also makes it perfect for on-the-go eating. Slice in half diagonally to serve.
Nutritional Information
This favorite chicken Caesar wrap is a balanced meal that provides protein, carbs, and healthy fats to keep you satisfied. One wrap (with a standard burrito tortilla and using the ingredients listed) provides approximately:
- Calories: ~520
- Protein: 35g
- Carbohydrates: 38g
- Fat: 25g
The chicken is an excellent source of lean protein, while the romaine lettuce offers vitamins A and K. Using a lighter Caesar dressing or adding more veggies can easily adjust the profile to fit your needs, making it a versatile option for a healthy lunch.
Equipment Needed
You don’t need any fancy gadgets for this favorite chicken Caesar wrap. A regular kitchen will have everything required:
- A large bowl (for brining)
- A sharp knife and cutting board
- A large skillet (cast iron or non-stick work great)
- Tongs
- Measuring spoons
Why You’ll Love This Recipe
This favorite chicken Caesar wrap earns its spot in your regular rotation for so many reasons.
- Flavor First, Fuss Never: The brining technique is the only “extra” step, and it pays off tenfold in juicy, perfectly seasoned chicken every single time.
- The Ultimate Portable Meal: It’s the perfect packable lunch for work, school, or a picnic. Wrapped in foil, it travels beautifully without getting soggy.
- Endlessly Adaptable: Add sun-dried tomatoes, swap in kale, use a spicy mayo—this recipe is a fantastic template for your own creations.
- Family-Friendly Winner: It’s a hands-on dinner that kids and adults both enjoy. Set up a “wrap bar” with bowls of ingredients and let everyone build their own.
- Meal Prep Hero: Cook and slice a batch of chicken on Sunday. Store the components separately, and you can assemble a fresh, crisp wrap in minutes all week long.
Healthier Alternatives for the Recipe
You can easily tweak this favorite chicken Caesar wrap to align with different dietary preferences without losing its soul-satisfying comfort.
- Lower-Carb / Keto: Use a large, sturdy lettuce leaf (like romaine hearts or butter lettuce) as your wrap instead of a tortilla.
- Higher-Protein: Add a scoop of chickpeas or white beans to the filling, or use a protein-packed tortilla.
- Lighter Dressing: Opt for a Greek yogurt-based Caesar dressing or simply use less of your favorite brand, focusing on the flavor of the well-seasoned chicken and Parmesan.
- Extra Veggies: Boost the nutrition by adding thinly sliced cucumber, bell peppers, or shredded carrots for more crunch and vitamins.
Serving Suggestions
This favorite chicken Caesar wrap is a complete meal on its own, but it pairs beautifully with a few simple sides.
- Classic Pairing: Serve with a cup of tomato soup or a simple side salad for a lighter dinner.
- For a Crowd: If you’re making these for a gathering, consider offering a platter of sliced wraps alongside other easy finger foods like my Chicken Caesar Pasta Salad or Buffalo Chicken Pasta Salad.
- Summer Vibes: In warmer months, pair it with fresh fruit, sweet potato fries, or a tangy Greek Chicken Pasta Salad.
Common Mistakes to Avoid
A few small missteps can lead to a soggy or bland wrap. Here’s how to steer clear:
- Skipping the Dry Step: Not patting your brined or washed lettuce completely dry is the fastest route to a soggy tortilla. Use a salad spinner or kitchen towels.
- Overstuffing: It’s tempting to load it up, but too much filling will cause your wrap to burst. Aim for a balanced, manageable layer in the center.
- Using Warm Chicken: Assembling the wrap with hot chicken will wilt the lettuce and steam the tortilla. Let your cooked chicken cool for a few minutes before building.
- Wrong Tortilla Size: Standard “soft taco” size tortillas are too small. Look for the large “burrito-size” (10-inch) tortillas for easy rolling.
- Neglecting Seasoning: If you skip the brine, be generous with seasoning the chicken before cooking. Underseasoned chicken makes for a bland favorite chicken Caesar wrap.
Storing Tips for the Recipe
With the right storage, you can enjoy these wraps fresh for days.
- Assembled Wraps: For best texture, eat immediately. If you must store an assembled wrap, wrap it tightly in parchment paper and then foil, and refrigerate for up to 4 hours. The lettuce will soften but it will still taste good.
- Meal Prep/Components: Store the cooked, sliced chicken, washed/dried lettuce, dressing, and other toppings in separate airtight containers in the fridge. The chicken will keep for 3-4 days. Assemble your wraps fresh each day.
- Freezing: I don’t recommend freezing the assembled wraps. However, you can freeze the cooked, sliced chicken in a freezer bag for up to 3 months. Thaw in the fridge overnight before using.
- Reheating: Reheat chicken separately in the microwave or a skillet until warm. Let it cool slightly before adding to your cold wrap ingredients to avoid sogginess.
Conclusion
This favorite chicken Caesar wrap recipe is more than just a list of ingredients and steps. It’s a blueprint for a reliably delicious, satisfying meal that works for lunchboxes, quick dinners, and everything in between. The simple act of brining the chicken transforms it from ordinary to exceptional, ensuring every bite is packed with flavor. It’s comfort food, made easy, in a format that fits our busy lives. I hope this becomes a go-to in your kitchen, a recipe you turn to again and again when you need something good, fast, and utterly craveable. For more easy, family-friendly ideas that turn simple ingredients into warm memories, try my Chicken Spinach Quesadillas for a warm, cheesy alternative, or my super-simple Crockpot Chicken Tacos for another effortless chicken dinner wrap option. Now, go make that wrap! And when you do, I’d love to hear how it turned out. Share your creations or tag @HarmonyMeal—I love seeing your kitchen wins.
FAQs about Favorite Chicken Caesar Wrap
What is typically in a chicken Caesar wrap?
A chicken Caesar wrap usually contains grilled or breaded chicken, romaine lettuce, Caesar dressing, and parmesan cheese, all wrapped in a tortilla.
How can I make my chicken Caesar wrap healthier?
To make a healthier chicken Caesar wrap, use grilled chicken instead of breaded, opt for a light Caesar dressing, add extra vegetables like tomatoes or cucumbers, and choose a whole-wheat tortilla.
What kind of tortilla is best for a chicken Caesar wrap?
A large, soft flour tortilla or a whole-wheat tortilla works best for a chicken Caesar wrap, as it provides a sturdy and flexible base for all the ingredients.
What side dishes go well with a chicken Caesar wrap?
Good side dishes for a chicken Caesar wrap include a side salad, sweet potato fries, coleslaw, or a cup of soup.
Can I prepare a chicken Caesar wrap in advance?
Yes, you can prepare the individual components of a chicken Caesar wrap in advance, such as grilling the chicken and chopping the vegetables. However, it’s best to assemble the wrap just before serving to prevent the tortilla from becoming soggy.
How long does a chicken Caesar wrap last in the fridge?
A chicken Caesar wrap will generally last for 1-2 days in the refrigerator if stored properly in an airtight container. Be sure the chicken is fully cooked and cooled before assembling the wrap.
💬 Lets Stay Connected!
For daily recipes, kitchen tips, and exclusive content, follow me on:
👉 Facebook for behind-the-scenes & community fun
👉 Pinterest for visual inspiration & meal ideas
👉 X (Twitter) for quick tips & trending recipes
📲 Join the flavor journey, your next favorite recipe is just a follow away!