The key to a silky, crack-free top is all in the temperature—bringing your cream cheese and eggs to room temperature ensures they blend seamlessly. This gentle approach guarantees your vanilla bean cheesecake bars have that classic, creamy mouthfeel. I learned this the hard way years ago, pulling a pan from the oven only to find a network of fine cracks across the surface. It still tasted wonderful, but I wanted that flawless, bakery-style finish. After a bit of kitchen sleuthing, I realized my impatient self was using cold ingredients straight from the fridge. That simple shift in routine made all the difference.
Now, these vanilla bean cheesecake bars are my go-to for spring gatherings. They capture the light, hopeful spirit of the season in dessert form. They’re easier than a whole cheesecake but feel just as special, perfect for a Mother’s Day brunch, a picnic dessert, or a sweet ending to a weeknight dinner. This recipe is all about simple ingredients creating something truly memorable. Let’s make them.
Table of Contents
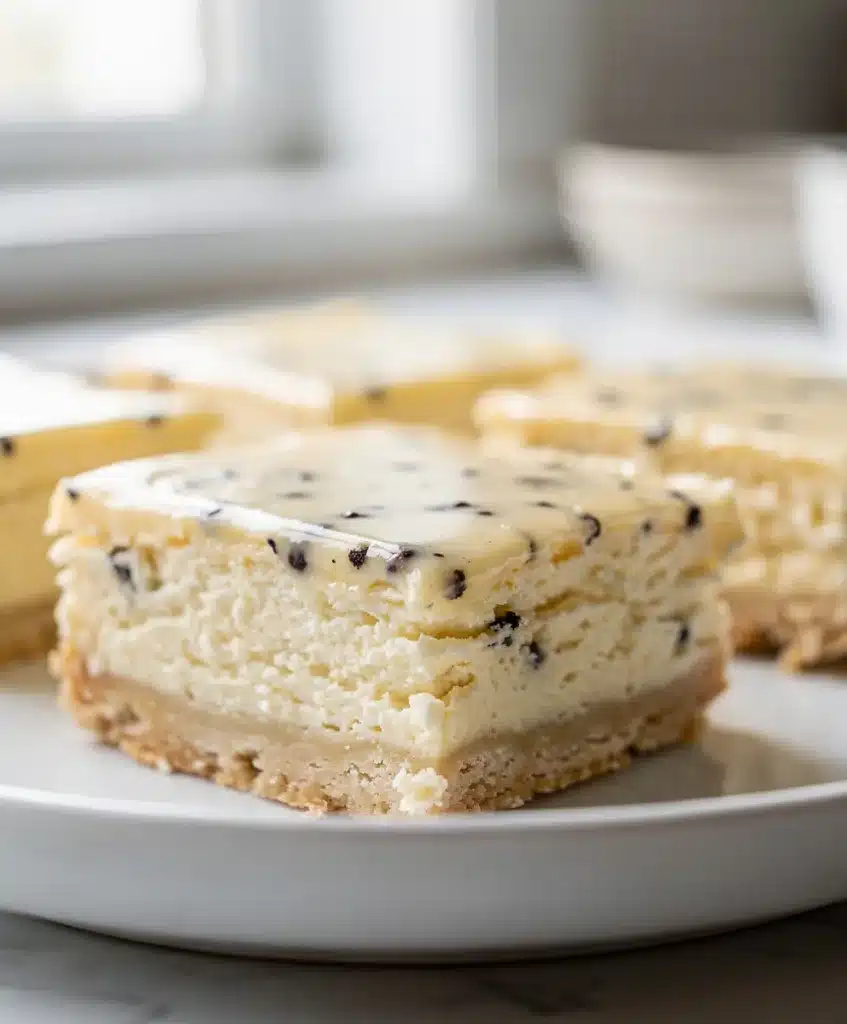
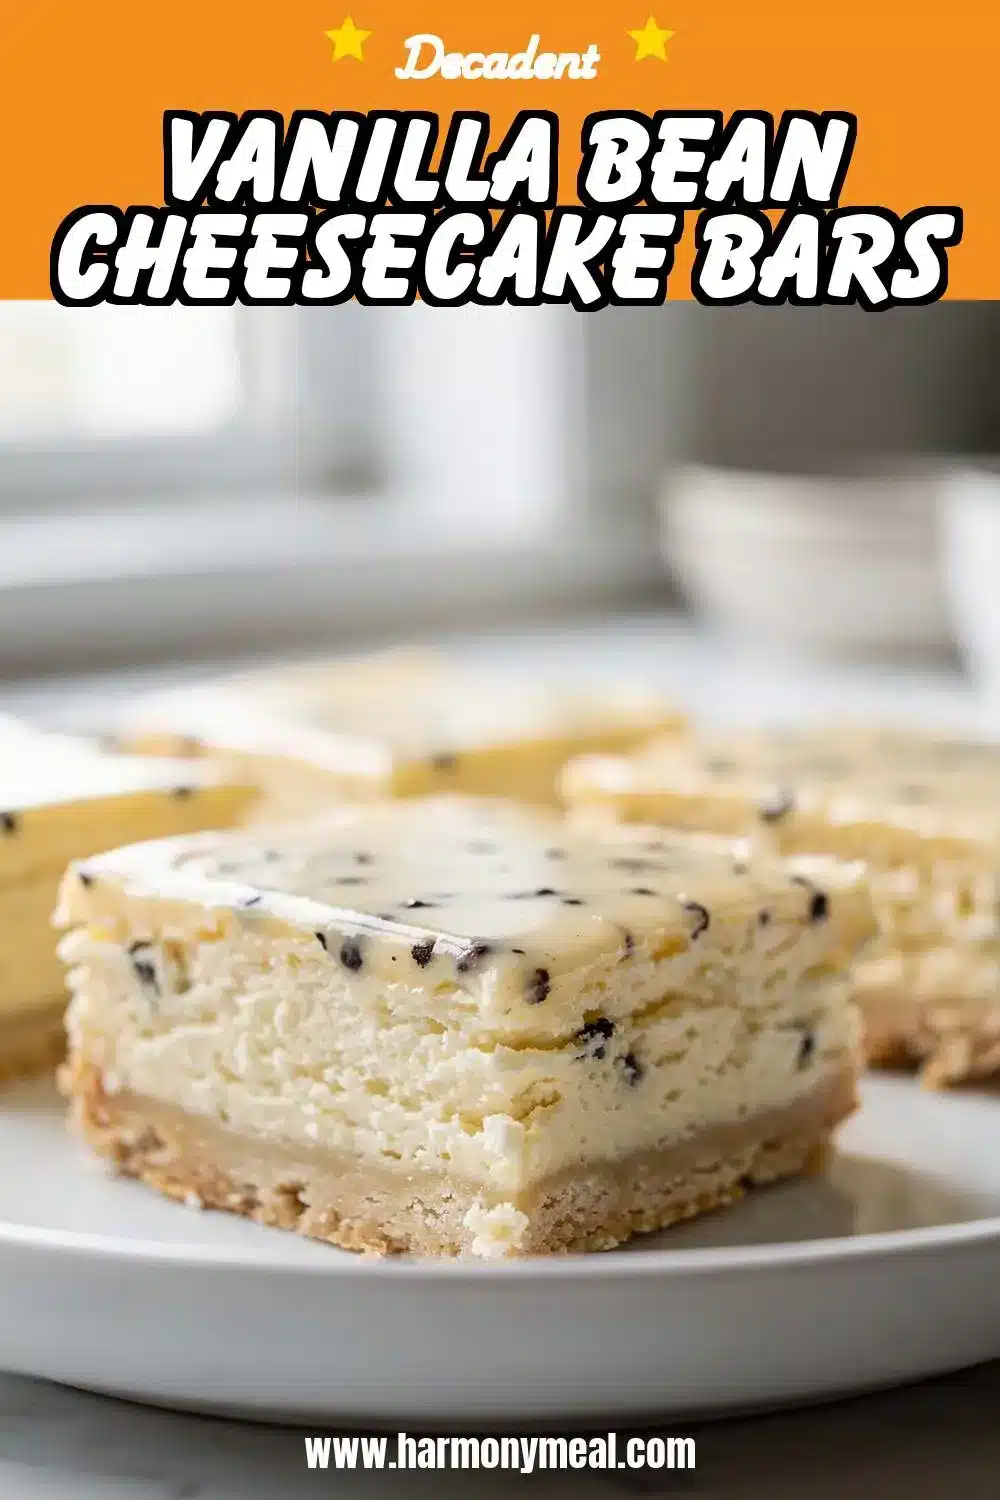
Vanilla Bean Cheesecake Bars

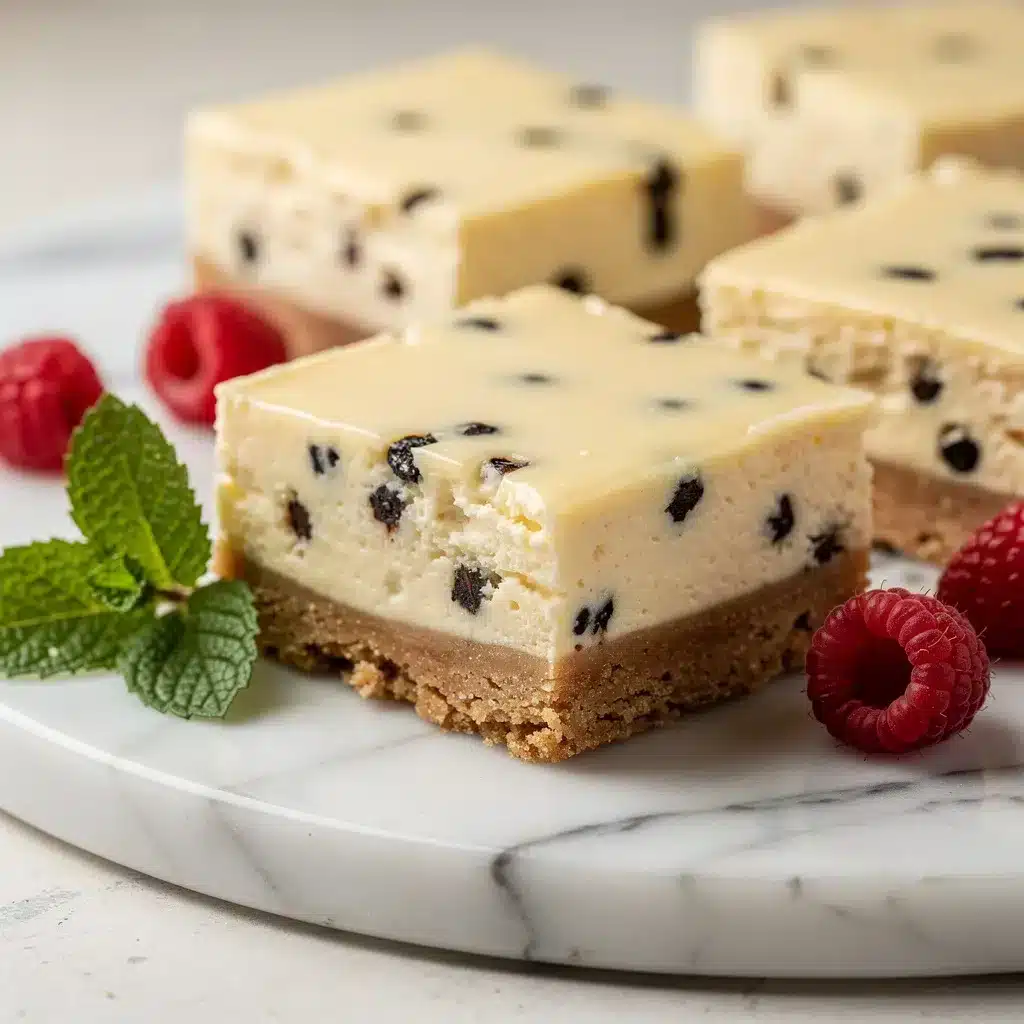
These silky, crack-free cheesecake bars are a perfect spring dessert. Using room temperature ingredients ensures a creamy texture and flawless top. They are easier than a whole cheesecake but just as special.
- Prep Time: 20min
- Cook Time: 50min
- Total Time: 5h 10min
- Yield: 12 bars 1x
- Category: dessert
- Method: baking
- Cuisine: American
Ingredients
- 1 1/2 cups graham cracker crumbs
- 1/3 cup granulated sugar
- 6 tablespoons unsalted butter, melted
- Pinch of salt
- 24 ounces full-fat cream cheese, softened
- 1 cup granulated sugar
- 1 cup full-fat sour cream, room temperature
- 3 large eggs, room temperature
- 1 tablespoon pure vanilla bean paste
- 1 tablespoon all-purpose flour
- 1/4 teaspoon salt
Instructions
- Preheat oven to 325°F. Line an 8×8 or 9×9 inch pan with parchment paper.
- Mix graham cracker crumbs, 1/3 cup sugar, and a pinch of salt. Stir in melted butter until mixture resembles wet sand.
- Press crumb mixture firmly into the pan bottom. Bake for 10 minutes. Cool slightly. Reduce oven to 300°F.
- Beat softened cream cheese until smooth, about 2 minutes.
- On low speed, mix in 1 cup sugar, flour, and 1/4 teaspoon salt until combined.
- Add sour cream and vanilla bean paste, mixing until incorporated.
- Add eggs one at a time, mixing on low after each until just blended. Do not overmix.
- Pour filling over the warm crust. Smooth top and tap pan to release air bubbles.
- Bake at 300°F for 45-50 minutes, until edges are set but center jiggles slightly.
- Turn off oven. Crack door open with a wooden spoon and let bars cool inside for 1 hour.
- Transfer to a wire rack to cool completely to room temperature.
- Cover and refrigerate for at least 4 hours, or overnight.
- Use parchment to lift bars from pan. Slice with a clean knife.
Notes
Room temperature ingredients are crucial to prevent cracks. Do not overmix after adding eggs. The center should jiggle slightly when done; it sets while chilling. For clean slices, wipe knife between cuts.
Nutrition
- Serving Size: 12
- Calories: 380
- Sugar: 25
- Sodium: 280
- Fat: 26
- Saturated Fat: 15
- Unsaturated Fat: 8
- Trans Fat: 0.5
- Carbohydrates: 32
- Fiber: 0.5
- Protein: 6
- Cholesterol: 110
Ingredients List for Vanilla Bean Cheesecake Bars
Vanilla bean cheesecake bars start with a short list of quality ingredients, each playing a specific role in creating that perfect texture and flavor. Using real vanilla bean paste is my non-negotiable secret for those beautiful speckles and deep, aromatic flavor that extract just can’t match.
For the Graham Cracker Crust:
- 1 ½ cups graham cracker crumbs (about 10-12 full sheets)
- ⅓ cup granulated sugar
- 6 tablespoons unsalted butter, melted
- Pinch of salt
For the Vanilla Bean Cheesecake Filling:
- 24 ounces (three 8-oz blocks) full-fat cream cheese, softened to room temperature
- 1 cup granulated sugar
- 1 cup full-fat sour cream, at room temperature
- 3 large eggs, at room temperature
- 1 tablespoon pure vanilla bean paste (or 1 whole vanilla bean, seeds scraped)
- 1 tablespoon all-purpose flour
- ¼ teaspoon salt
Smart Swaps & Dietary Notes:
- Gluten-Free: Use gluten-free graham crackers or gluten-free cookie crumbs for the crust.
- Dairy-Light: For a slightly lighter option, you can use Neufchâtel cheese in place of cream cheese, though the texture will be a bit softer.
- Vanilla: If you don’t have paste, use 2 teaspoons of pure vanilla extract. The flavor is still fantastic, though you’ll miss the lovely specks.
Timing for Your Spring Baking
One of the best parts of these vanilla bean cheesecake bars is the manageable timeline. They require patience for chilling, but the active work is surprisingly quick, making them ideal for spring baking ideas when you want to enjoy the day, not spend all of it in the kitchen.
- Prep Time: 20 minutes
- Cook Time: 45-50 minutes
- Chill Time: 4 hours (or ideally overnight)
- Total Time: About 5 hours 10 minutes (mostly hands-off)
Compared to a traditional springform pan cheesecake, this bar method is about 30% faster in the oven and much simpler to slice and serve.
Step-by-Step Instructions for Perfect Bars
Follow these steps for a foolproof process. Remember, room temperature ingredients are your best friend here.
1. Prepare the Pan & Crust.
Preheat your oven to 325°F (163°C). Line an 8×8 or 9×9 inch square baking pan with parchment paper, leaving an overhang on two sides for easy removal. In a medium bowl, combine the graham cracker crumbs, sugar, and salt. Pour the melted butter over the mixture and stir until it resembles wet sand. Press firmly and evenly into the bottom of the prepared pan. Bake for 10 minutes, then set aside to cool slightly. Reduce oven temperature to 300°F (150°C).
2. Make the Cheesecake Filling.
In the bowl of a stand mixer fitted with the paddle attachment (or using a hand mixer), beat the softened cream cheese on medium speed until completely smooth and creamy, about 2 minutes. Scrape down the bowl. With the mixer on low, gradually add the sugar, then the flour and salt, mixing until just combined. Add the sour cream and vanilla bean paste, mixing until incorporated.
3. Incorporate the Eggs.
Add the eggs one at a time, mixing on low speed after each addition until just blended. Stop mixing as soon as the last egg is incorporated. Over-beating the eggs incorporates too much air, which can lead to cracking. The batter should be smooth, thick, and luxurious.
4. Bake & Cool.
Pour the filling over the warm crust and smooth the top. Tap the pan gently on the counter to release any large air bubbles. Bake at 300°F for 45-50 minutes, or until the edges are set but the center still has a slight, gentle jiggle—like set Jell-O. Turn off the oven, crack the door open with a wooden spoon, and let the vanilla bean cheesecake bars cool in the oven for 1 hour. This gradual cooling is the second secret to preventing cracks. Then, transfer to a wire rack to cool completely to room temperature.
5. Chill & Serve.
Once completely cool, cover the pan and refrigerate for at least 4 hours, or overnight for the best texture and cleanest slices. Use the parchment paper overhang to lift the whole slab out of the pan onto a cutting board. Slice into bars with a sharp knife wiped clean between cuts.
Nutritional Information
These are a treat, meant to be enjoyed in moderation. Per bar (assuming 12 servings):
- Calories: ~380
- Fat: 26g
- Carbohydrates: 32g
- Protein: 6g
- Sugar: 25g
The cream cheese and eggs provide a good source of protein and calcium. Using real vanilla bean paste also means you’re getting the natural compounds from the vanilla bean, which are rich in antioxidants.
Equipment Needed
You don’t need any specialty gear. A regular kitchen will have everything:
- 8×8 or 9×9 inch square baking pan
- Parchment paper
- Mixing bowls
- Stand mixer or hand mixer (a hand mixer works perfectly)
- Spatula
- Measuring cups and spoons
Why You’ll Love These Vanilla Bean Cheesecake Bars
- Elegant Simplicity: They look and taste like they came from a patisserie, but the process is straightforward and forgiving.
- Perfect for Sharing: Bars are inherently shareable and portable, making them the ultimate dessert for potlucks, picnics, or gifting.
- Make-Ahead Dream: They must be chilled, so they’re the perfect do-ahead dessert, freeing up your time on the day of your gathering.
- Crowd-Pleasing Flavor: The rich, pure vanilla flavor is universally loved and feels like a classic celebration.
- Versatile Canvas: While perfect plain, they’re also a wonderful base for fresh berries, a fruit compote, or a drizzle of chocolate.
Healthier Alternatives
If you’re looking to lighten things up slightly, here are a few swaps that still deliver great flavor:
- Reduced Sugar: You can decrease the sugar in the filling to ¾ cup without major texture changes.
- Greek Yogurt: Substitute the sour cream with an equal amount of full-fat plain Greek yogurt for a protein boost.
- Nut-Based Crust: For a gluten-free, lower-carb option, make a crust from finely ground almonds or pecans mixed with a little butter and a tablespoon of sugar.
Serving Suggestions for Spring Time Desserts
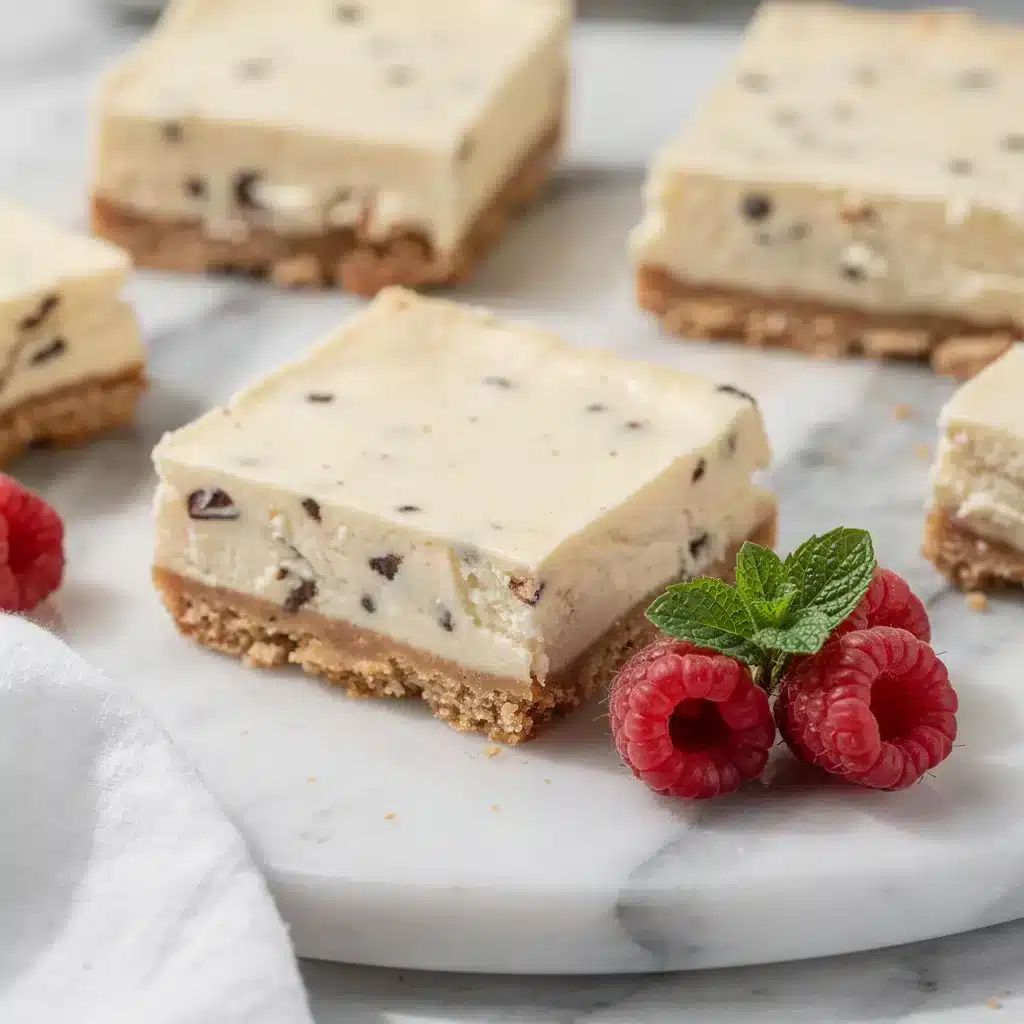
These bars are sublime on their own, but a simple garnish makes them feel extra special for spring time desserts.
- Top each bar with a single perfect raspberry or a few fresh blueberries just before serving.
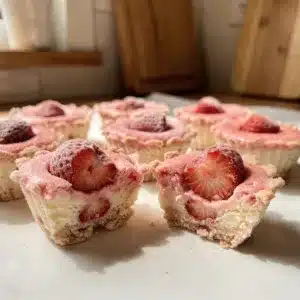
- Serve with a side of macerated strawberries or a quick lemon curd for a bright, tangy contrast.
- For a truly stunning presentation, dust the tops with a light snowfall of powdered sugar.
- Pair with a cup of fresh mint tea or cold brew coffee. They also make a fantastic companion to my Lemon Raspberry Bars or Lemon Blueberry Bars for a varied dessert platter.
Common Mistakes to Avoid
- Using Cold Ingredients: This is the #1 cause of a lumpy filling or a cracked top. Plan ahead and let your dairy and eggs sit out for at least 60-90 minutes.
- Over-mixing the Eggs: Once you add the eggs, mix on low and stop as soon as they’re incorporated. Over-beating adds air that expands and contracts in the oven, leading to cracks.
- Over-baking: The center should not be completely firm when you take it out. That slight jiggle is crucial; it will set fully as it chills. An over-baked cheesecake becomes dry and grainy.
- Skipping the Cool-Down: Letting the vanilla bean cheesecake bars cool gradually in the turned-off oven prevents sudden temperature shock, which is another major crack culprit.
Storing Tips
- Refrigerator: Store leftover bars in an airtight container in the fridge for up to 5 days.
- Freezer: These freeze beautifully! Place sliced bars on a parchment-lined baking sheet and freeze until solid (about 2 hours). Then, transfer to a freezer bag or container. They will keep for up to 2 months. Thaw overnight in the refrigerator.
- Serving: For the best texture and flavor, let the bars sit at room temperature for about 10 minutes before serving after refrigeration.
Conclusion
These vanilla bean cheesecake bars are the epitome of a dessert that feels both luxurious and completely approachable. They’re the kind of spring baked good that makes any occasion feel special, from a casual Tuesday to a holiday table. The process teaches a little kitchen patience with a big, delicious reward.
I hope this recipe brings as much joy to your kitchen as it has to mine. If you give these bars a try, I’d love to hear how they turned out for you. Leave a comment below or share a photo on Pinterest and tag @HarmonyMeal. And if you’re looking for more ways to enjoy that beloved cheesecake flavor, try my easy No-Bake Cheesecake Cups for a quick fix, or my Strawberry Cheesecake Overnight Oats for a breakfast treat. For another vanilla bean delight, my Vanilla Bean Cupcakes with Berry Swirl are always a hit. Happy baking.
FAQs about Vanilla Bean Cheesecake Bars
How do you store vanilla bean cheesecake bars?
Store vanilla bean cheesecake bars in an airtight container in the refrigerator for up to 5 days. For longer storage, freeze them individually wrapped for up to 2 months.
Can I use vanilla extract instead of a vanilla bean?
Yes, you can substitute vanilla extract. Use 1-2 teaspoons of high-quality vanilla extract for each vanilla bean called for in the recipe. Note that the flavor will be slightly different, and you won’t have the visual appeal of the vanilla bean seeds.
What can I use for the crust of cheesecake bars?
Common crust options include graham cracker crumbs, Oreo cookie crumbs, shortbread cookies, or even a homemade pastry crust.
Why did my cheesecake bars crack?
Cheesecake bars can crack due to rapid temperature changes, overbaking, or too much air incorporated into the batter. Baking in a water bath and allowing the bars to cool slowly in the oven can help prevent cracking.
How do you cut cheesecake bars cleanly?
For clean cuts, chill the cheesecake bars thoroughly. Use a sharp knife dipped in hot water and wiped clean between each slice.
Can I make vanilla bean cheesecake bars ahead of time?
Yes, cheesecake bars are ideal for making ahead! They need time to chill and set properly. Make them 1-2 days in advance for optimal flavor and texture.
💬 Lets Stay Connected!
For daily recipes, kitchen tips, and exclusive content, follow me on:
👉 Facebook for behind the scenes & community fun
👉 Pinterest for visual inspiration & meal ideas
👉 X (Twitter) for quick tips & trending recipes
📲 Join the flavor journey, your next favorite recipe is just a follow away!