I often assemble the dry topping mix and the creamy filling in separate containers at the start of the week for a stress-free dessert option. When a sweet craving hits, I just layer them in a dish for a warm strawberry cheesecake dump cake that’s ready in under an hour. It feels like a little kitchen secret, a way to have a cozy, impressive dessert waiting in the wings without any of the usual fuss. This recipe is the very definition of comfort food, made easy. It’s the dessert you make when you want something that tastes like you spent all afternoon in the kitchen, but you really just want to spend that time with your people instead. With its jammy fruit base, pockets of rich, creamy cheesecake, and a golden, buttery cake topping, this strawberry cheesecake dump cake is a celebration of simple ingredients and warm memories. It’s the kind of dessert that brings everyone to the table, spoons in hand, ready to dig into a dish that feels unmistakably like home.
Table of Contents
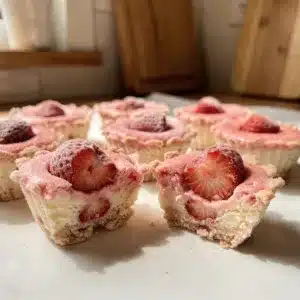
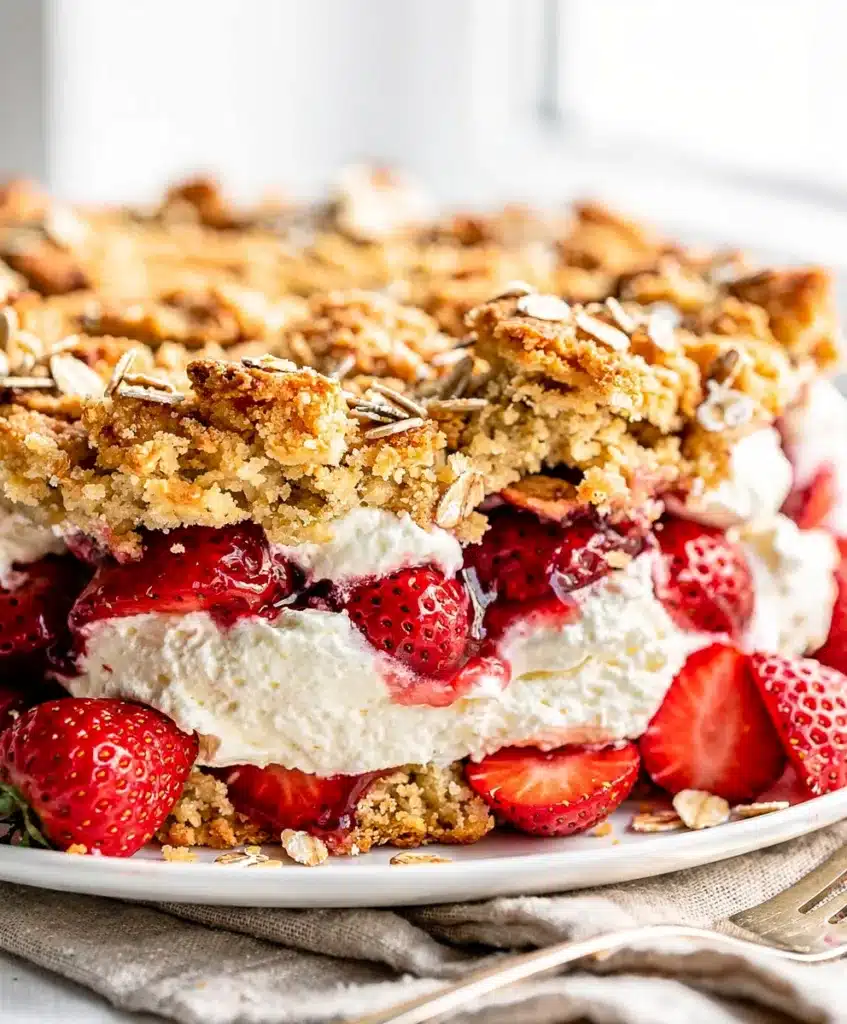
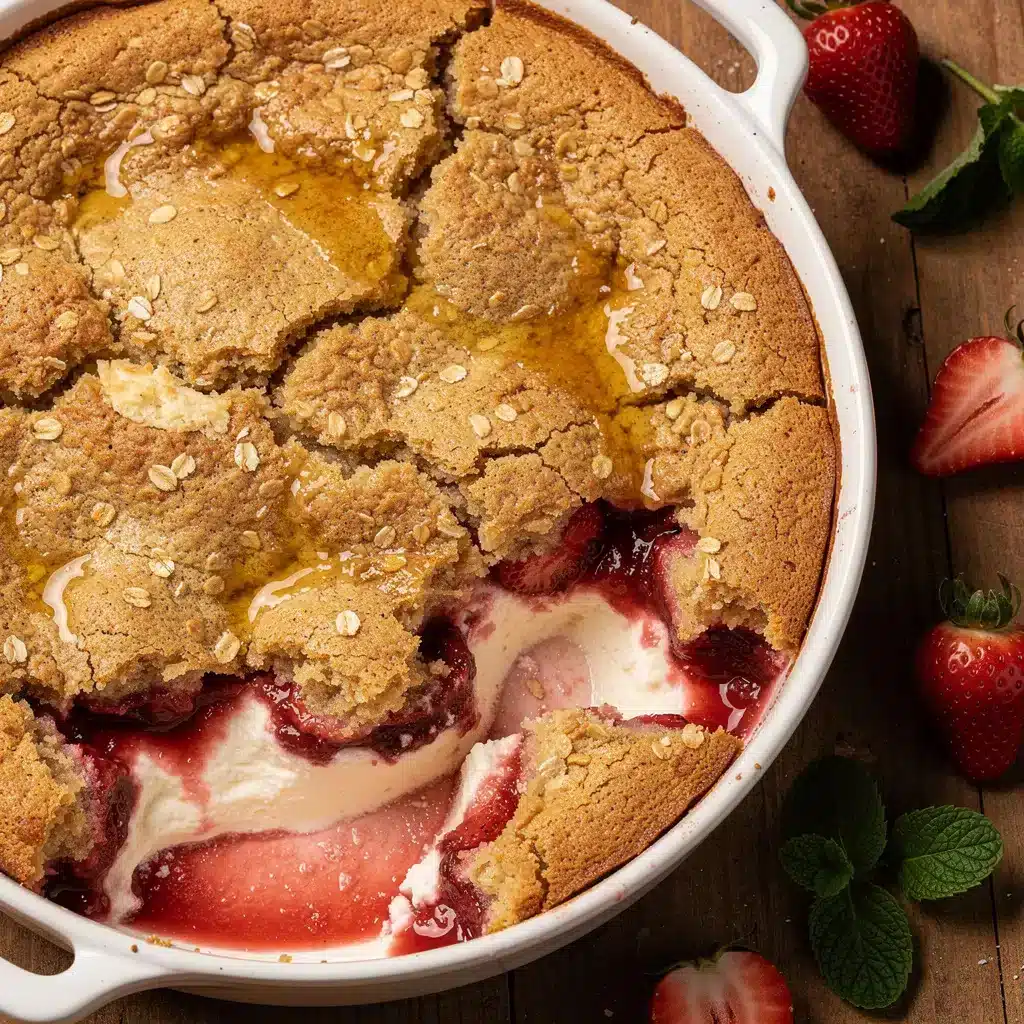
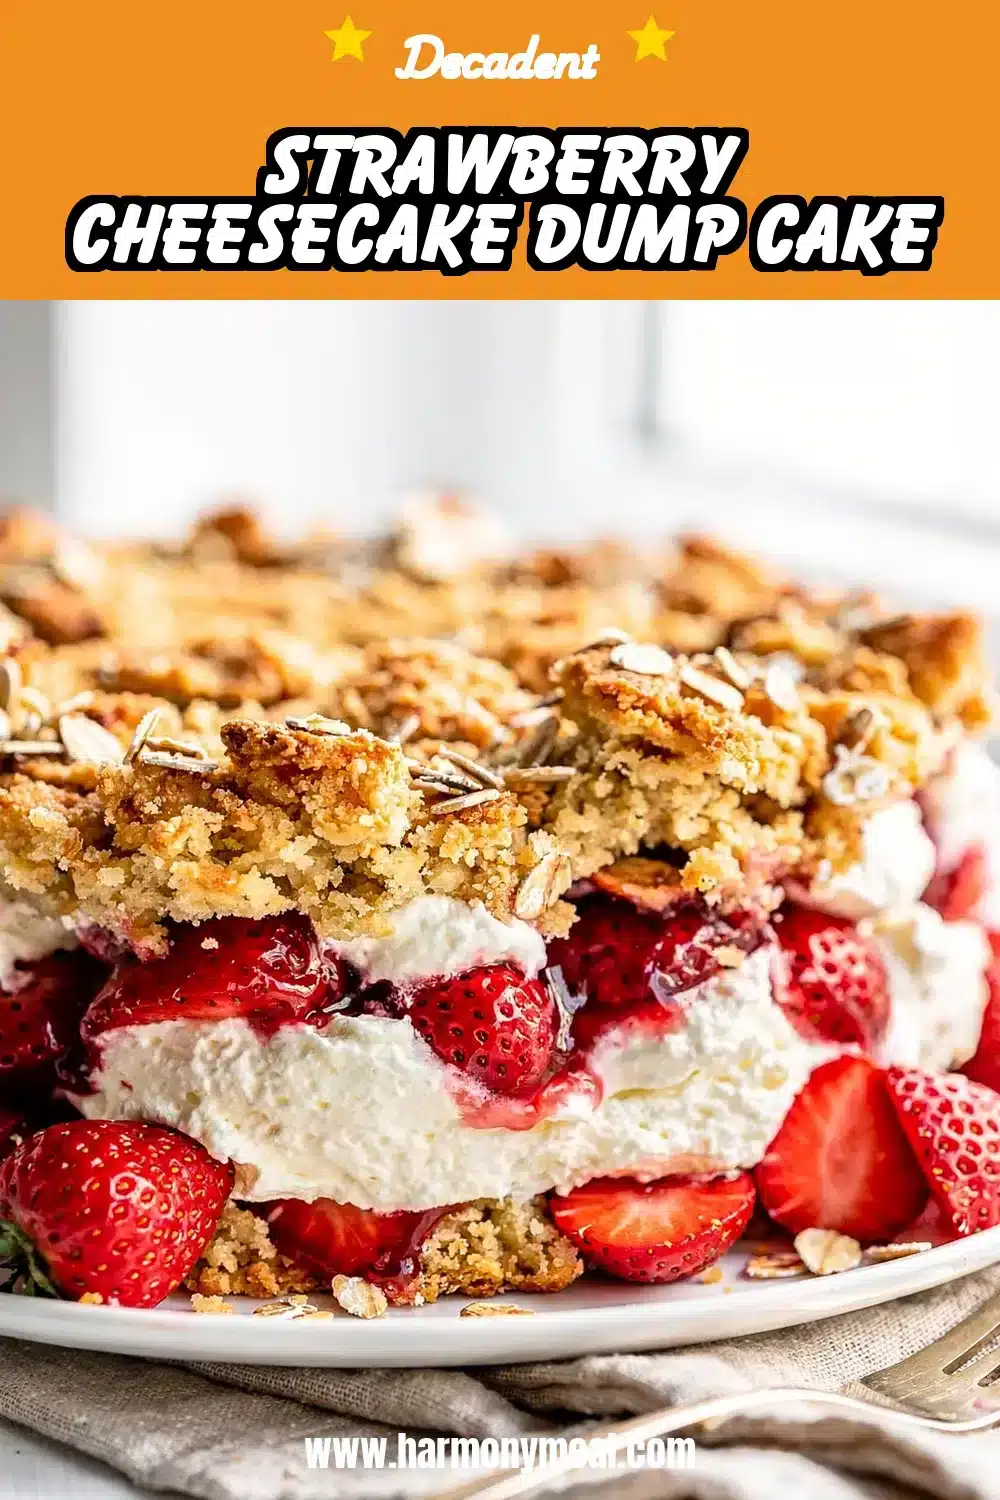
Strawberry Cheesecake Dump Cake

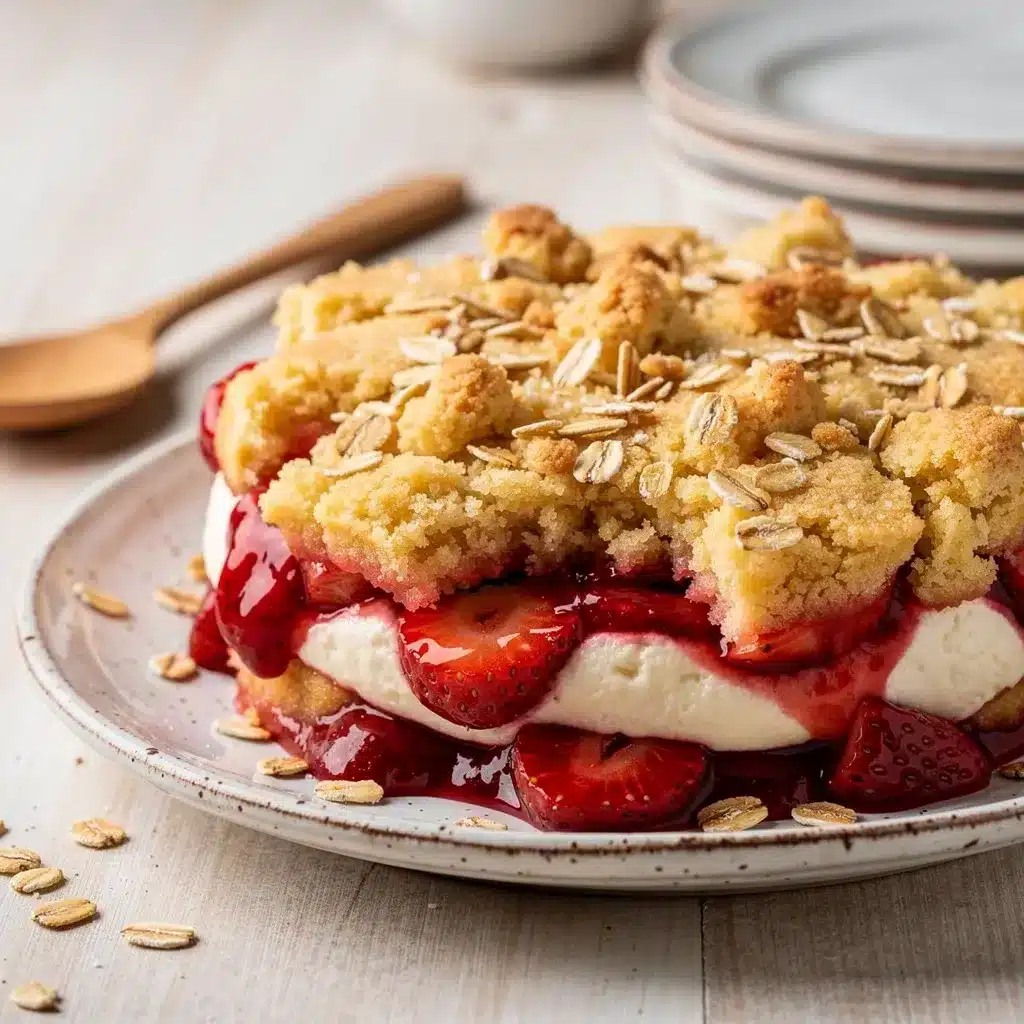
This easy dessert layers strawberry pie filling, creamy cheesecake dollops, and a buttery cake mix topping. It bakes into a warm, comforting treat with jammy fruit, rich pockets of cheesecake, and a golden crisp crust, all with minimal effort.
- Prep Time: 15min
- Cook Time: 50min
- Total Time: 1h 5min
- Yield: 12 servings 1x
- Category: Dessert
- Method: Baking
- Cuisine: American
Ingredients
- 2 (21 oz) cans strawberry pie filling
- 1 tsp pure vanilla extract
- 1 pinch salt
- 1 (8 oz) block full-fat cream cheese, softened
- 1/3 cup granulated sugar
- 1 large egg, room temperature
- 1 tsp vanilla extract
- 1 (15.25 oz) box yellow cake mix, dry
- 1 cup (2 sticks) unsalted butter, melted
- 1/2 cup old-fashioned rolled oats (optional)
Instructions
- Preheat oven to 350°F (175°C). Grease a 9×13 inch baking dish.
- In the prepared dish, combine strawberry pie filling, 1 tsp vanilla, and a pinch of salt. Spread evenly.
- In a medium bowl, beat softened cream cheese until smooth. Add sugar, egg, and 1 tsp vanilla. Beat until creamy and lump-free.
- Drop spoonfuls of the cream cheese mixture randomly over the strawberry layer. Do not spread.
- Sprinkle the dry cake mix evenly over the top. If using, sprinkle oats over the cake mix.
- Drizzle the melted butter slowly and evenly over the entire surface, covering as much dry mix as possible.
- Bake for 45 to 50 minutes, until the top is deep golden brown and the edges are bubbly.
- Let cool for 20-30 minutes before serving. Serve warm, at room temperature, or chilled.
Notes
Ensure cream cheese is fully softened to avoid lumps. Do not stir or swirl the layers after adding. Let the cake cool to allow the fruit layer to thicken. Store covered at room temperature for up to 2 days, in the fridge for up to 5 days, or freeze for up to 3 months.
Nutrition
- Serving Size: 12
- Calories: 420
- Sugar: 35
- Sodium: 320
- Fat: 22
- Saturated Fat: 13
- Unsaturated Fat: 7
- Trans Fat: 0.5
- Carbohydrates: 52
- Fiber: 2
- Protein: 4
- Cholesterol: 70
Ingredients List
This strawberry cheesecake dump cake comes together with a handful of simple ingredients, most of which you likely have in your pantry right now. The magic is in how they layer and bake together into something so much greater than the sum of its parts.
For the Fruit Layer:
- 2 (21 oz) cans of strawberry pie filling (or about 4 cups of homemade stewed strawberries)
- 1 teaspoon pure vanilla extract
- A pinch of salt
For the Cheesecake Layer:
- 1 (8 oz) block of full-fat cream cheese, softened to room temperature
- 1/3 cup granulated sugar
- 1 large egg, at room temperature
- 1 teaspoon vanilla extract
For the Cake Topping:
- 1 box (15.25 oz) of yellow cake mix (do not prepare according to box directions)
- 1 cup (2 sticks) unsalted butter, melted
- 1/2 cup of old-fashioned rolled oats (optional, for a delightful crumble texture)
Smart Swaps & Notes:
- Fruit: Feel free to use a different pie filling! Cherry or blueberry work beautifully. For a strawberry rhubarb dump cake vibe, swap one can of strawberry filling for a can of rhubarb pie filling or fold in 1 1/2 cups of fresh, chopped rhubarb tossed with a tablespoon of sugar.
- Cake Mix: A white or butter recipe cake mix works just as well as yellow. For a gluten-free version, use a certified gluten-free yellow cake mix.
- Cream Cheese: Full-fat gives the best texture and flavor, but reduced-fat will work in a pinch. For a dairy-free strawberry cheesecake dump cake, use your favorite plant-based cream cheese alternative.
- Butter: Salted butter is fine; just omit the extra pinch of salt in the fruit layer.
Timing
One of the greatest joys of this strawberry cheesecake dump cake is how little active time it requires. You get all the reward for a fraction of the effort.
- Prep Time: 15 minutes
- Cook Time: 45-50 minutes
- Total Time: About 1 hour
- Comparison: That’s nearly 75% less hands-on time than a traditional, fussy cheesecake. You simply layer and bake.
Step-by-Step Instructions
The process for this dump cake is wonderfully straightforward, but a few key techniques ensure you get those perfect creamy pockets and a beautifully golden top.
1. Prep and Preheat. Start by preheating your oven to 350°F (175°C). Grease a 9×13 inch baking dish well with butter or non-stick spray. This is your only dish for the whole recipe—cleanup is a dream.
2. Create the Jammy Base. In your prepared dish, dump the cans of strawberry pie filling. Stir in the teaspoon of vanilla and that tiny pinch of salt. The salt isn’t for taste, but to make the sweet strawberry flavor pop even more. Spread the fruit into an even layer across the bottom of the dish.
3. Make the Creamy Cheesecake Pockets. In a medium bowl, beat the softened cream cheese with an electric mixer or by hand until smooth. Add the sugar, egg, and vanilla, and beat again until the mixture is completely smooth and creamy, with no lumps. This is your cheesecake batter. Now, instead of spreading it, we’re going for pockets. Drop spoonfuls of the cream cheese mixture randomly over the strawberry layer. Don’t swirl or spread—just dollop. These dollops will bake into those luscious, rich pockets of cheesecake.
4. Add the Golden Topping. Sprinkle the entire box of dry cake mix evenly over the top of the fruit and cream cheese dollops. If you’re using the oats, sprinkle them over the cake mix now for a lovely textured crumble. Finally, slowly and evenly drizzle the melted butter over the entire surface. Try to cover as much of the dry mix as possible. This butter is what creates that irresistible, crisp, golden-brown topping as it bakes.
5. Bake to Perfection. Place the dish in the preheated oven and bake for 45 to 50 minutes. You’ll know your strawberry cheesecake dump cake is done when the top is a deep golden brown, the edges are bubbly, and the fruit is visibly bubbling up around the sides. The center may look a little soft, but it will set as it cools.
6. Cool and Serve. Let the cake cool for at least 20-30 minutes before serving. This allows the fruit layer to thicken slightly and makes serving much easier. It’s delicious warm, at room temperature, or even cold straight from the fridge.
Nutritional Information
A serving of this indulgent dessert (based on 12 servings) provides approximately:
- Calories: ~420
- Fat: 22g
- Carbohydrates: 52g
- Sugar: 35g
- Protein: 4g
While this is a treat, the strawberries offer vitamin C and antioxidants. For a slightly lighter version, see the healthier alternatives below. Remember, food is about joy and connection, too, and this strawberry cheesecake dump cake delivers both in every spoonful.
Equipment Needed
You don’t need any special tools to make this strawberry cheesecake dump cake a success. A regular kitchen will have everything required.
- 9×13 inch Baking Dish: This is the workhorse. Glass or ceramic is ideal for even baking.
- Mixing Bowls: One medium bowl for the cream cheese mixture.
- Electric Hand Mixer or Whisk: A mixer makes the cream cheese filling silky smooth in seconds, but a strong arm and a whisk will work too.
- Measuring Cups and Spoons
- Can Opener
- Spatula or Spoon for spreading and dolloping.
Why You’ll Love This Recipe
This strawberry cheesecake dump cake recipe has earned a permanent spot in my dessert rotation for so many reasons.
- Maximum Flavor, Minimal Effort. The “dump” method is genius. No creaming, no folding, no complicated steps. Just layer and bake for a dessert that tastes incredibly complex.
- The Ultimate Textural Experience. You get it all in one bite: jammy, warm fruit, cool, creamy cheesecake pockets, and a buttery, crisp cake topping. It’s a symphony of textures.
- Feeds a Crowd with Zero Stress. It’s made in a standard 9×13 pan, making it perfect for potlucks, family gatherings, or a week where you just need dessert on hand.
- Endlessly Adaptable. Once you master this base, the variations are endless. It’s a formula for success that works with almost any fruit and cake combo you can imagine. If you love this easy, fruit-forward approach, you’ll also adore these simple lemon raspberry bars.
- Comfort in a Dish. There’s something profoundly comforting about a warm, fruit-based dessert. This strawberry cheesecake dump cake is a hug in dessert form, guaranteed to bring smiles.
Healthier Alternatives for the Recipe
You can easily tweak this strawberry cheesecake dump cake to fit different dietary needs without sacrificing the cozy, comforting essence.
- Gluten-Free: Use a certified gluten-free yellow cake mix. Ensure your oats are certified GF if using.
- Dairy-Free/Lighter: Substitute the cream cheese with a high-quality vegan cream cheese alternative. Use plant-based butter for the topping. You could also use a light cream cheese.
- Reduced Sugar: Look for a no-sugar-added strawberry pie filling or make your own by simmering fresh strawberries with a touch of honey or maple syrup until jammy. Use a sugar substitute in the cream cheese layer and a sugar-free cake mix.
- Add Protein: Stir a scoop of vanilla protein powder into the cream cheese mixture. It will make the pockets a bit denser but adds a nutritional boost.
Serving Suggestions
This dessert is glorious all on its own, but a few simple additions can make it feel extra special.
- A La Mode is Always Right: A scoop of vanilla ice cream melting over the warm cake is pure heaven. For a strawberry shortcake dump cake experience, try vanilla bean or strawberry ice cream.
- Whipped Cream Cloud: A big dollop of freshly whipped cream or even a spray of canned whipped topping adds a lovely light contrast.
- Fresh Fruit Garnish: Scatter a handful of fresh, sliced strawberries or a mix of berries over the top just before serving for a bright, fresh pop.
- For Breakfast? Honestly, served slightly warm with a cup of coffee, it makes a decadent weekend brunch treat. The oats in the topping make it feel almost justified! For another delicious baked breakfast option, try this blueberry baked oatmeal.
Common Mistakes to Avoid
A few simple tips will guarantee your strawberry cheesecake dump cake turns out perfect every single time.
- Using Cold Cream Cheese. This is the biggest culprit for lumpy filling. Let your cream cheese sit on the counter for at least an hour to soften completely. Smooth cream cheese means smooth, creamy pockets.
- Stirring the Layers. The magic is in the distinct layers. Dump and spread the fruit, dollop the cream cheese (don’t spread), and sprinkle the cake mix. No swirling or mixing!
- Skipping the Butter Drizzle. The melted butter is non-negotiable. It’s what hydrates the cake mix and transforms it into that crisp, cookie-like topping. Drizzle slowly and try to cover most of the dry powder.
- Under-baking. The top should be a deep, golden brown, and you should see active bubbling around the edges. If the top is still pale, give it a few more minutes. A properly baked strawberry cheesecake dump cake will have a firm, set top.
- Serving Immediately. I know it’s hard to wait, but letting it cool for 20-30 minutes allows the fruit juices to thicken slightly. This prevents a soupy bottom and makes for cleaner slices (or scoops).
Storing Tips for the Recipe
This cake stores beautifully, making it a fantastic make-ahead dessert.
- Counter: Cover tightly with foil or plastic wrap and store at room temperature for up to 2 days.
- Refrigerator: For longer storage, keep it covered in the fridge for up to 5 days. The chilled cheesecake pockets are a delightful treat!
- Freezer: Cool the cake completely, then wrap the entire dish tightly in a layer of plastic wrap followed by a layer of foil. Freeze for up to 3 months. Thaw overnight in the refrigerator before reheating.
- Reheating: Warm individual portions in the microwave for 30-45 seconds. To reheat a larger portion, cover with foil and warm in a 300°F oven for 15-20 minutes, until heated through.
Conclusion
This strawberry cheesecake dump cake is more than just a recipe; it’s a reminder that the most satisfying food doesn’t have to be complicated. It’s about gathering around something warm, sweet, and made with love—even if that love only took 15 minutes of active time. With its jammy fruit, surprise creamy pockets, and irresistible buttery topping, it’s a dessert that delivers joy in every single spoonful. Regular kitchen, regular time, great results. That’s the Harmony Meal promise.
I truly hope this recipe becomes a cherished, easy go-to in your home. When you make it, I’d love to hear how it turned out! Leave a comment below or tag me on Pinterest @HarmonyMeal so I can see your beautiful creation.
If you loved the simplicity and flavor of this dump cake, you might also enjoy my Strawberry Cheesecake Overnight Oats for a breakfast version of these flavors, or my Mixed Berry Cheesecake Crumb Bars for another easy, berry-filled dessert. For more fruity, comforting bakes, check out my Strawberry Shortcake Trifle or my Blueberry Baked Oatmeal. Happy baking.
FAQs about Strawberry Cheesecake Dump Cake
Can you substitute other fruits in a dump cake?
Yes, you can easily substitute other fruits in a dump cake. Popular options include blueberries, peaches, apples, cherries, and pineapple. Adjust the baking time if necessary, depending on the fruit’s moisture content.
How do you keep dump cake from being soggy?
To prevent a soggy dump cake, avoid adding extra liquid beyond what the recipe calls for. Ensure the fruit filling isn’t overly juicy, and don’t overbake the cake. Allowing the cake to cool completely before serving also helps to prevent sogginess.
What is the best cake mix to use for dump cake?
Yellow cake mix is a classic choice for dump cake, providing a neutral flavor that complements most fruit fillings. White cake mix is also a good option. You can experiment with other flavors like vanilla or butter pecan to enhance the overall taste.
How long is strawberry cheesecake dump cake good for?
Strawberry cheesecake dump cake is typically good for 3-4 days when stored properly in the refrigerator. Cover it tightly with plastic wrap or store it in an airtight container.
Can I use fresh strawberries in this recipe?
While canned strawberry pie filling is most commonly used for convenience, you can use fresh strawberries. You’ll need to cook them down with sugar and a thickener like cornstarch to create a similar consistency to pie filling before adding them to the dump cake.
Can I make this dump cake ahead of time?
Yes, you can assemble the strawberry cheesecake dump cake ahead of time, cover it tightly, and store it in the refrigerator for up to 24 hours before baking. This can be a great time-saver when preparing for a gathering.
💬 Let’s Stay Connected!
For daily recipes, kitchen tips, and exclusive content, follow me on:
👉 Facebook for behind-the-scenes & community fun
👉 Pinterest for visual inspiration & meal ideas
👉 X (Twitter) for quick tips & trending recipes
📲 Join the flavor journey, your next favorite recipe is just a follow away!