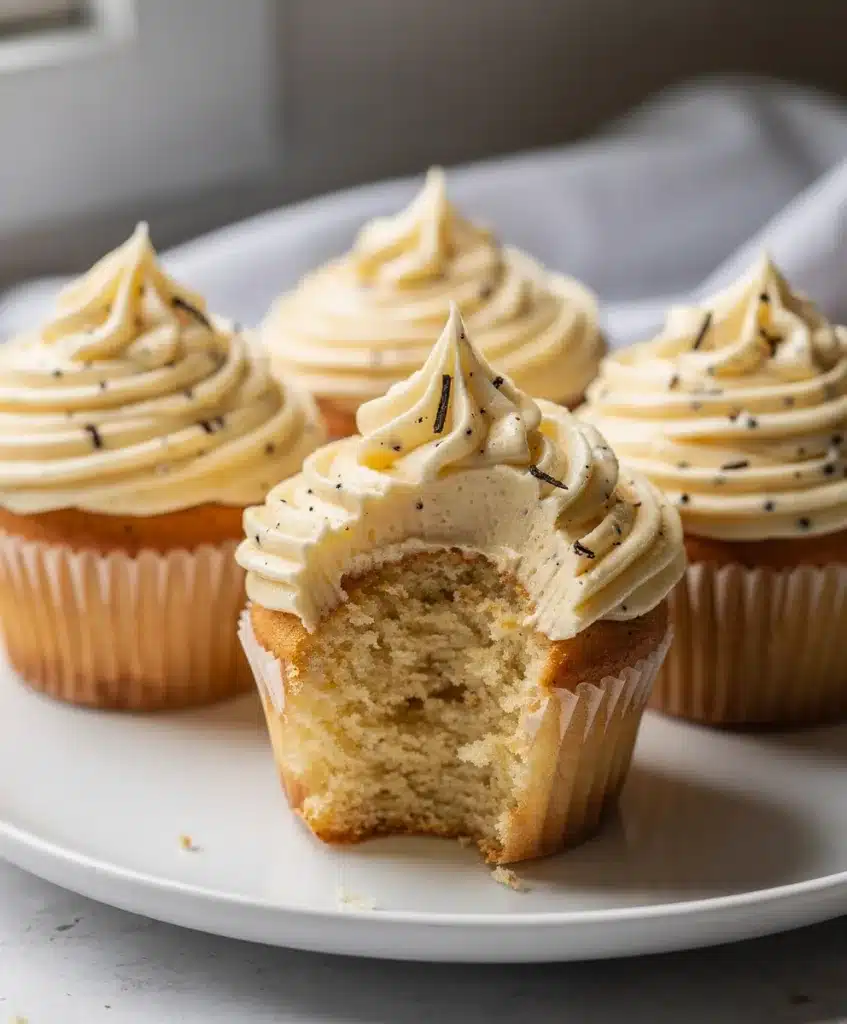
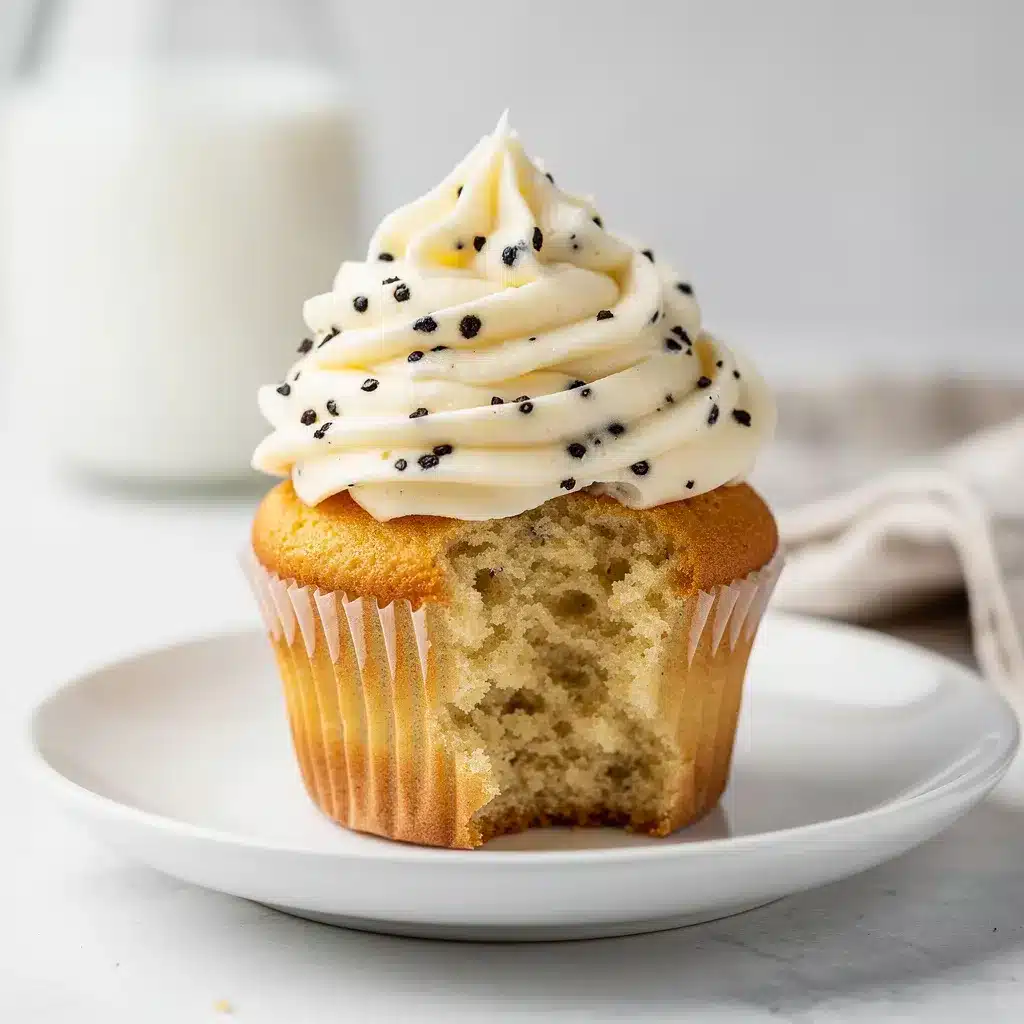
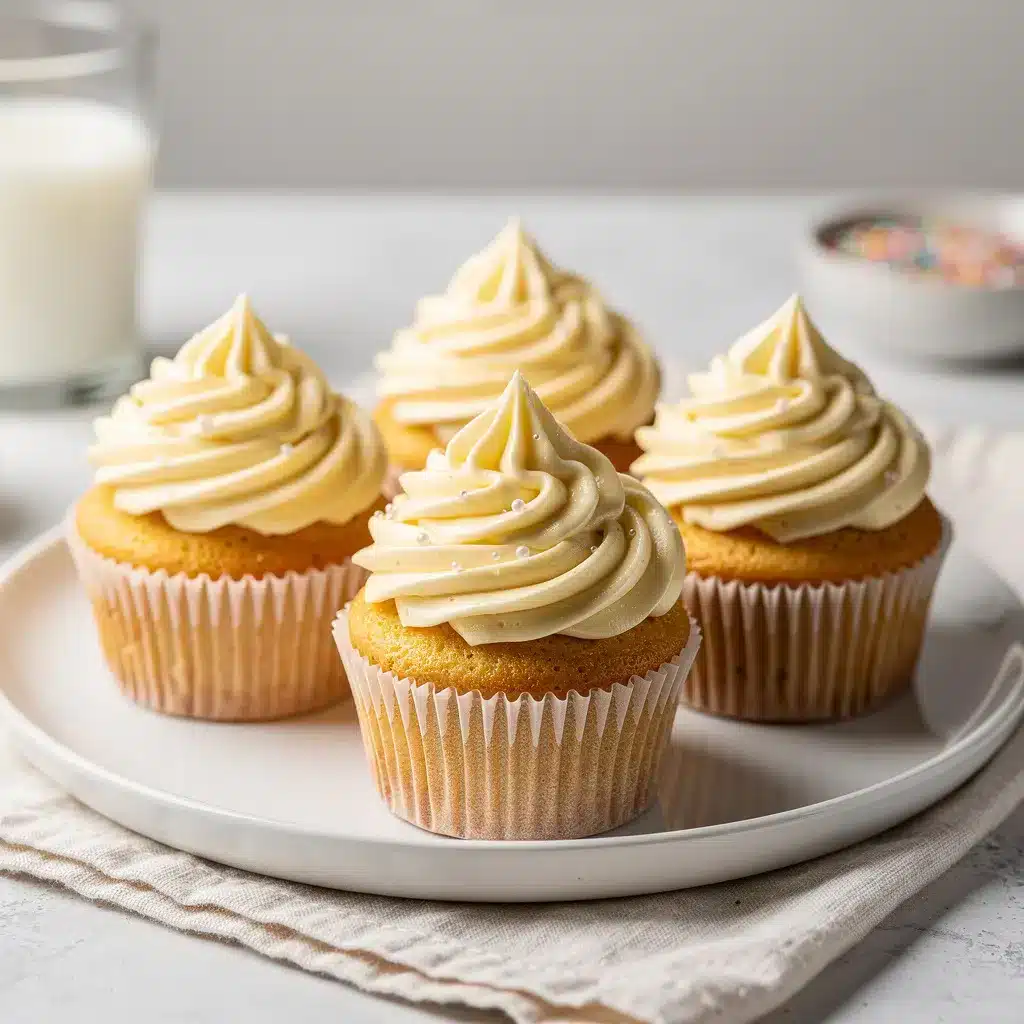
A true vanilla bean paste transforms a simple batter into something with deep, complex flavor notes. These aren’t just cupcakes; they’re gourmet classic vanilla cupcakes worthy of a pastry shop window.
I remember the first time I truly tasted vanilla. It wasn’t from a bottle of extract in my mom’s pantry, but from a single, speckled bean I split open for a special birthday cake. That warm, almost floral aroma filled our little kitchen, and I realized vanilla was never plain. It was the quiet, comforting foundation that made everything else sing. That’s the spirit I bring to these classic vanilla cupcakes. This isn’t just a recipe; it’s a masterclass in building flavor from the ground up, designed to give you that tender, bakery-style crumb right in your own oven.
Too many homemade cupcakes turn out dense, dry, or bland, leaving us wondering why the bakery version seems so out of reach. The secret isn’t a magic ingredient you can’t pronounce. It’s a simple understanding of balance—the right mix of fats, the perfect touch of moisture, and a patient hand. Whether you’re prepping for a birthday, a bake sale, or just a Tuesday that needs a little sweetness, this recipe is your reliable guide. It’s the one you’ll come back to, the base you’ll trust for endless variations, from summer dessert recipes bursting with berries to cozy fall bakes. Let’s make cupcakes that taste like a hug.
Table of Contents
Classic Vanilla Cupcakes

A masterclass in building flavor, these gourmet cupcakes feature a supremely tender, bakery-style crumb thanks to a reverse creaming method. Deep vanilla notes from real vanilla bean paste or extract make this simple recipe extraordinary.
- Prep Time: 20min
- Cook Time: 20min
- Total Time: 1h
- Yield: 12 cupcakes 1x
- Category: dessert
- Method: baking
- Cuisine: American
Ingredients
- 1 1/2 cups (190g) all-purpose flour, spooned and leveled
- 1 1/2 teaspoons baking powder
- 1/4 teaspoon baking soda
- 1/2 teaspoon fine sea salt
- 1/2 cup (113g) unsalted butter, room temperature
- 1 cup (200g) granulated sugar
- 2 large eggs, room temperature
- 2 teaspoons pure vanilla extract or 1 teaspoon vanilla bean paste
- 1/2 cup (120ml) whole milk, room temperature
- 1/4 cup (60g) full-fat sour cream, room temperature
- 1 cup (226g) unsalted butter, very soft
- 4 cups (480g) powdered sugar, sifted
- 2–3 tablespoons heavy cream or whole milk
- 1 tablespoon pure vanilla extract or 1 1/2 teaspoons vanilla bean paste
- Pinch of salt
Instructions
- Preheat oven to 350°F (175°C). Line a 12-cup muffin tin with paper liners.
- Whisk flour, baking powder, baking soda, and salt in a medium bowl for 30 seconds.
- In a separate bowl or measuring cup, whisk milk, sour cream, and vanilla until smooth.
- In a stand mixer bowl with paddle attachment, beat softened butter and sugar on medium speed for 2 minutes until it resembles damp sand.
- Add eggs one at a time, beating well after each addition. Scrape bowl.
- With mixer on low, add 1/3 of dry ingredients, mix until combined. Add half of milk mixture. Repeat, ending with final third of dry ingredients. Mix only until flour disappears.
- Divide batter evenly among liners, filling each 2/3 full.
- Bake 18-22 minutes until a toothpick inserted comes out clean. Cool in pan 5 minutes, then transfer to wire rack to cool completely.
- For buttercream, beat very soft butter until smooth. On low, gradually add powdered sugar. Add vanilla, salt, and 2 tbsp cream. Whip on medium-high 3-4 minutes until light and fluffy. Add more cream if needed.
Notes
Room temperature ingredients are crucial for a tender crumb. Do not overmix batter once flour is added. Cool cupcakes completely before frosting. For dairy-free, use plant-based butter, milk, and yogurt. For gluten-free, use a 1:1 flour blend.
Nutrition
- Serving Size: 1
- Calories: 420
- Sugar: 43
- Sodium: 180
- Fat: 22
- Saturated Fat: 14
- Unsaturated Fat: 6
- Trans Fat: 1
- Carbohydrates: 55
- Fiber: 0
- Protein: 3
- Cholesterol: 85
Ingredients List
Classic vanilla cupcakes start with a short list of simple, quality ingredients. Using the best you can find makes all the difference here, especially when it comes to the vanilla.
For the Cupcakes:
- 1 ½ cups (190g) all-purpose flour, spooned and leveled
- 1 ½ teaspoons baking powder
- ¼ teaspoon baking soda
- ½ teaspoon fine sea salt
- ½ cup (113g) unsalted butter, at room temperature
- 1 cup (200g) granulated sugar
- 2 large eggs, at room temperature
- 2 teaspoons pure vanilla extract (or 1 teaspoon vanilla bean paste)
- ½ cup (120ml) whole milk, at room temperature
- ¼ cup (60g) full-fat sour cream, at room temperature
For the Vanilla Buttercream:
- 1 cup (226g) unsalted butter, very soft
- 4 cups (480g) powdered sugar, sifted
- 2-3 tablespoons heavy cream or whole milk
- 1 tablespoon pure vanilla extract (or 1 ½ teaspoons vanilla bean paste)
- Pinch of salt
Smart Swaps & Notes:
- Dairy-Free: Use a high-fat vegan butter (like Miyoko’s or Country Crock Plant Butter sticks) for both cake and frosting. Swap the milk and sour cream for plain, unsweetened almond or oat milk mixed with 1 teaspoon of lemon juice or apple cider vinegar to mimic the tang.
- Gluten-Free: A 1:1 gluten-free flour blend works beautifully here. I’ve had great success with King Arthur Measure for Measure.
- Vanilla: This is the star. Pure extract is perfect, but if you want those beautiful black specks and an even deeper flavor, splurge on vanilla bean paste. It’s a game-changer for classic vanilla cupcakes.
- Sour Cream: This is our secret weapon for moisture and tenderness. Full-fat plain Greek yogurt is a fine substitute.
Timing
- Prep Time: 20 minutes
- Cook Time: 18-20 minutes
- Total Time: About 1 hour (including cooling)
This is about 30% faster than many from-scratch recipes because we streamline the mixing method. No waiting for butter to cream for ages—just simple, straightforward steps.
Step-by-Step Instructions
The method here is designed for success, not stress. We’re using a modified “reverse creaming” technique that guarantees a supremely tender, fine crumb—the hallmark of a perfect classic vanilla cupcake.
1. Prep and Preheat. Start by positioning a rack in the center of your oven and preheating it to 350°F (175°C). Line a standard 12-cup muffin tin with paper liners. This is also the time to pull all your cold ingredients—eggs, milk, sour cream, butter—to room temperature. This is non-negotiable for a smooth, emulsified batter that bakes evenly.
2. Combine the Dry Ingredients. In a medium bowl, whisk together the flour, baking powder, baking soda, and salt. Whisking for a good 30 seconds aerates the flour and ensures the leaveners are evenly distributed, which prevents tunneling in your baked classic vanilla cupcakes.
3. Mix the Wet Ingredients. In a large measuring cup or small bowl, whisk together the room-temperature milk, sour cream, and vanilla extract until smooth. Set this aside.
4. Create the Base. In the bowl of a stand mixer fitted with the paddle attachment (or a large bowl with a hand mixer), beat the softened butter and sugar on medium speed for about 2 minutes. It won’t look light and fluffy like traditional creaming; it should look like damp, clumpy sand. This coats the flour particles in fat, inhibiting gluten development for that tender crumb.
5. Incorporate Eggs. Add the eggs one at a time, beating well after each addition and scraping down the sides of the bowl. The mixture will look a bit curdled at this point—that’s perfectly fine.
6. Alternate Dry and Wet. With the mixer on low speed, add one-third of the dry flour mixture and mix until just combined. Follow with half of the milk/sour cream mixture. Repeat, ending with the final third of the dry ingredients. Mix only until the last streaks of flour disappear. Overmixing is the enemy of tender cupcakes!
7. Fill and Bake. Using a cookie scoop or a spoon, divide the batter evenly among the 12 lined cups, filling each about ⅔ full. Bake for 18-22 minutes, or until a toothpick inserted into the center of a cupcake comes out clean or with a few moist crumbs. The tops will be lightly golden and spring back when gently pressed.
8. Cool Completely. Let the classic vanilla cupcakes cool in the pan for 5 minutes, then transfer them to a wire rack to cool completely before frosting. Rushing this step will melt your buttercream into a sad puddle.
9. Make the Buttercream. While the cupcakes cool, make the frosting. In a clean mixer bowl, beat the very soft butter on medium speed until completely smooth and creamy, about 2 minutes. With the mixer on low, gradually add the sifted powdered sugar until incorporated. Add the vanilla, salt, and 2 tablespoons of cream. Whip on medium-high speed for 3-4 minutes until incredibly light, fluffy, and white. Add the extra tablespoon of cream if needed to reach a pipeable consistency.
Nutritional Information
- Calories: ~420 per frosted cupcake
- Fat: 22g
- Carbohydrates: 55g
- Protein: 3g
- Sugar: 43g
These classic vanilla cupcakes are a treat, meant to be enjoyed in celebration. The butter and eggs provide a source of energy and fat-soluble vitamins, while using real vanilla offers trace antioxidants. For a lighter option, see the healthier alternatives below.
Equipment Needed
You don’t need fancy gear to make exceptional classic vanilla cupcakes. A regular kitchen will have almost everything.
- Standard 12-Cup Muffin Tin: The workhorse.
- Paper Liners: For easy release and clean presentation.
- Stand Mixer or Hand Mixer: A hand mixer works perfectly fine for this recipe.
- Large and Medium Mixing Bowls
- Whisk and Rubber Spatula
- Cookie Scoop (optional but helpful): For evenly portioned batter.
- Wire Cooling Rack: Essential for preventing soggy bottoms.
- Piping Bag and Tip (optional): For that professional bakery swirl on your classic vanilla cupcakes. A zip-top bag with the corner snipped off works in a pinch.
Why You’ll Love This Recipe
This recipe earns its spot in your permanent rotation for so many reasons.
- The Perfect Crumb, Guaranteed. The reverse creaming method is the secret to that soft, fine, bakery-style texture that stays moist for days.
- Flavor That Shines. With a double dose of real vanilla in the cake and frosting, these classic vanilla cupcakes taste genuinely of vanilla, not just sugar.
- Incredibly Adaptable. This is the ultimate base recipe. Once you master it, you can fold in citrus zest, swirls of fruit jam, or even chocolate chips to create endless variations, much like you would with apple dessert recipes or peach dessert recipes.
- Foolproof for All Skill Levels. Clear, detailed instructions and explanations of the “why” behind each step set you up for success, whether it’s your first or fiftieth batch.
- Makes Everyone Happy. From kids to grandparents, a perfectly baked, homemade classic vanilla cupcake is a universal joy.
Healthier Alternatives for the Recipe
You can absolutely tweak this classic vanilla cupcake recipe to fit different dietary needs without sacrificing that beloved tender texture.
- Gluten-Free: As mentioned, use a quality 1:1 gluten-free flour blend. The result is nearly identical.
- Dairy-Free: Follow the swaps in the ingredients list using plant-based butter, milk, and yogurt. The cupcakes will be slightly more delicate but still delicious.
- Lower-Sugar: You can reduce the granulated sugar in the cake by ¼ cup. For the frosting, try using a powdered erythritol-based sweetener made for frosting. The texture will be slightly different but still pipeable.
- Keto-Friendly Inspiration: While this is a traditional recipe, the principles of flavor balance apply everywhere. If you’re exploring keto dessert recipes, you could use this vanilla buttercream method with a keto-friendly sweetener to top almond flour cupcakes.
Serving Suggestions
A naked classic vanilla cupcake is a beautiful thing, but the fun really starts with the toppings.
- The Classic Swirl: Pipe a tall, generous swirl of vanilla buttercream using a large open star tip (like a 1M).
- Sprinkle Celebration: Immediately after frosting, roll the edges in rainbow sprinkles, sanding sugar, or even crushed freeze-dried berries for a pop of color and crunch.
- Fruit Forward: Top with a fresh strawberry slice, a few blueberries, or a spoonful of lemon curd. It’s a lovely nod to summer dessert recipes.
- Sauce It Up: Serve alongside a small pitcher of warm salted caramel sauce, chocolate ganache, or a berry coulis for dipping.
- For a Crowd: These classic vanilla cupcakes are perfect for parties. For more festive ideas, check out our Super Bowl Desserts Fun Football Flair for themed decorating inspiration, or our elegant Valentines Day Cake for romantic piping techniques.
Common Mistakes to Avoid
A few small missteps can change your cupcake outcome. Here’s how to steer clear.
- Using Cold Ingredients. This is the #1 reason for dense, gummy cupcakes. Room-temperature ingredients blend smoothly, creating an emulsion that traps air and leads to a light crumb. Plan ahead!
- Overmixing the Batter. Once you add the flour, mix only until the ingredients are combined. Overworking develops gluten, which makes cupcakes tough and chewy.
- Overfilling the Liners. Filling more than ⅔ full almost guarantees overflow and messy, flat-topped cupcakes. A cookie scoop is your best friend for consistent portions.
- Overbaking. Set a timer! Even 2-3 minutes too long can dry out your perfect classic vanilla cupcakes. The toothpick test is your guide.
- Frosting Warm Cupcakes. The residual heat will immediately melt the butter in your frosting, causing it to slide off and become greasy. Patience is a virtue here.
Storing Tips for the Recipe

Proper storage keeps your classic vanilla cupcakes fresh and delicious.
- Room Temperature (Frosted): Store in an airtight container at cool room temperature for up to 2 days. If your kitchen is very warm, refrigerate.
- Refrigerator: Frosted cupcakes will keep in the fridge in an airtight container for up to 5 days. Let them sit at room temperature for 30 minutes before serving to soften the frosting.
- Freezer (Unfrosted): This is a fantastic make-ahead trick. Cool the baked cupcakes completely, then wrap each one individually in plastic wrap and place in a freezer bag. Freeze for up to 3 months. Thaw overnight in the refrigerator or at room temperature for a few hours before frosting.
- Freezer (Frosted): Flash-freeze frosted cupcakes on a baking sheet until the frosting is solid (about 1 hour), then wrap and bag them. Thaw in the refrigerator overnight.
Conclusion
Baking a truly great classic vanilla cupcake is one of the most satisfying kitchen accomplishments. It proves that with a little understanding and care, you can create something extraordinary from the simplest ingredients. This recipe gives you the tools—the why behind the room-temperature eggs, the secret of the sour cream, the magic of the mixing method—to achieve that dreamy, bakery-style crumb every single time.
It’s a recipe built for memory-making, for lunchboxes and birthday parties, for quiet afternoons with a cup of tea. It’s your new foundation. Once you’ve mastered these classic vanilla cupcakes, a whole world of baking opens up. You might feel inspired to try a layered Heart Pink Cake Pink Bow for a special occasion, or branch out into cozy, spiced treats like our Pumpkin Muffins or Pumpkin Muffins Chocolate Chip.
I hope this recipe becomes a trusted friend in your kitchen. Now, I’d love to hear from you! Did you use vanilla bean paste? What’s your favorite way to decorate them? Let me know how your batch of classic vanilla cupcakes turned out in the comments below, and don’t forget to tag @HarmonyMeal on Pinterest so I can see your beautiful creations. Happy baking.
FAQs about Classic Vanilla Cupcakes
What makes a cupcake light and fluffy?
Using cake flour, creaming butter and sugar properly, and not overmixing the batter are key to light and fluffy cupcakes. Also, ensuring your ingredients are at room temperature helps create a smooth emulsion for a tender crumb.
How do you keep vanilla cupcakes from being dry?
Don’t overbake them! Start checking for doneness a few minutes before the recipe suggests. Also, using oil in addition to butter can add moisture. Storing them in an airtight container after cooling prevents them from drying out.
Why are my cupcakes flat on top?
This can be due to several reasons: the oven temperature being too low, overmixing the batter (which develops too much gluten), or using too much liquid. Make sure your oven is properly preheated and avoid overmixing.
Can I use all-purpose flour instead of cake flour for cupcakes?
Yes, but the texture will be slightly different. Cake flour has a lower protein content, resulting in a more tender cupcake. If using all-purpose flour, you can substitute 2 tablespoons of all-purpose flour with 2 tablespoons of cornstarch per cup of flour to mimic cake flour.
How do I make my cupcakes rise evenly?
Ensure your oven is properly preheated and use an oven thermometer to verify the temperature. Fill cupcake liners evenly using a cookie scoop. Also, rotate the cupcake pan halfway through baking to ensure even heat distribution.
How long do vanilla cupcakes last?
Vanilla cupcakes can last for 2-3 days at room temperature in an airtight container. They can also be stored in the refrigerator for up to a week, though they may dry out slightly. For longer storage, freeze them for up to 2-3 months.
💬 Let’s Stay Connected!
For daily recipes, kitchen tips, and exclusive content, follow me on:
👉 Facebook for behind-the-scenes & community fun
👉 Pinterest for visual inspiration & meal ideas
👉 X (Twitter) for quick tips & trending recipes
📲 Join the flavor journey, your next favorite recipe is just a follow away!