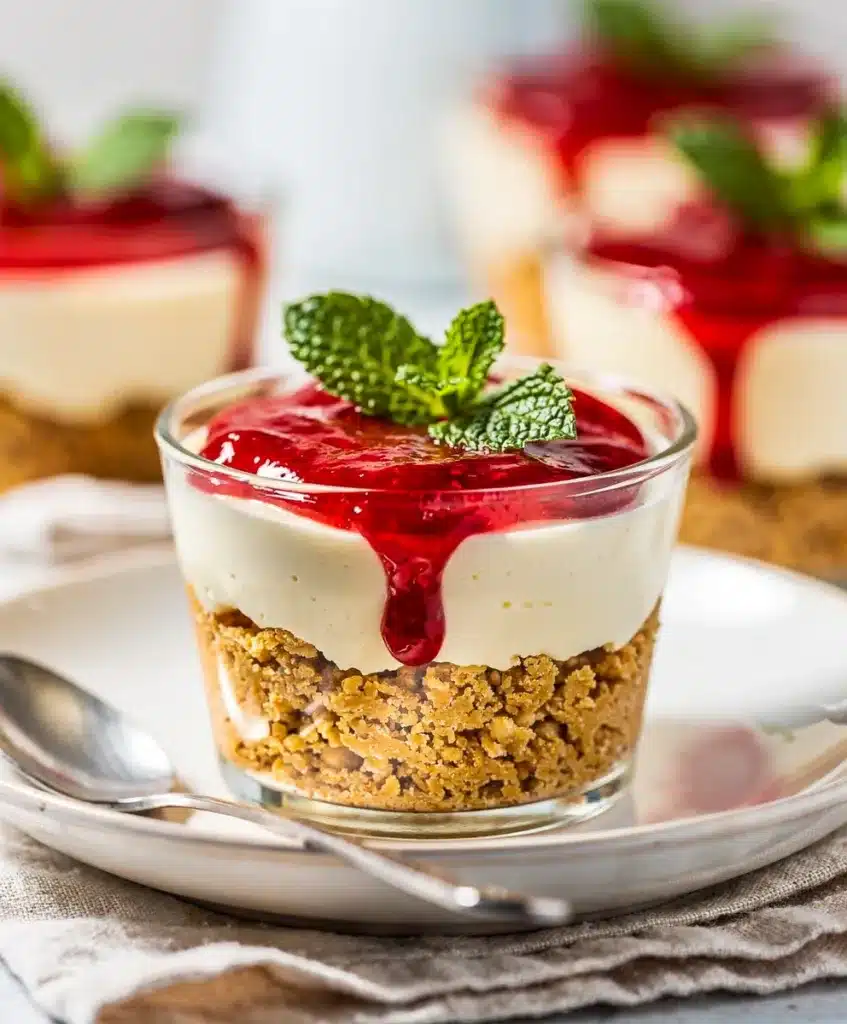
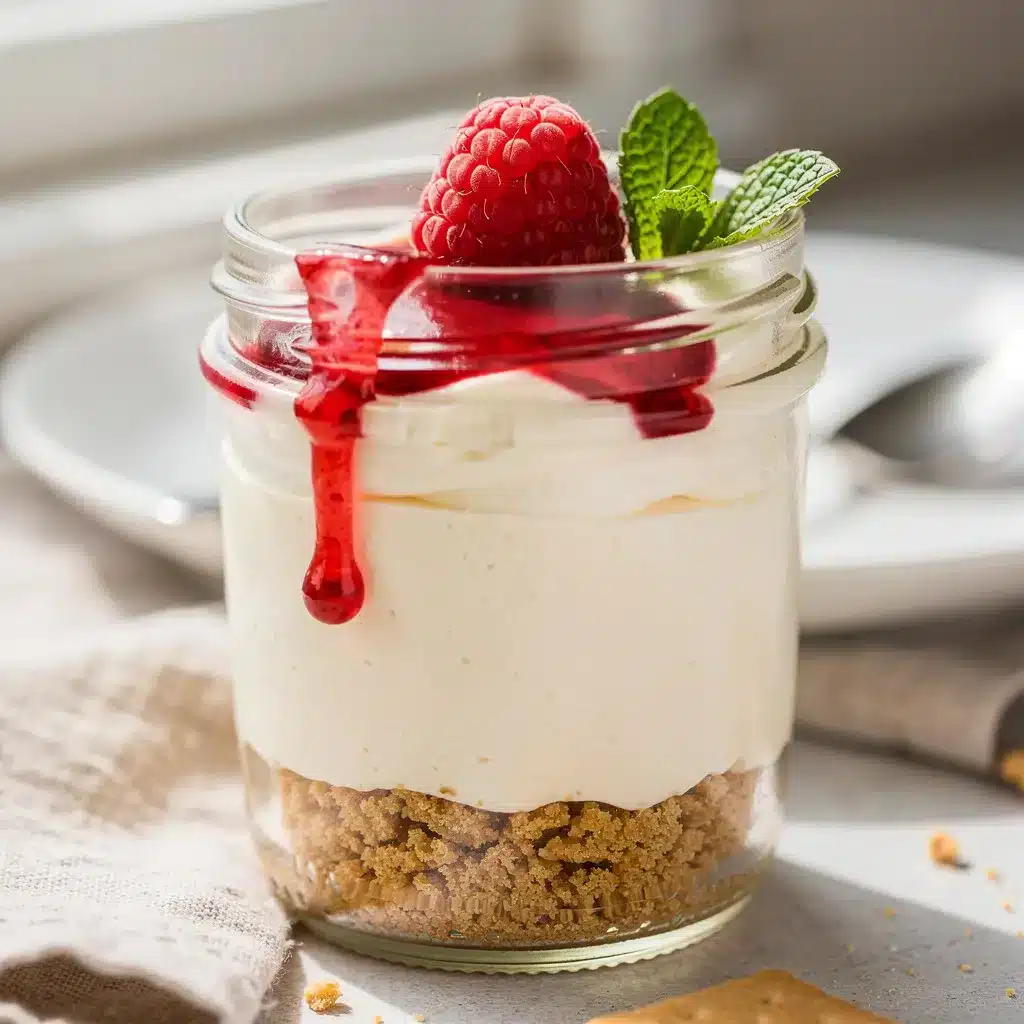
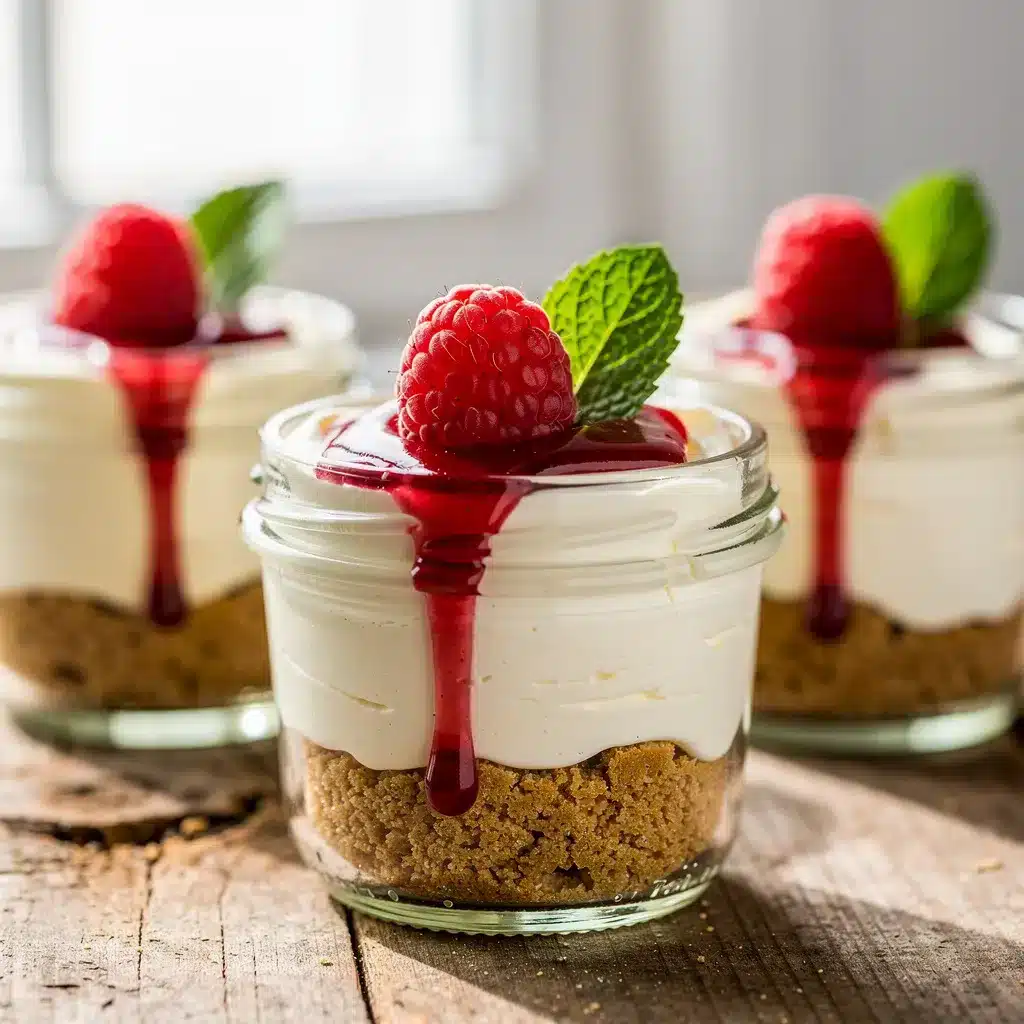
For a dinner party upgrade, I garnish these cups with a delicate raspberry coulis and a mint leaf. The elegant presentation belies the effortless method, making it look like you fussed for hours. It’s the kind of kitchen magic I live for, especially when life gets busy. We’ve all been there—a last-minute potluck invite, a birthday celebration that snuck up on you, or simply a craving for something sweet without the commitment of turning on the oven. That’s where this recipe for Make Ahead No Bake Cheesecake Cups becomes your secret weapon.
These individual desserts are the perfect blend of creamy, dreamy cheesecake filling and a buttery, crumbly graham cracker base, all assembled in minutes. They are the ultimate make ahead dessert, designed to give you back your time and peace of mind. You can prep them days in advance, let them set quietly in the fridge, and pull them out when you’re ready to impress. No stress, no mess, just pure, joyful indulgence. It’s comfort food, made easy, in the most convenient single-serving form.
Table of Contents
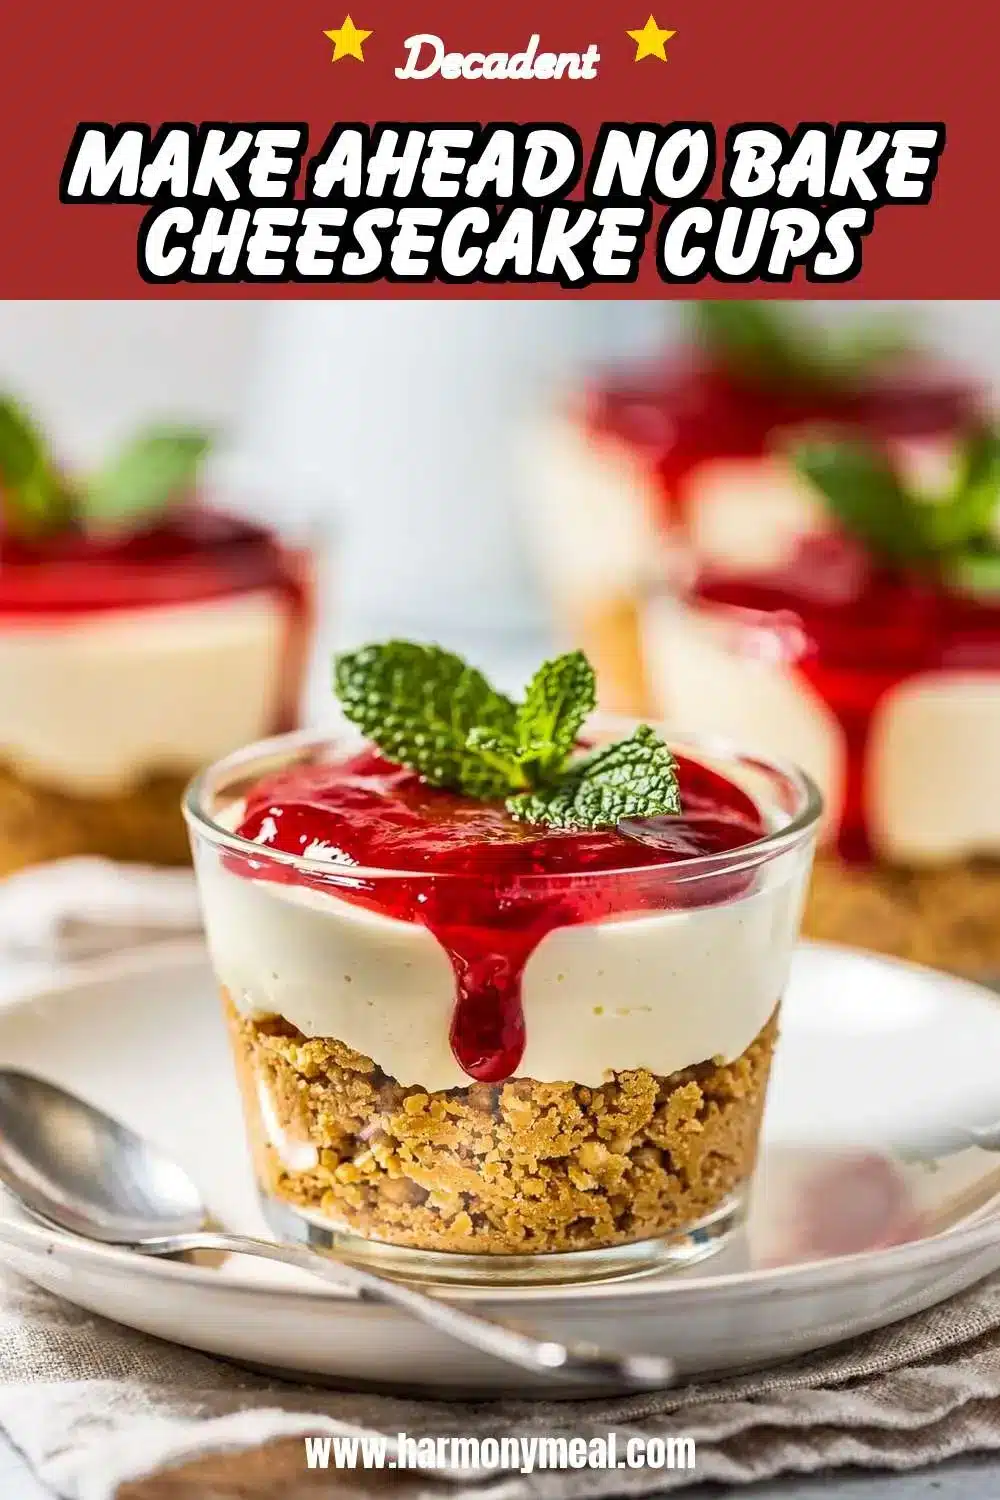
Make Ahead No Bake Cheesecake Cups

These individual no-bake cheesecake cups are the ultimate make-ahead dessert. They feature a buttery graham cracker crust and a light, creamy filling, all assembled in minutes and chilled to perfection. Perfect for parties, potlucks, or a simple sweet treat without turning on the oven.
- Prep Time: 20min
- Cook Time: 0min
- Total Time: 4h 20min
- Yield: 8 cheesecake cups 1x
- Category: dessert
- Method: no bake
- Cuisine: American
Ingredients
- 1 1/2 cups graham cracker crumbs (about 10–12 full sheets)
- 5 tablespoons unsalted butter, melted
- 2 tablespoons granulated sugar
- 1 tiny pinch salt
- 16 ounces (two 8-oz blocks) full-fat cream cheese, softened
- 1 cup powdered sugar, sifted
- 1 teaspoon pure vanilla extract
- 1 tablespoon fresh lemon juice
- 1 cup cold heavy whipping cream
Instructions
- Prepare the crust. In a medium bowl, combine graham cracker crumbs, melted butter, granulated sugar, and salt. Mix until crumbs are evenly moistened.
- Divide the crumb mixture evenly among 8 serving cups (6-8 oz size). Press firmly into the bottom of each cup to form a solid base.
- Make the filling. In a large bowl, beat the softened cream cheese with an electric mixer on medium speed until completely smooth and creamy, about 2 minutes.
- Add the sifted powdered sugar, vanilla extract, and lemon juice to the cream cheese. Beat again until fully combined and smooth.
- In a separate clean bowl, beat the cold heavy whipping cream on medium-high speed until stiff peaks form.
- Gently fold the whipped cream into the cream cheese mixture using a rubber spatula. Fold until no white streaks remain.
- Divide the filling evenly among the prepared cups, smoothing the tops.
- Cover the cups with plastic wrap or lids. Refrigerate for at least 4 hours, or ideally overnight, to set before serving.
Notes
Ensure cream cheese is fully softened to room temperature to avoid lumps. The full chill time is essential for proper setting. For gluten-free version, use gluten-free graham crackers. Add toppings like fresh berries or chocolate sauce just before serving.
Nutrition
- Serving Size: 8
- Calories: 480
- Sugar: 28
- Sodium: 300
- Fat: 36
- Saturated Fat: 22
- Unsaturated Fat: 12
- Trans Fat: 1
- Carbohydrates: 35
- Fiber: 1
- Protein: 6
- Cholesterol: 105
Ingredients List
Make Ahead No Bake Cheesecake Cups start with a short list of simple, high-quality ingredients that come together for a classic, creamy flavor. You likely have most of these in your pantry already.
For the Crust:
- 1 ½ cups graham cracker crumbs (about 10-12 full sheets)
- 5 tablespoons unsalted butter, melted
- 2 tablespoons granulated sugar
- A tiny pinch of salt
For the Filling:
- 16 ounces (two 8-oz blocks) full-fat cream cheese, softened to room temperature
- 1 cup powdered sugar, sifted
- 1 teaspoon pure vanilla extract
- 1 tablespoon fresh lemon juice
- 1 cup cold heavy whipping cream
Smart Swaps & Dietary Notes:
- Gluten-Free: Use gluten-free graham-style crackers or crushed gluten-free cookies.
- Dairy-Light: For the filling, you can use a blend of full-fat and reduced-fat cream cheese, but avoid fat-free as it won’t set properly. For the whipped cream, a well-chilled coconut cream can be whipped as a dairy-free alternative.
- Crust Variations: Swap graham crackers for crushed vanilla wafers, shortbread cookies, or even Oreos for a chocolate twist, similar to the base in my No Bake Oreo Cheesecake.
Timing
One of the greatest joys of these no bake treats is how little active time they require. The hands-on work is minimal, with the fridge doing the heavy lifting.
- Prep Time: 20 minutes
- Chill Time (Minimum): 4 hours
- Total Time: 4 hours 20 minutes (mostly hands-off)
Compared to a traditional baked cheesecake that can take over an hour in the oven plus cooling time, this method is about 80% faster and completely foolproof. It’s the ideal dessert for guests when you want to spend your time with them, not in the kitchen.
Step-by-Step Instructions
The process for these Make Ahead No Bake Cheesecake Cups is straightforward, but a few chef-style tips will guarantee perfect results every time.
1. Prepare the Crust.
In a medium bowl, combine the graham cracker crumbs, melted butter, sugar, and salt. Mix until the crumbs are evenly moistened and resemble wet sand. Divide the mixture evenly among your serving cups (I use 6-8 ounce glasses or mason jars). Press the crumbs firmly into the bottom of each cup to form a solid base. You can use the bottom of a small glass or a tamper to get it nice and compact.
2. Make the Cheesecake Filling.
In a large bowl, beat the softened cream cheese with an electric mixer on medium speed until completely smooth and creamy, about 2 minutes. This is crucial—no lumps allowed! Scrape down the sides of the bowl. Add the sifted powdered sugar, vanilla extract, and lemon juice. Beat again until fully combined and smooth.
3. Whip the Cream.
In a separate, clean bowl, beat the cold heavy whipping cream on medium-high speed until stiff peaks form. This means when you lift the beaters, the cream stands up straight and doesn’t droop. Be careful not to over-whip into butter.
4. Combine and Fill.
Gently fold the whipped cream into the cream cheese mixture using a rubber spatula. Use a folding motion (scoop from the bottom and turn over) to keep the mixture light and airy. Once no white streaks remain, divide the filling evenly among the cups, smoothing the tops.
5. Chill and Set.
Cover the cups with plastic wrap or lids and refrigerate for at least 4 hours, or ideally overnight. This chill time is non-negotiable—it allows the flavors to meld and the filling to firm up perfectly, making it the ultimate make ahead dessert.
Nutritional Information
Per serving (based on 8 cups): Approximately 480 calories, 36g fat (22g saturated), 35g carbohydrates, 28g sugar, 1g fiber, 6g protein. While rich, these cups are a treat meant to be savored. The cream cheese provides a dose of calcium and vitamin A. For a lighter version, see the swaps below.
Equipment Needed
You don’t need any fancy gadgets for these Make Ahead No Bake Cheesecake Cups. A regular kitchen setup works perfectly.
- Electric hand mixer or stand mixer
- Mixing bowls (medium and large)
- Measuring cups and spoons
- Rubber spatula
- 6-8 individual serving cups, glasses, or mason jars (6-8 oz size)
- Airtight lids or plastic wrap for storage
Why You’ll Love This Recipe
These individual desserts check every box for the busy home cook looking for a reliable, impressive sweet.
- No Oven Required: Perfect for hot summer days or small kitchens.
- Total Make-Ahead Magic: Prepare them up to 3 days in advance—your future self will thank you when party time arrives.
- Endlessly Customizable: Top with fresh berries, chocolate shavings, caramel sauce, or a fruit compote to match any season or theme.
- Portion Control & Presentation: Individual servings are always a hit, eliminating the mess of slicing and plating. They look adorable and thoughtful.
- Crowd-Pleasing Guarantee: The classic, creamy flavor of cheesecake is a universal favorite, making it a surefire dessert for guests.
Healthier Alternatives for the Recipe
You can easily tweak these no bake treats to fit different dietary needs without sacrificing that luxurious texture.
- Lower Sugar: Reduce the powdered sugar in the filling to ¾ cup and use a sugar-free graham cracker alternative for the crust.
- Higher Protein: Blend ½ cup of Greek yogurt into the cream cheese mixture for a tangy boost of protein.
- Dairy-Free: Use a high-quality, firm dairy-free cream cheese alternative and whip chilled coconut cream instead of heavy whipping cream. Ensure all other ingredients (like graham crackers) are dairy-free.
- Gluten-Free: As mentioned, simply swap in your favorite gluten-free cookie crumbs for the crust.
Serving Suggestions
The fun begins when you pull these chilled Make Ahead No Bake Cheesecake Cups from the fridge. Here’s how to dress them up.
- Classic Berry Bliss: Top with a handful of fresh strawberries, blueberries, or raspberries. A drizzle of homemade berry sauce takes it over the top.
- Chocolate Lover’s Dream: Shave dark chocolate over the top or add a spoonful of chocolate ganache. A crushed Oreo topping would also be fantastic.
- Seasonal Touches: In fall, try a sprinkle of cinnamon and a dollop of spiced apple compote. For the holidays, top with crushed peppermint.
- Elegant Finish: For a dinner party, a simple mint leaf and a dusting of powdered sugar looks beautiful. Pair it with a cup of coffee or a dessert wine.
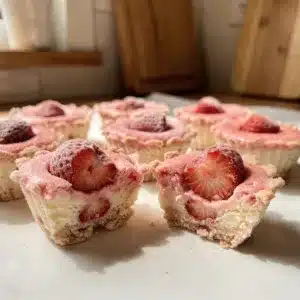
- For another stunning individual dessert option, check out my Strawberry Shortcake Cups.
Common Mistakes to Avoid
A few simple missteps can affect the texture of your dessert for guests. Here’s how to steer clear.
- Using Cold Cream Cheese: This is the #1 cause of lumpy filling. Let your cream cheese sit on the counter for at least an hour until it’s soft and spreadable.
- Not Sifting the Powdered Sugar: Sifting prevents tiny lumps of sugar in your otherwise silky filling.
- Overmixing the Filling After Adding Cream: Once you fold in the whipped cream, mix just until combined. Overmixing can deflate the cream, making the filling dense instead of light and airy.
- Skipping the Full Chill Time: Patience is key. The four-hour minimum chill is essential for the filling to set properly so it holds its shape when you dig in with a spoon.
- A Weak Crust: Don’t just sprinkle the crumbs in the cup. Press them down firmly so they form a solid base that won’t crumble apart with the first bite.
Storing Tips for the Recipe
The make-ahead nature of these cups is their superpower, and proper storage keeps them perfect.
- Refrigeration: Once assembled, cover the cups tightly with plastic wrap or their lids. They will keep beautifully in the refrigerator for 3-4 days.
- Freezing: You can freeze these cheesecake cups for up to 1 month. Place them uncovered in the freezer for 2 hours until solid, then wrap each cup tightly in plastic wrap and place in a freezer bag. Thaw overnight in the refrigerator before serving.
- Make-Ahead Assembly: The crust can be made and pressed into the cups up to 2 days in advance. Keep them covered at room temperature. The filling can be made and stored separately in an airtight container in the fridge for 1 day before assembling.
- Toppings: Add fresh fruit or saucy toppings just before serving to prevent sogginess.
Conclusion
These Make Ahead No Bake Cheesecake Cups truly are the secret weapon your dessert repertoire has been missing. They deliver all the rich, creamy satisfaction of a classic cheesecake with none of the fuss, anxiety, or oven time. They prove that a spectacular dessert for guests doesn’t require complex techniques—just simple ingredients, a little planning, and the joy of creating something delicious.
I hope this recipe brings as much ease and delight to your table as it has to mine. It’s a reminder that great food can be both impressive and incredibly simple. Regular kitchen, regular time, great results.
If you give these a try, I’d love to hear how it went! Leave a comment below and tell me your favorite way to top them. Don’t forget to tag @HarmonyMeal on Pinterest so I can see your beautiful creations. And if you’re looking for more easy, crowd-pleasing desserts, explore my Crowd Pleasing Fruit Pizza or the beautifully simple Bakery Style Fruit Pizza.
FAQs about Make Ahead No Bake Cheesecake Cups
How long do no bake cheesecake cups last in the fridge?
No-bake cheesecake cups will last for 3-5 days in the refrigerator if stored properly in an airtight container.
Can you freeze no bake cheesecake cups?
Yes, you can freeze no-bake cheesecake cups. Wrap them individually in plastic wrap and then place them in a freezer-safe container for up to 2-3 months. Thaw in the refrigerator before serving.
What kind of crust is best for no bake cheesecake cups?
A graham cracker crust is a classic and popular choice, but you can also use Oreo crumbs, crushed digestive biscuits, or even a simple shortbread crust.
How do you keep no bake cheesecake from being runny?
Ensure you use full-fat cream cheese and that it is properly softened. Also, chilling the cheesecake for the recommended time allows it to set properly. Using gelatin or cornstarch can also help stabilize the filling.
Do I need gelatin for no bake cheesecake cups?
Gelatin is optional but helps to stabilize the cheesecake and prevents it from being too soft. If you want a firmer set, add a small amount of bloomed gelatin to the filling.
How do you make no bake cheesecake cups taste better?
Enhance the flavor by adding extracts like vanilla or almond, citrus zest, or a swirl of fruit preserves. You can also top them with fresh fruit, chocolate shavings, or a drizzle of caramel sauce.
💬 Let’s Stay Connected!
For daily recipes, kitchen tips, and exclusive content, follow me on:
👉 Facebook for behind-the-scenes & community fun
👉 Pinterest for visual inspiration & meal ideas
👉 X (Twitter) for quick tips & trending recipes
📲 Join the flavor journey, your next favorite recipe is just a follow away!