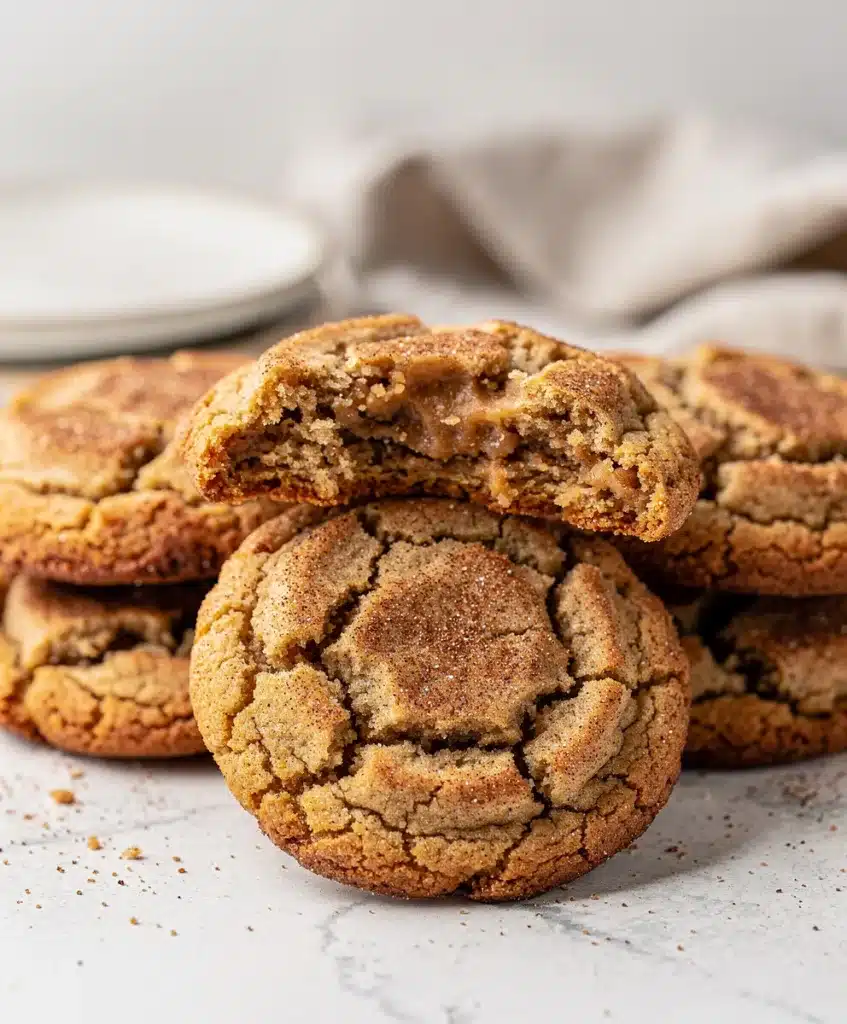
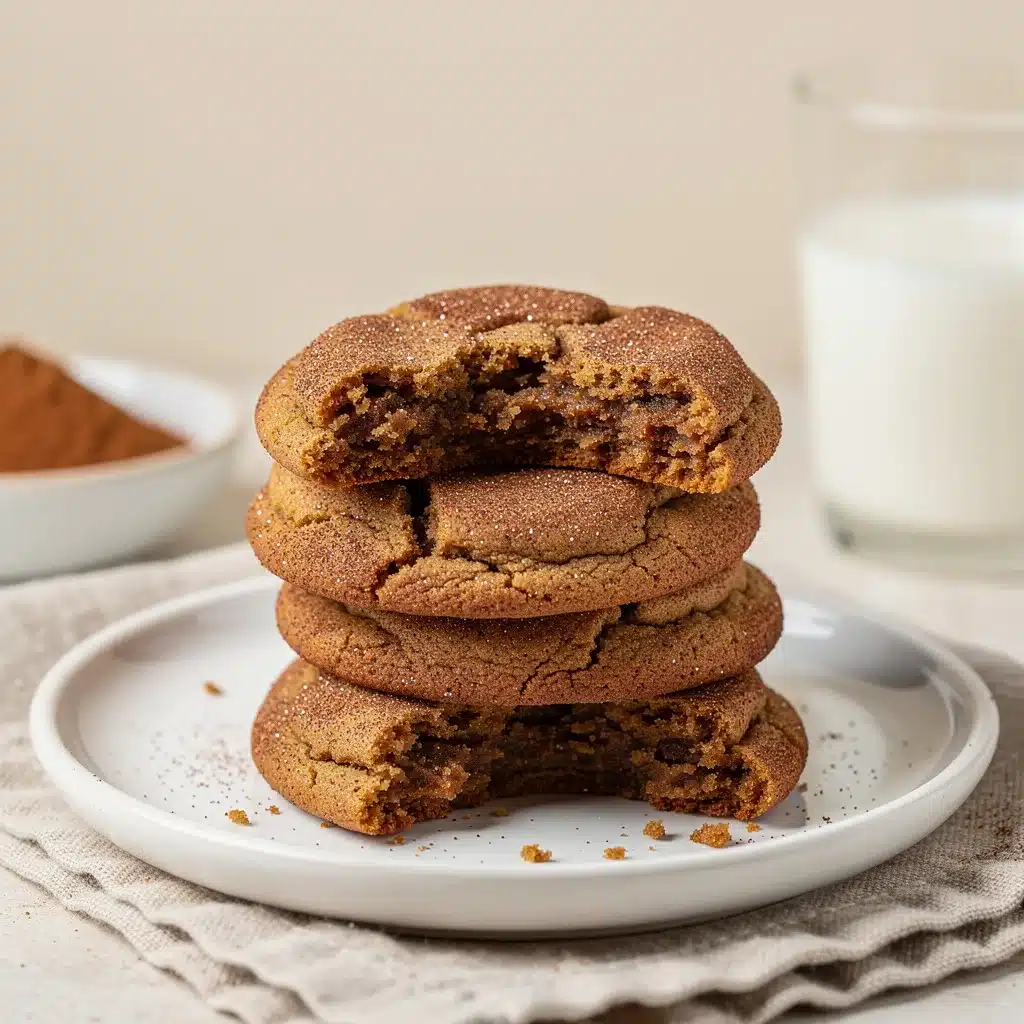
Forgetting to soften butter is a common kitchen hiccup, but here it works in your favor. Starting with melted butter you brown yourself is actually the key to these incredibly flavorful and soft brown butter snickerdoodles. I remember the first time I tried browning butter for a cookie; the kitchen filled with this warm, nutty aroma that felt like a hug. It transformed a simple snickerdoodle from a good cookie into a truly memorable one. That’s the magic I want to share with you today.
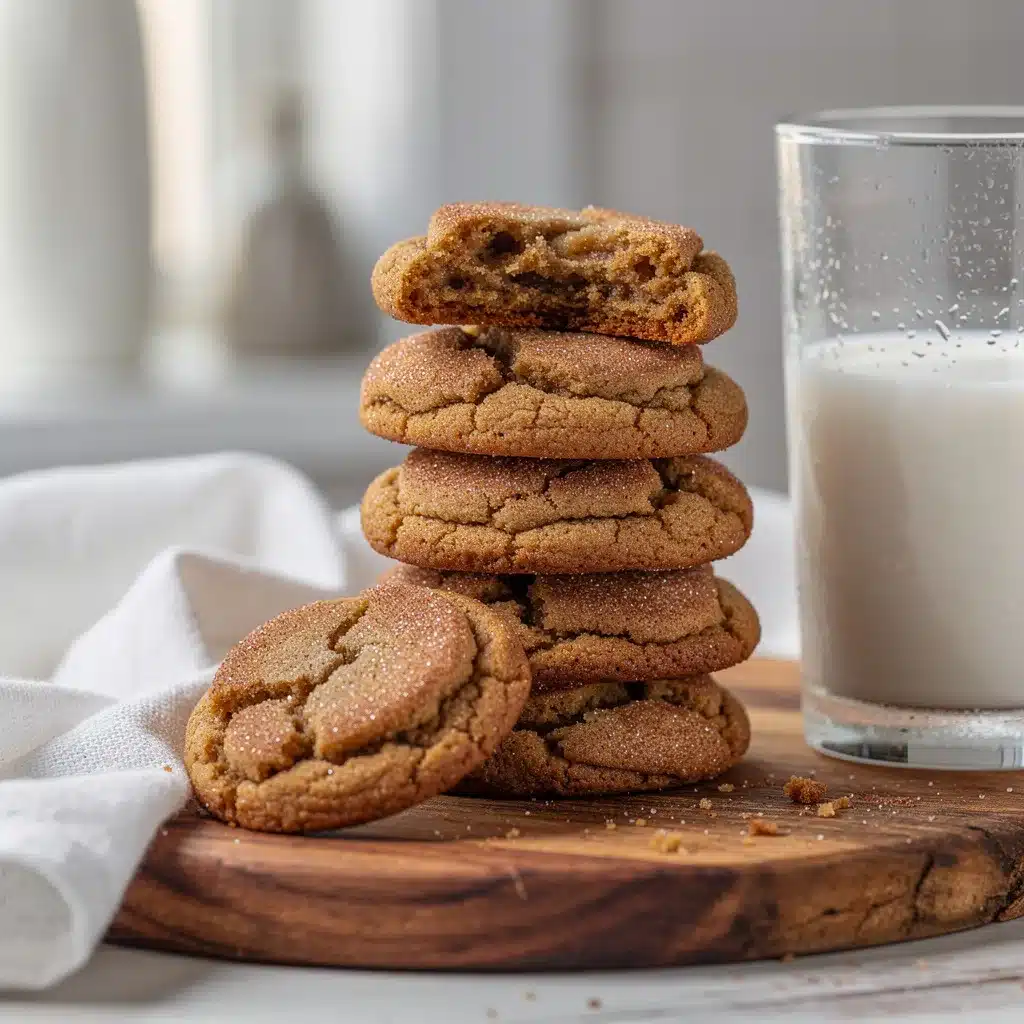
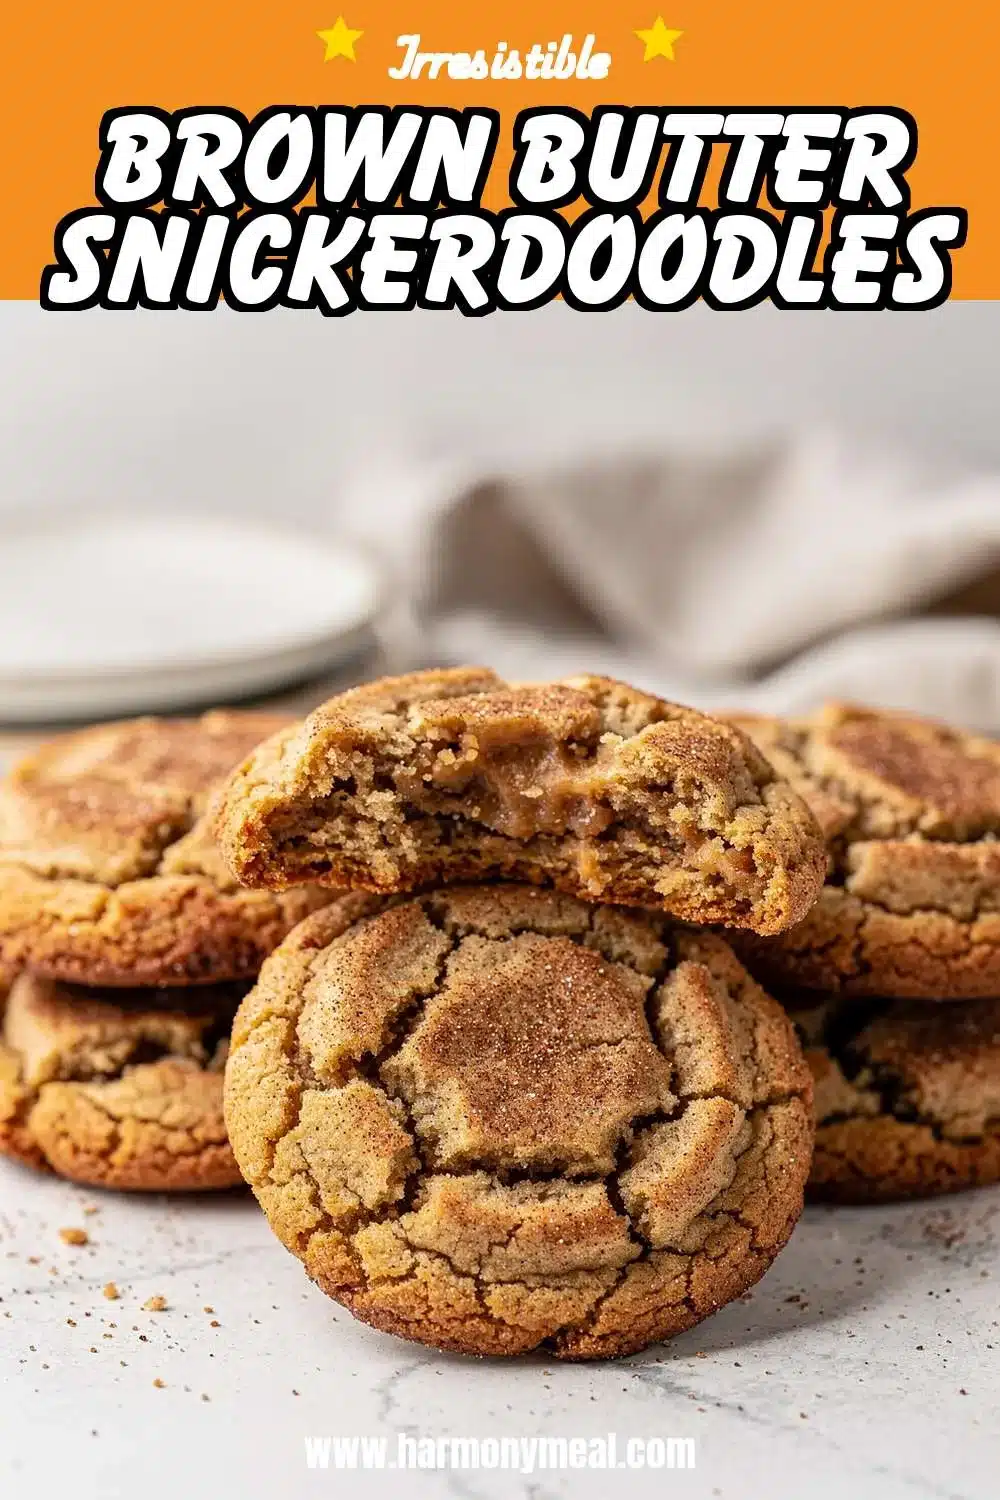
These brown butter snickerdoodles are the ultimate comfort cookie. They have that classic chewy, slightly tangy center and a crackly cinnamon-sugar crust, but with a deep, toasty flavor that makes them impossible to eat just one. It’s a simple twist on a beloved classic, using regular ingredients you likely have on hand. This recipe is for anyone who believes the best moments happen around the kitchen table, with a plate of warm cookies and a glass of milk. Simple ingredients, warm memories.
Table of Contents
Brown Butter Snickerdoodles

These snickerdoodles feature a simple twist with brown butter, adding a deep, nutty flavor to the classic chewy, tangy cookie. They have a soft center and a crackly cinnamon-sugar crust for the ultimate comfort treat.
- Prep Time: 20min
- Cook Time: 12min
- Total Time: 1h 45min
- Yield: About 36 cookies 1x
- Category: dessert
- Method: baking
- Cuisine: American
Ingredients
- 1 cup (2 sticks) unsalted butter, for browning
- 2 ¾ cups all-purpose flour
- 2 teaspoons cream of tartar
- 1 teaspoon baking soda
- ½ teaspoon fine sea salt
- 1 ½ cups granulated sugar
- 2 large eggs, at room temperature
- 2 teaspoons pure vanilla extract
- ¼ cup granulated sugar, for coating
- 1 tablespoon ground cinnamon, for coating
Instructions
- Brown the butter in a light-colored saucepan over medium heat, swirling frequently, until it foams, subsides, and develops golden brown bits with a nutty aroma (5-7 minutes). Pour into a heat-proof bowl and let cool for 1 hour until solid but soft.
- While butter cools, whisk together flour, cream of tartar, baking soda, and salt in a medium bowl. Set aside.
- In a large bowl, beat the cooled brown butter and 1 ½ cups sugar with a mixer for 2-3 minutes until combined. Beat in eggs one at a time, then the vanilla.
- Gradually add the dry ingredients to the wet ingredients, mixing on low until just combined. Cover and chill dough for 30 minutes.
- Preheat oven to 350°F (175°C). Line baking sheets with parchment paper. Mix ¼ cup sugar and cinnamon in a small bowl.
- Scoop dough into 1.5-tablespoon portions, roll into balls, and coat generously in the cinnamon-sugar mixture. Place balls 2 inches apart on prepared sheets.
- Bake for 10-12 minutes until puffy with soft centers. Let cool on the baking sheet for 5 minutes before transferring to a wire rack.
Notes
Ensure the brown butter is fully cooled to a soft solid state before mixing to prevent greasy cookies. Do not skip the cream of tartar, as it provides the classic tangy flavor. The cookies will look soft when done but firm up as they cool for the perfect chewy texture. Dough can be frozen as balls and baked from frozen, adding 1-2 minutes to bake time.
Nutrition
- Serving Size: 1
- Calories: 140
- Sugar: 11
- Sodium: 85
- Fat: 7
- Saturated Fat: 4
- Unsaturated Fat: 2
- Trans Fat: 0
- Carbohydrates: 18
- Fiber: 0
- Protein: 1
- Cholesterol: 30
Ingredients List
Brown Butter Snickerdoodles start with a handful of pantry staples, but the brown butter is the star that makes everything sing.
- For the Brown Butter:
- 1 cup (2 sticks) unsalted butter
- For the Cookie Dough:
- 2 ¾ cups all-purpose flour
- 2 teaspoons cream of tartar (this is essential for the classic tangy flavor)
- 1 teaspoon baking soda
- ½ teaspoon fine sea salt
- 1 ½ cups granulated sugar
- 2 large eggs, at room temperature
- 2 teaspoons pure vanilla extract
- For the Cinnamon-Sugar Coating:
- ¼ cup granulated sugar
- 1 tablespoon ground cinnamon
Smart Swaps: For a gluten-free version, use a 1:1 gluten-free flour blend. You can use salted butter, but simply omit the added ½ teaspoon of salt in the dough. While nothing beats the flavor of brown butter, in a pinch you can use ¾ cup of melted, cooled regular butter.
Timing
- Prep Time: 20 minutes (plus 1 hour for the brown butter to cool)
- Cook Time: 10-12 minutes per batch
- Total Time: About 1 hour 45 minutes (mostly hands-off cooling time)
While the brown butter needs time to cool, this step is what builds the incredible flavor in these brown butter snickerdoodles. Use that time to measure your other ingredients and line your baking sheets.
Step-by-Step Instructions
Making these cookies is a joyful process. Follow these steps for the perfect batch of brown butter snickerdoodles every time.
- Brown the Butter: Melt the butter in a light-colored saucepan over medium heat. Swirl the pan frequently. It will foam, then the foam will subside, and you’ll see golden brown bits at the bottom. It will smell wonderfully nutty. This takes about 5-7 minutes. Immediately pour it into a heat-proof bowl to stop the cooking. Let it cool for about 1 hour, until it’s solid but soft (like the texture of softened butter).
- Mix Dry Ingredients: While the butter cools, whisk together the flour, cream of tartar, baking soda, and salt in a medium bowl. Set aside.
- Combine Wet Ingredients: In a large bowl, use a hand mixer or stand mixer to beat the cooled brown butter and sugar together for 2-3 minutes until well combined and slightly fluffy. Beat in the eggs one at a time, then the vanilla.
- Form the Dough: Gradually add the dry ingredients to the wet ingredients, mixing on low speed until just combined. The dough will be soft. Cover the bowl and chill the dough for 30 minutes. This prevents the cookies from spreading too much.
- Preheat and Prep: Preheat your oven to 350°F (175°C). Line baking sheets with parchment paper. Mix the ¼ cup sugar and cinnamon in a small bowl.
- Shape and Coat: Scoop the dough into 1.5-tablespoon portions. Roll each into a ball, then roll generously in the cinnamon-sugar mixture. Place dough balls about 2 inches apart on the prepared sheets.
- Bake: Bake for 10-12 minutes. The cookies will look puffy and the centers will be soft. They will deflate slightly as they cool, creating that perfect chewy texture. Let them cool on the baking sheet for 5 minutes before transferring to a wire rack.
Nutritional Information
Per cookie (based on approximately 36 cookies): Calories: 140 | Total Fat: 7g | Saturated Fat: 4g | Cholesterol: 30mg | Sodium: 85mg | Total Carbohydrates: 18g | Dietary Fiber: 0g | Sugars: 11g | Protein: 1g. The brown butter adds rich, satisfying flavor, making one cookie feel truly indulgent.
Equipment Needed
You don’t need any fancy tools to make these brown butter snickerdoodles. A standard kitchen will have everything: a light-colored saucepan (so you can see the butter browning), a large mixing bowl, a hand or stand mixer, measuring cups and spoons, a whisk, a spatula, and baking sheets lined with parchment paper. A cookie scoop makes portioning easy and ensures even baking.
Why You’ll Love This Recipe
- Deep, Toasty Flavor: The brown butter adds a sophisticated, nutty dimension that takes the classic snickerdoodle to a whole new level.
- Perfect Texture: These brown butter snickerdoodles are engineered for that ideal chewy center with a slightly crisp, sugary edge.
- Comfort Food, Made Easy: The process is straightforward and forgiving, perfect for a cozy baking afternoon.
- Crowd-Pleasing: They are a guaranteed hit for potlucks, bake sales, or just a family treat after dinner.
- Aroma Therapy: The smell of brown butter and cinnamon baking is pure, unadulterated kitchen happiness.
Healthier Alternatives for the Recipe
You can adapt these brown butter snickerdoodles to fit different dietary needs without sacrificing too much flavor.
- Gluten-Free: Substitute the all-purpose flour with your favorite 1:1 gluten-free baking blend.
- Dairy-Light: For a less rich version, you can brown only one stick of butter and use ½ cup of a neutral oil (like avocado or light olive oil) for the remaining fat. The brown butter flavor will be subtler but still present.
- Lower Sugar: You can reduce the sugar in the dough by ¼ cup. The coating sugar is harder to modify, but you could use a granulated sugar substitute for rolling.
Serving Suggestions
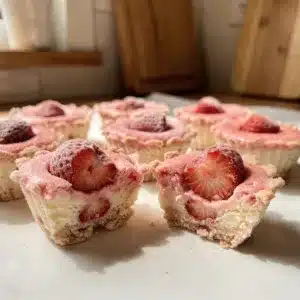
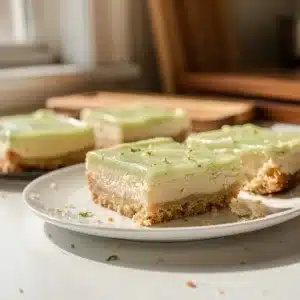
Serve these brown butter snickerdoodles warm from the oven with a cold glass of milk—it’s a timeless pairing. For a festive twist, crumble them over vanilla ice cream. They also make a wonderful addition to a dessert board alongside other treats like my Vanilla Bean Cheesecake Bars or Classic Fudgy Brownies. During spring, you could create a cookie platter featuring these and a pastel-themed treat like Lemon Blueberry Bars.
Common Mistakes to Avoid
- Not Cooling the Brown Butter Enough: If the butter is too hot or liquid when you mix it, it will melt the sugar and create a greasy, flat cookie. Patience is key—let it cool until solid but spreadable.
- Skipping the Cream of Tartar: This is what gives snickerdoodles their signature tang and helps with the chewy texture. Don’t substitute it.
- Over-mixing the Dough: Once you add the flour, mix until just combined. Over-mixing develops gluten and can lead to tough brown butter snickerdoodles.
- Over-baking: The cookies will look soft in the middle when done. They firm up as they cool. Taking them out at 10-12 minutes ensures that perfect chew.
Storing Tips for the Recipe
Store completely cooled brown butter snickerdoodles in an airtight container at room temperature for up to 5 days. They stay wonderfully soft. For longer storage, you can freeze the baked cookies for up to 3 months. You can also freeze the shaped, unbaked dough balls on a tray, then transfer to a freezer bag. Bake directly from frozen, adding 1-2 minutes to the bake time. This is a fantastic make-ahead trick for fresh cookies anytime.
Conclusion
I hope this recipe brings as much joy to your kitchen as it does to mine. These brown butter snickerdoodles are proof that a simple, intentional twist can turn a familiar favorite into something extraordinary. The process of browning the butter is a little moment of kitchen magic that pays off in every single bite. Regular kitchen, regular time, great results.
I’d love to hear how your batch turns out! Did you get that perfect chewy center? Share your experience in the comments below. And if you’re looking to expand your cookie repertoire, try my Easy Chocolate Chip Cookies for another classic, or my Chocolate Peanut Butter Cookies for a rich, decadent twist. Don’t forget to tag @HarmonyMeal on Pinterest so I can see your beautiful creations. Happy baking.
FAQs about Brown Butter Snickerdoodles
What does brown butter do for cookies?
Browning butter infuses a nutty, caramel-like flavor into the cookies, adding depth and complexity beyond a regular snickerdoodle. It also reduces the moisture content slightly, leading to a chewier texture.
Why are my snickerdoodles flat?
Several factors can cause flat snickerdoodles, including using melted butter instead of softened (or browned!), overmixing the dough, not chilling the dough sufficiently, or using too little flour. Also, make sure your baking powder is fresh.
How do you know when brown butter is done?
Brown butter is done when the butter is melted, and the milk solids have sunk to the bottom of the pan and turned a golden brown color. It will also have a nutty aroma. Be careful not to burn it!
Can you freeze snickerdoodle dough?
Yes, you can freeze snickerdoodle dough. Scoop the dough into balls, place them on a baking sheet, and freeze until solid. Then, transfer the frozen dough balls to a freezer bag or container. Bake from frozen, adding a few extra minutes to the baking time.
What is the secret to soft snickerdoodles?
The secret to soft snickerdoodles lies in using the right ratio of ingredients, avoiding overbaking, and incorporating moisture-retaining ingredients like brown butter and cream of tartar. Don’t overmix the dough!
What does cream of tartar do in snickerdoodles?
Cream of tartar gives snickerdoodles their signature tang and chewy texture. It also helps to prevent the sugar from crystallizing, resulting in a softer cookie. It also provides the lift needed in the recipe.
💬 Let’s Stay Connected!
For daily recipes, kitchen tips, and exclusive content, follow me on:
👉 Facebook for behind-the-scenes & community fun
👉 Pinterest for visual inspiration & meal ideas
👉 X (Twitter) for quick tips & trending recipes
📲 Join the flavor journey, your next favorite recipe is just a follow away!